Apologies to the lightpainting group for the cheap method of lightpainting I'm about to share.
If anyone reading is not familiar, lightpainting is a photographic technique where light sources are moved in a dark environment to create stunning visual effects. The camera, set on a long exposure, captures the trails of light, resulting in mesmerizing and often surreal images. This art form dates back to the early 20th century, with pioneers like Man Ray and Pablo Picasso experimenting with it. Over time, lightpainting has found its place in various creative fields, from fine art photography to commercial advertising, offering a unique way to visualize the interplay of light and motion.
The basic principles of lightpainting involve using a slow shutter speed, usually several seconds to minutes, while manipulating light sources such as flashlights, LED lights, or even sparklers. The photographer or an assistant "paints" with these light sources, moving them in desired patterns or around objects to illuminate them selectively. Key techniques include drawing directly in front of the camera, illuminating subjects from different angles, and using colored gels to add vibrant hues to the light trails. The possibilities are endless, limited only by the imagination, making lightpainting a dynamic and versatile form of photographic expression.
The community here creates some fantastic images using single frame exposures without any post-processing. I'm not nearly that good. Plus, I'm cheap. Please read on. This is what I do.
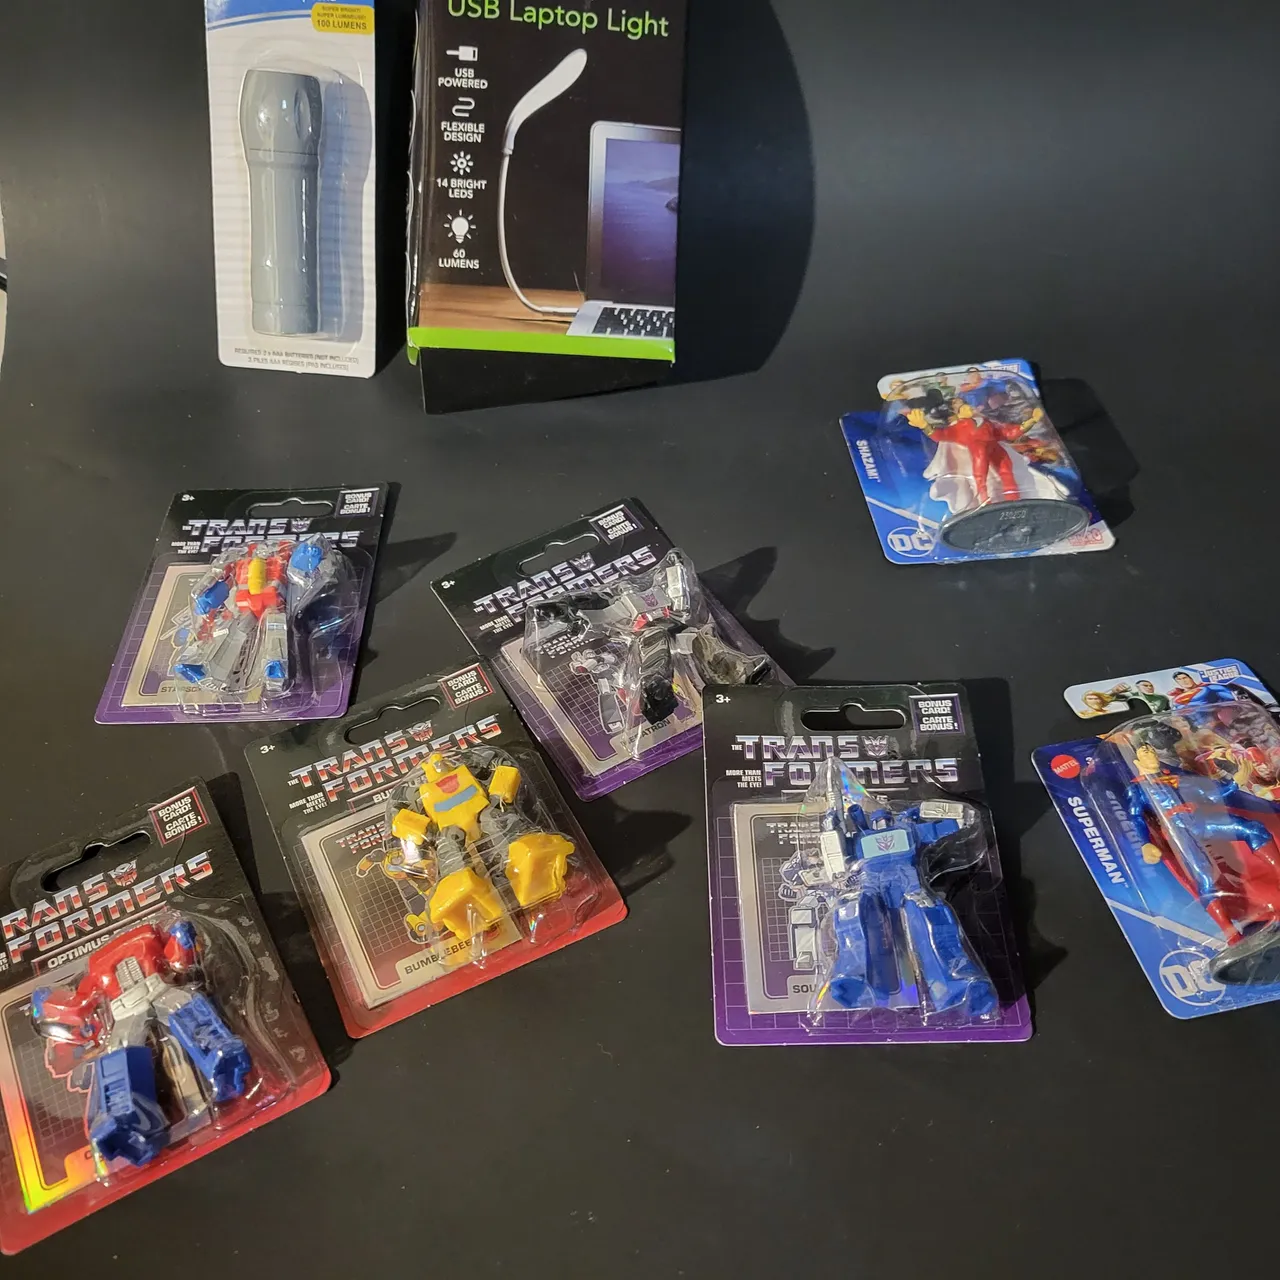
Material List
- LED Flashlight
- LED USB Light
- Large construction paper - black
- 7 toys
Total cost: $12.50 from the dollar store. I'm really talking cheap, here.
For this particular project I set up a poor mans home studio in my basement. It involved a bent sheet of black construction paper to act as an infinity background and a USB powered LED light.
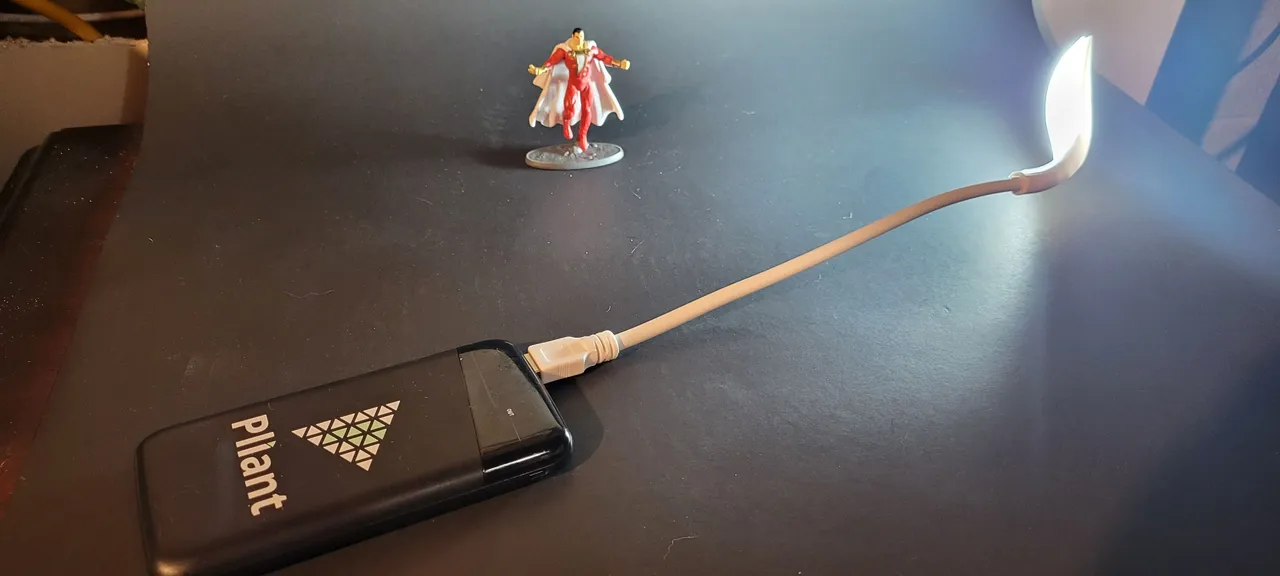
And just for shits and giggles I used two different cameras to do some exploration: a mirrorless Sony NEX-C3 and a Samsung Galaxy S21 phone.
The photos I took with the dSLR used these settings:
- 10 second exposure
- 200 ISO
- f/32 aperture
The photos I took with the Samsung Galaxy s21 used these settings:
- 10 second exposure
- 100 ISO
For this project I used the USB LED light and waved it back and forth in front of the object to light each side of it. I told you. Cheap.
Photo Editing
I'm looking to be creative, yet also be creative in an inexpensive fashion. I'm not a professional. I don't even play one on TV. I'm a creative solutioneers looking to achieve an end with the resources I have at hand:
- GIMP
- Darktable
Further, just to keep to the inexpensive side of the equation, I used Kubuntu distribution on a 12 year old HP Pavilion all in one desktop, far from anything recent. I do not need the most recent, modern, expensive equipment to be creative.
I'm not going to go into too many details on how to edit the images using either GIMP or Darktable; that is a tale for another blog post, and there are many other online tutorials to do just that. Suffice it to say that for this experiment I used GIMP and Darktable to post-process images from both a mirrorless Sony NEX-C3 and a Samsung Galaxy S21-5g.
There is no one correct method or process to post-process images. Some images are not post-processed at all! The only correct method is the one that leaves you happy with your own art, simple as that.
The Result
I took multiple images of each prop with each camera. These are the images I ultimately chose, from the originals, to those that were post-processed
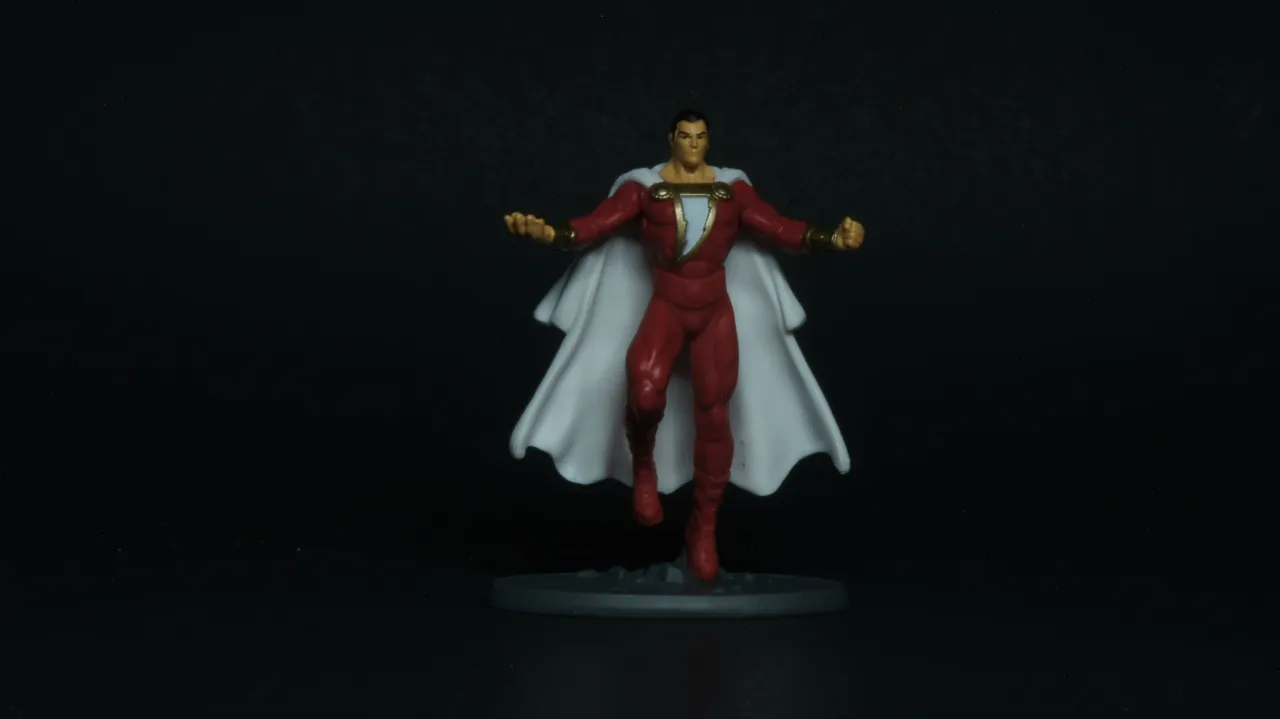
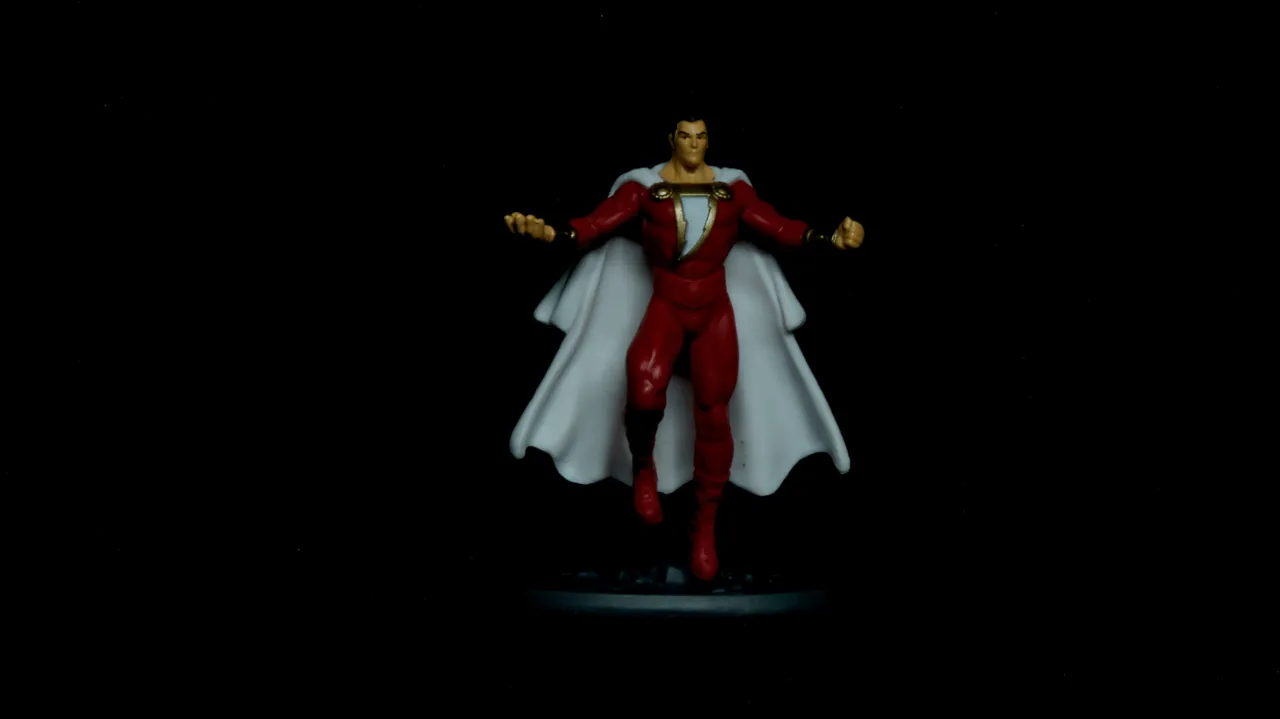
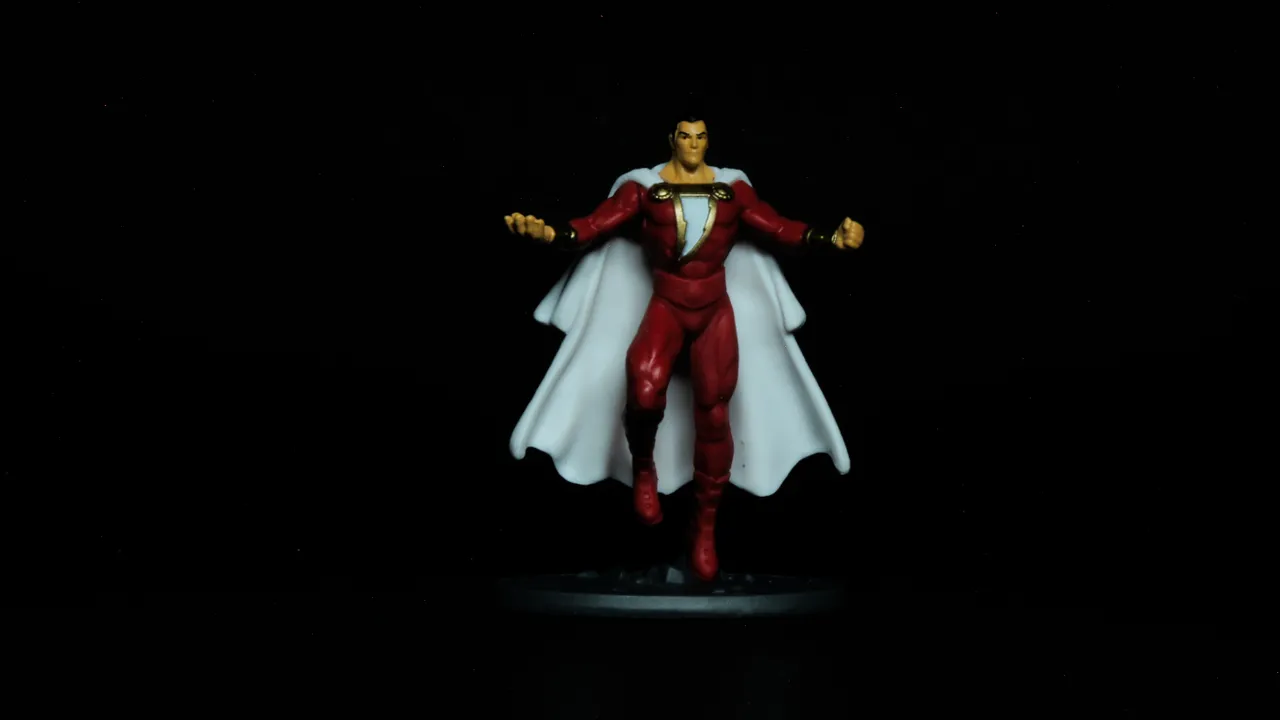
Shazam
Original - Sony NEX-C3
GIMP Post-Processing
Darktable Post-Processing
Original - Samsung Galaxy S21

GIMP Post-Processing

Darktable Post-Processing

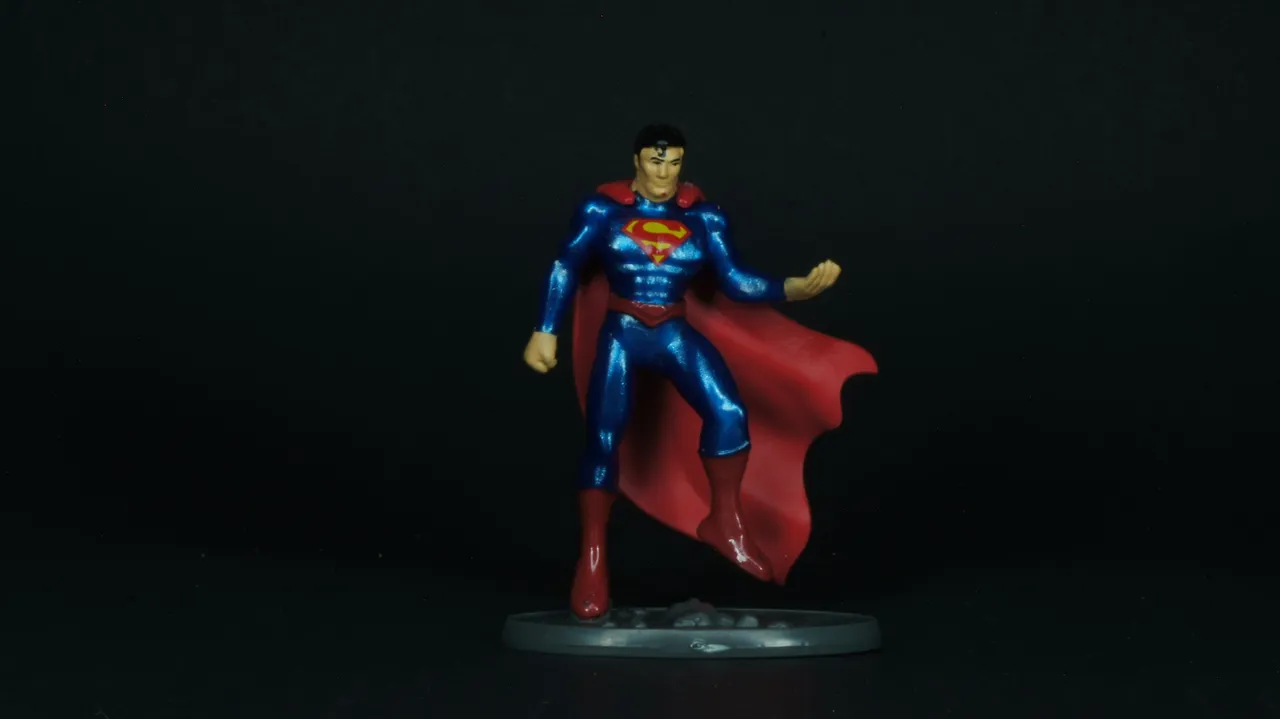
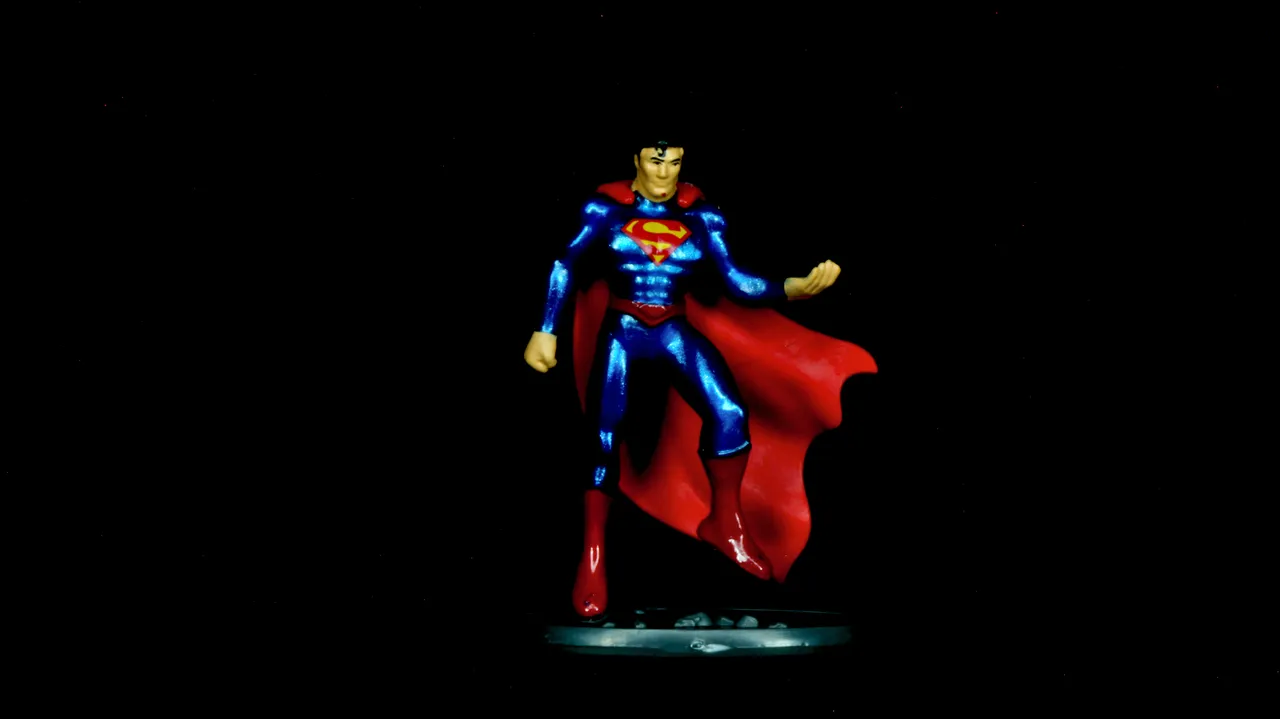
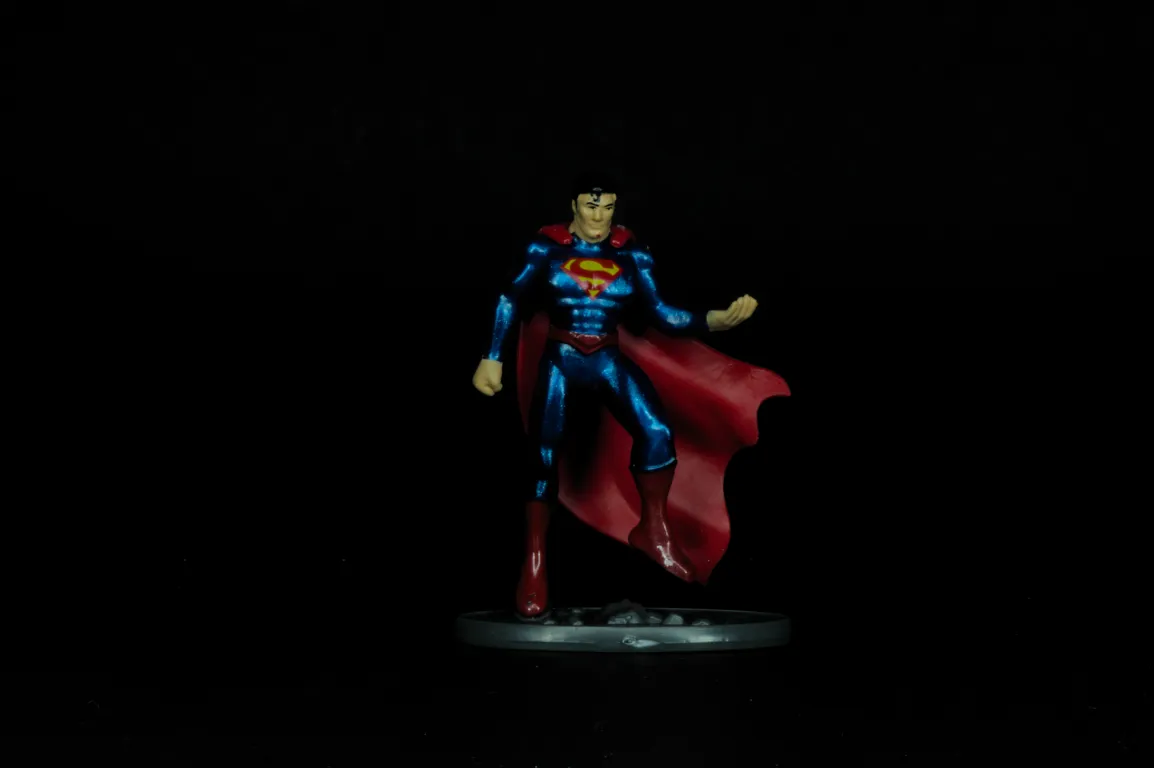
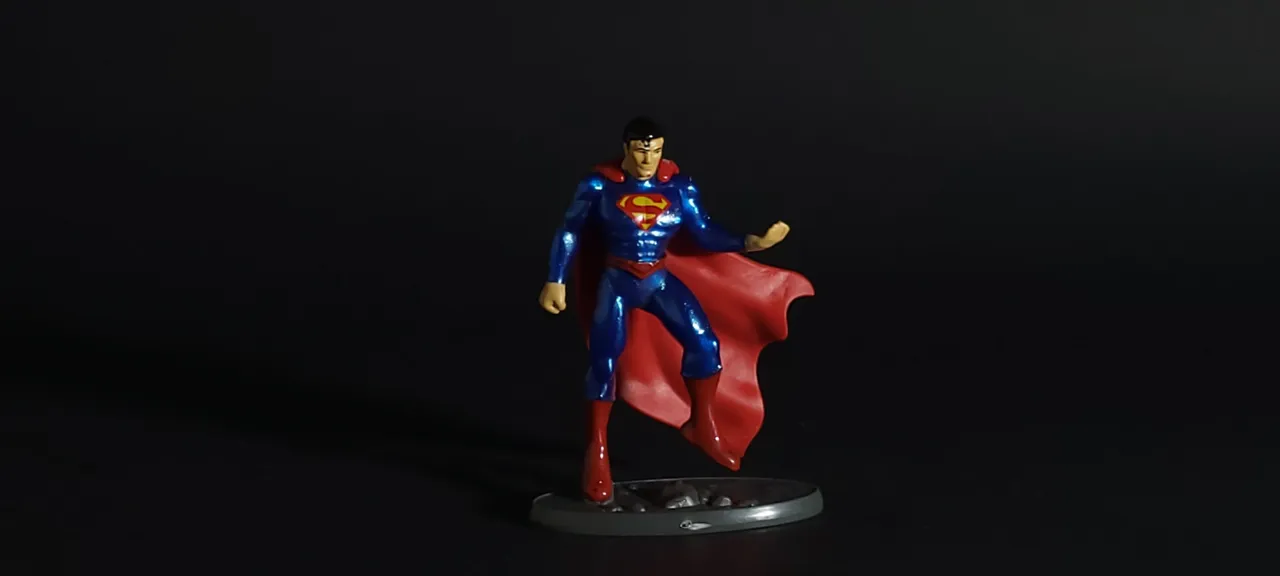
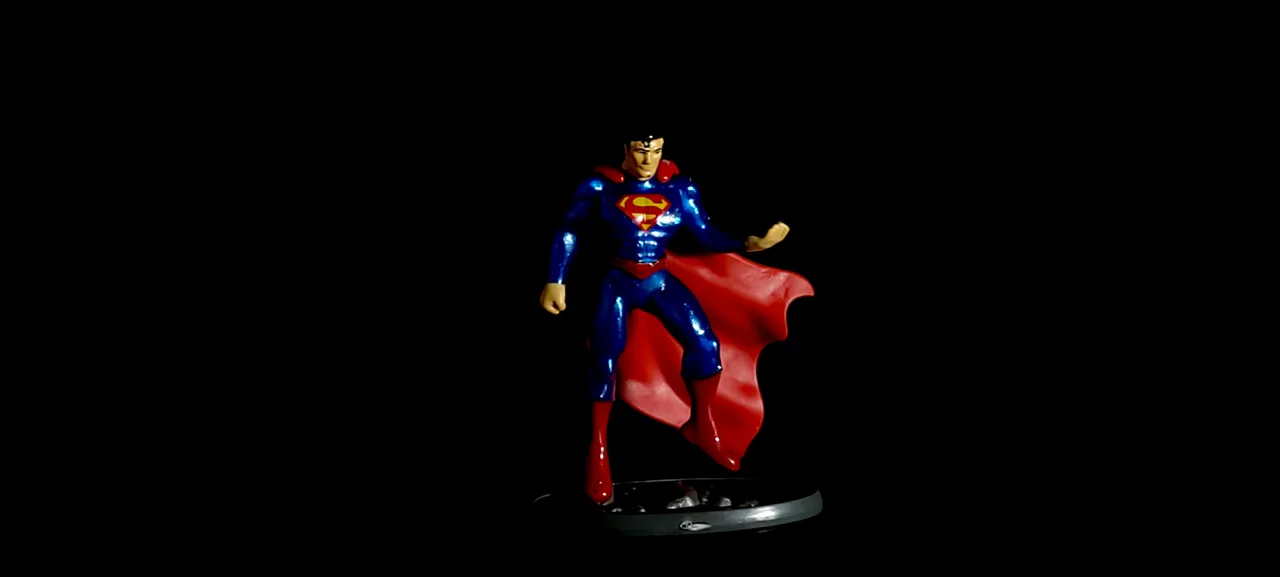
Superman
Original - Sony NEX-C3
GIMP Post-Processing
Darktable Post-Processing
Original - Samsung Galaxy S21
GIMP Post-Processing
Darktable Post-Processing

(c) All images and photographs, unless otherwise specified, are created and owned by me.
(c) Victor Wiebe
Blind Skeleton
Online Radio! 24x7 of OTR classics:
The Skeleton Brew coffee shop is open!