
Procedure
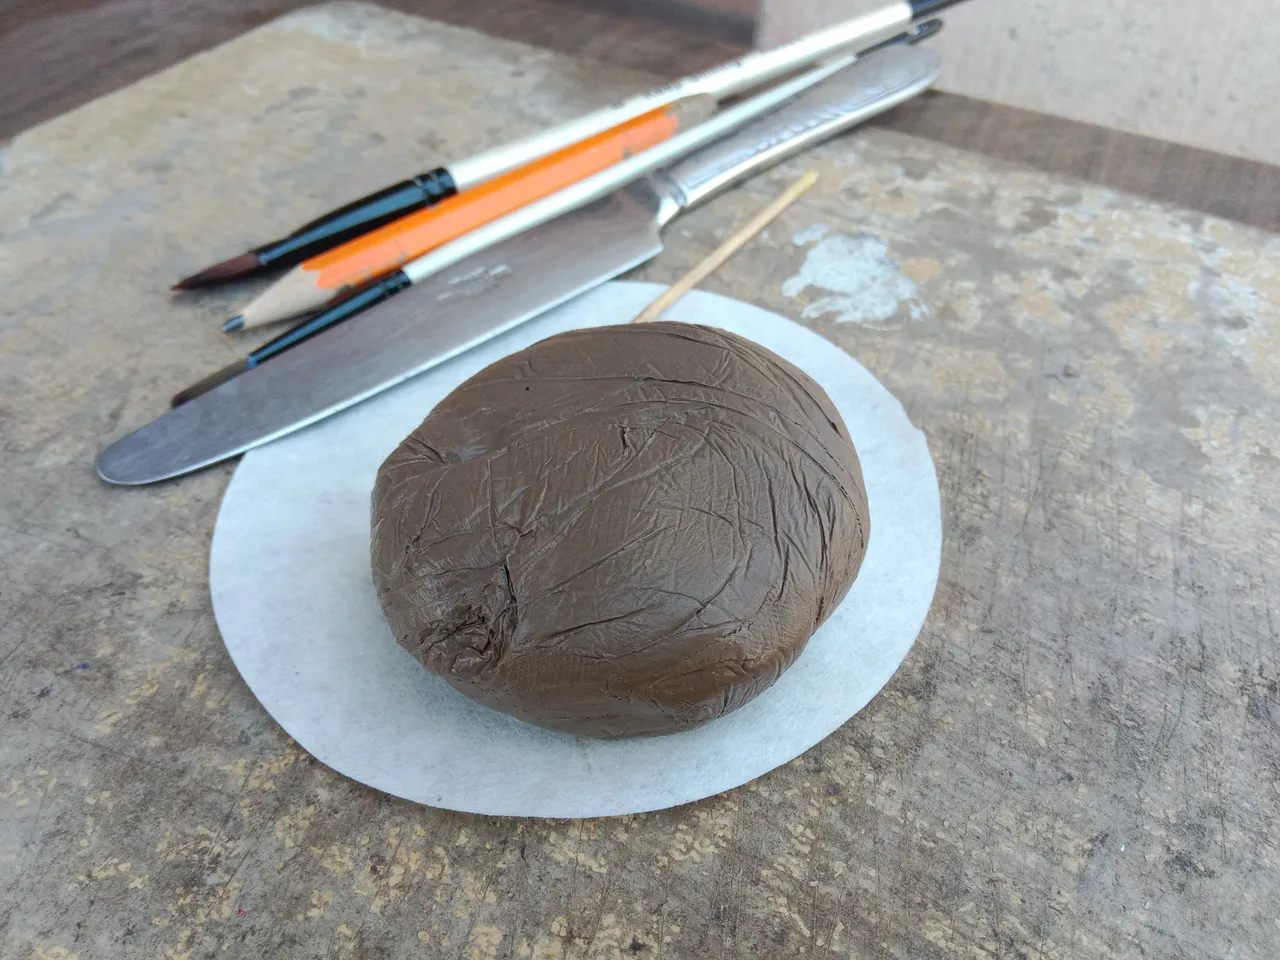
- Now let's get start with the procedure and in the first image which I have attached here you can see that there is a piling of clay which I am going to use that type of clay which is very easy to access and you can find it anywhere in a field and I have collected it from a nearby field near my home.
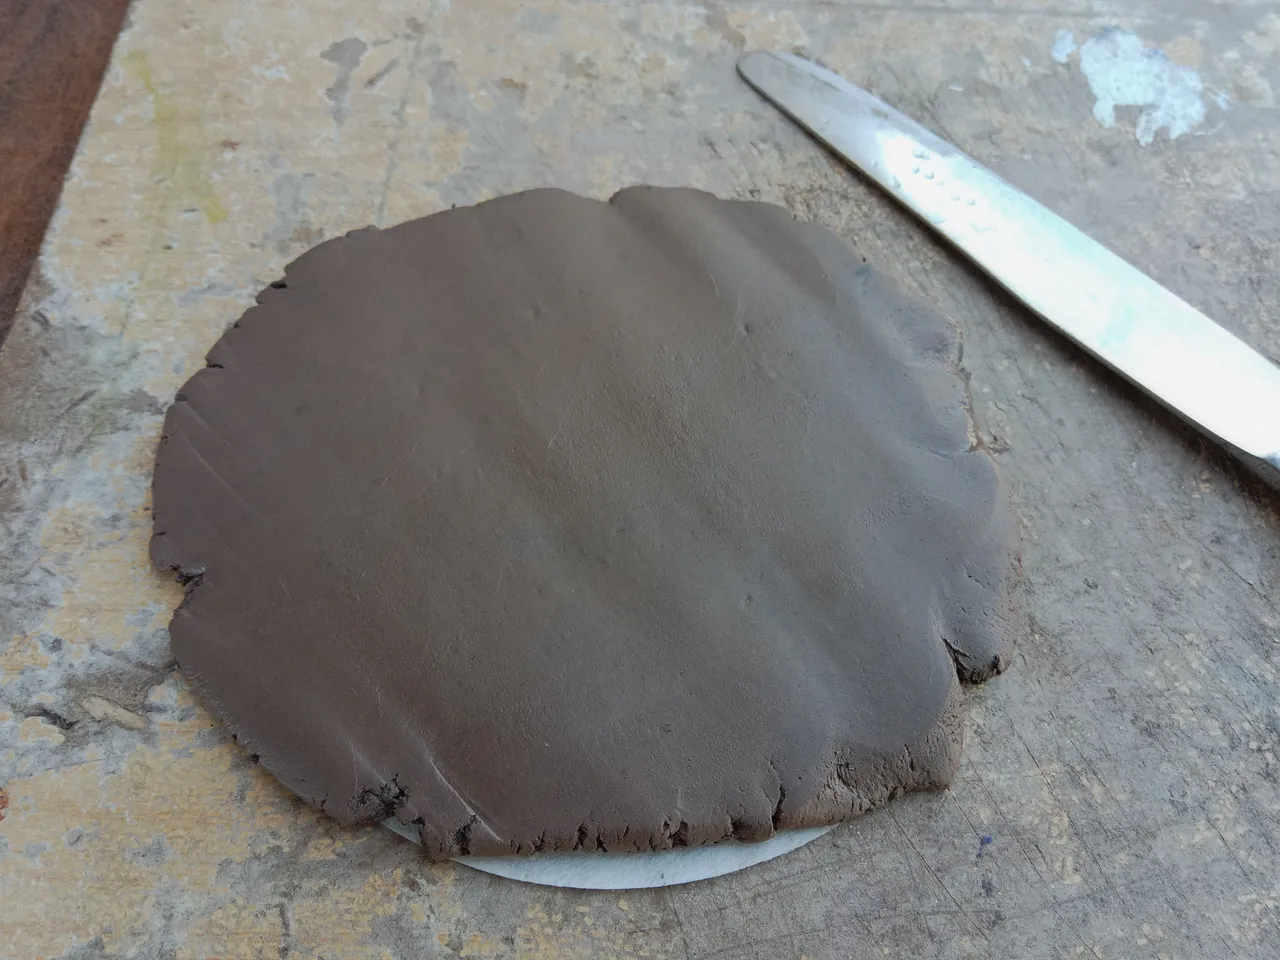
- In the second step make a clear and smooth sheet of that play and you can do that with the help of a smooth object in my case I am going to use play button knife yeah that better life which is easy to access and you can easily find it on your dining table.
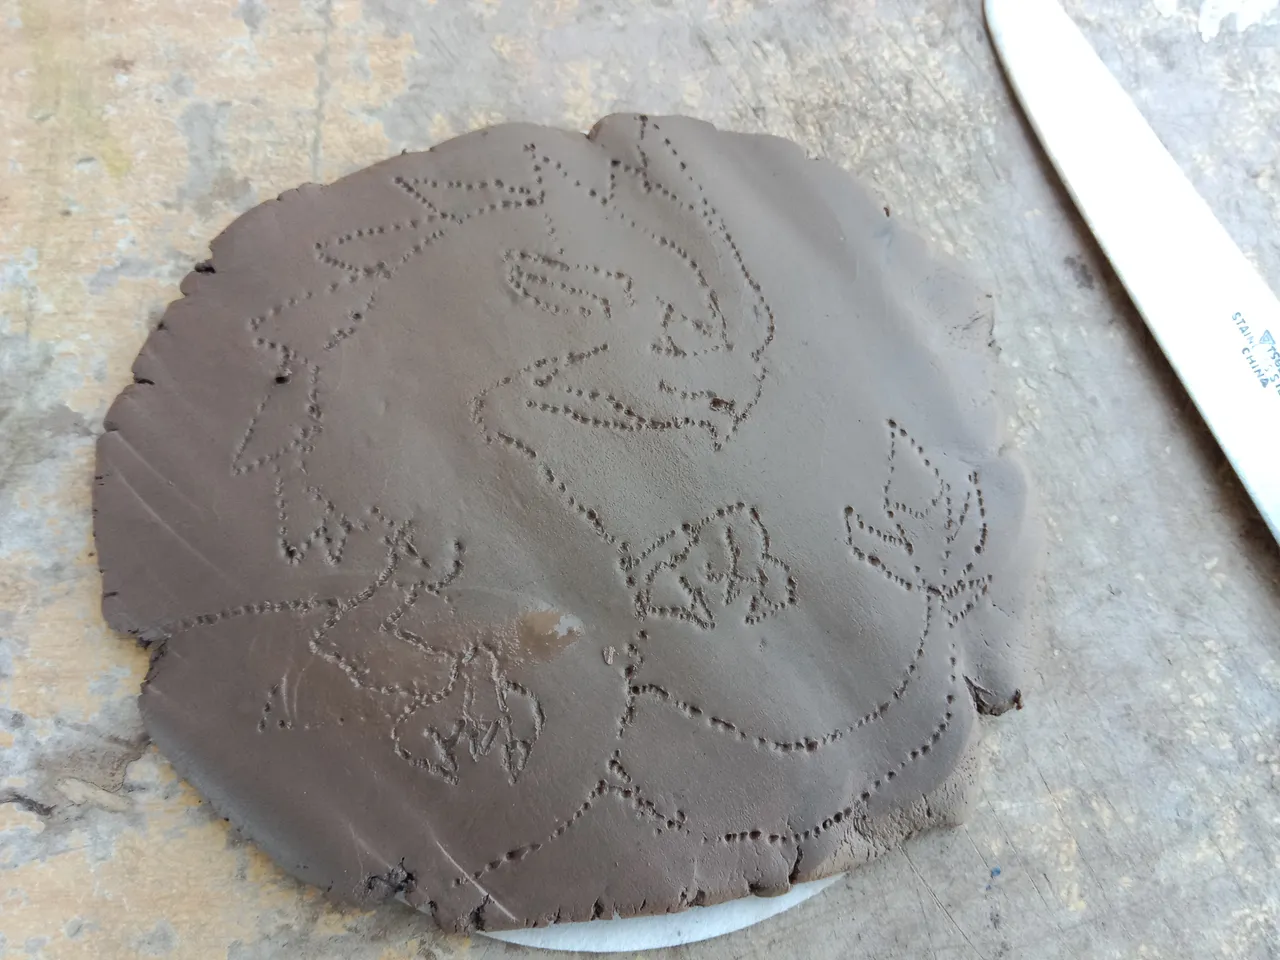
- After making a smooth said now with the help of a toothpick I needle or any chart object mark the area which is later become a culture as it is supposed to be up to dimensional clay culture so it is supposed to be only two sided.

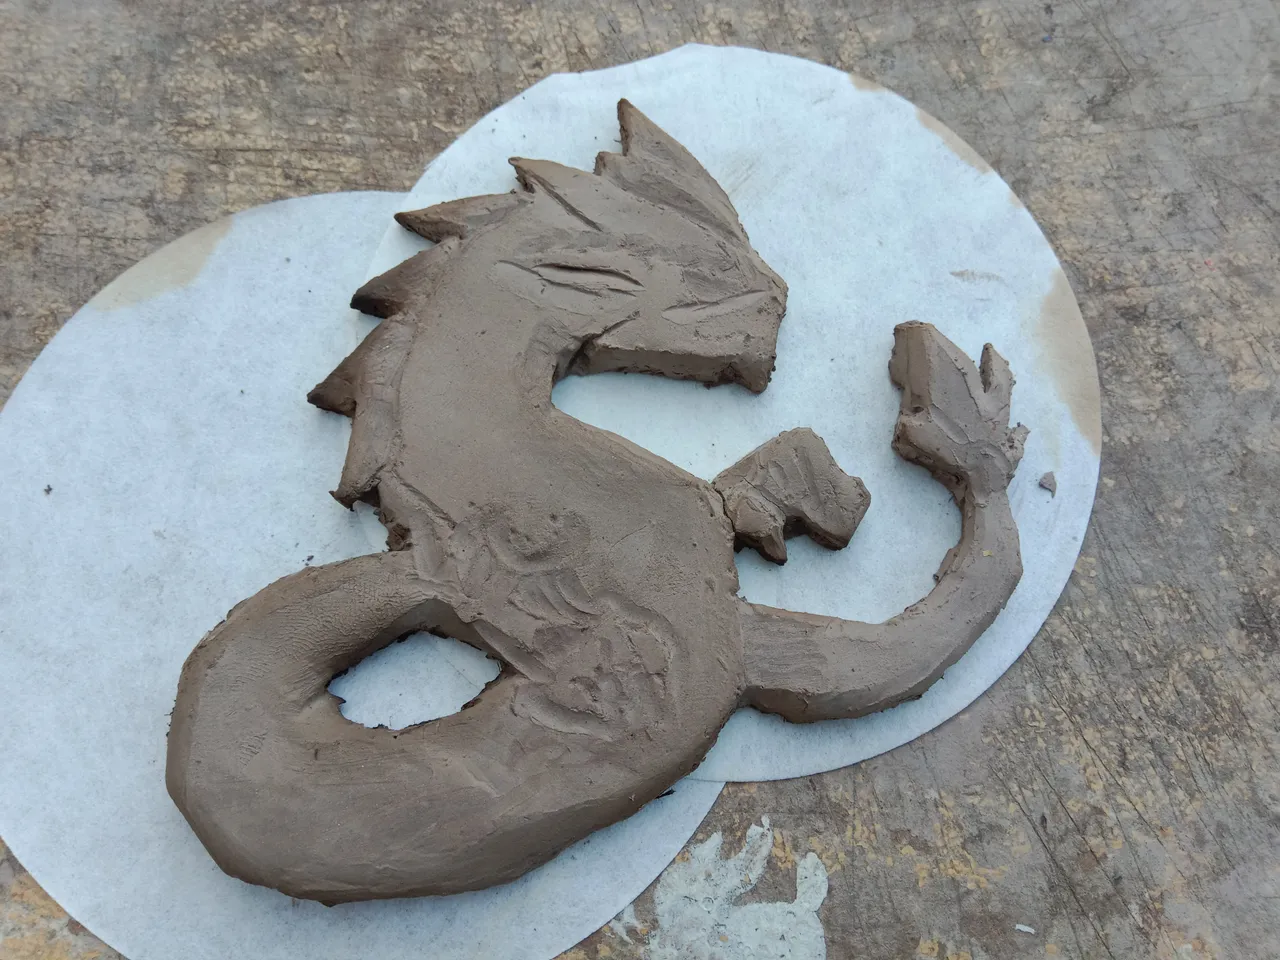
- Now remove the back ground play of the sculpture with the help of a sharp object so in my case I have used the same better knife which I have placed in my working kit and I use that in making clay object for making them smooth but it also has a short side by which I cut the remaining extra clay.
- The other tools which I am going to use in this project including brushes yeah the same brushes which I use in paintings so with the help of those brushes you can use their back to reason extra details and make some areas notable on the upper surface of the sculpture.
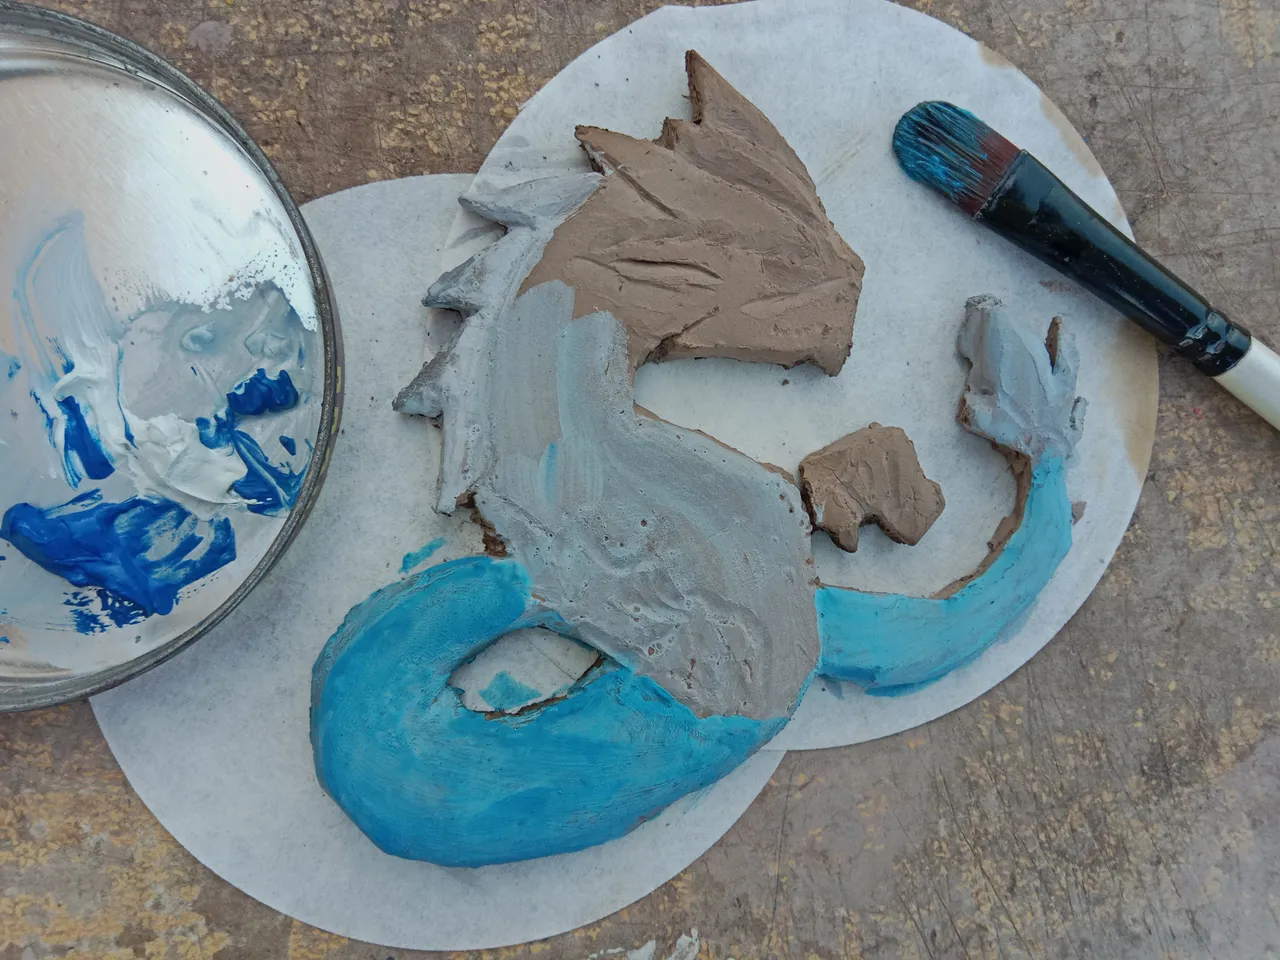
- After making it I have to left it in the outside for almost 2 hours separate as I had to dry it before adding colours and in my reason it is getting not enough warmth to dry it so I have to bury that piece of clay into ashes to make it completely dry and ready for colouring and when it was completely droid and cold down in the normal wrong temperature the colour which I was going to use were the same colour which we can see in the character.

- As you can see in my steel box in which I have mixed the colour almost 98% colours are below and white these two colours spectrum was used throughout the making of this sculpture.

- In the images I attached above you can easily notice that I have made both hands of the Dragon but when I make it dried and I was trying to add the colours by a mistake it got broken and later my nephew came and it was my negligibility that you picked up the piece of clay and put that clay in her mouth and it was totally ruined.
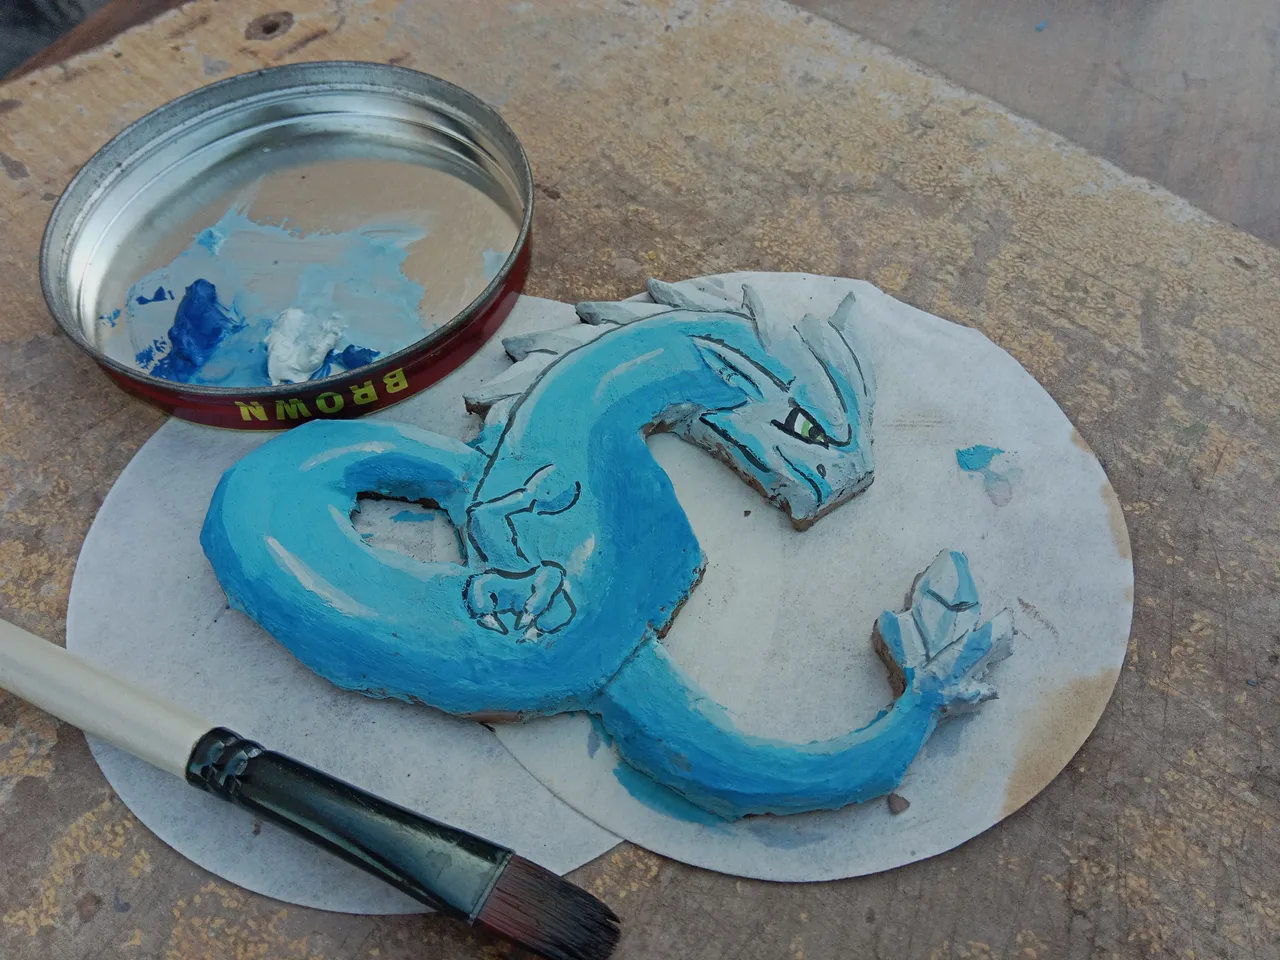
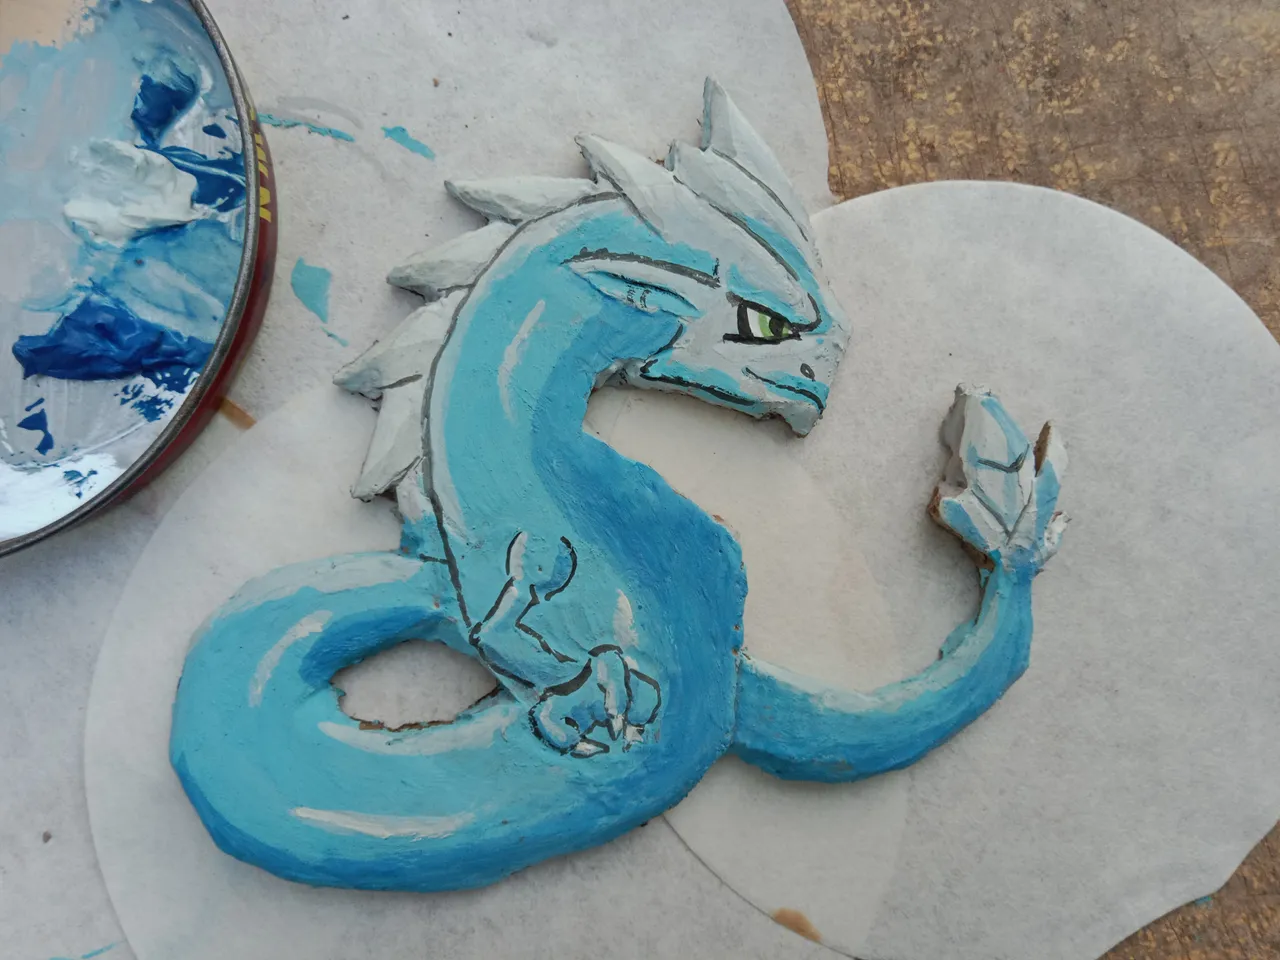
- At the last stages I used pure black poster colour to give extra details like recreating the hands and adding details on the edges of the sculpture like around the eyes and some other parts to make them more notable.
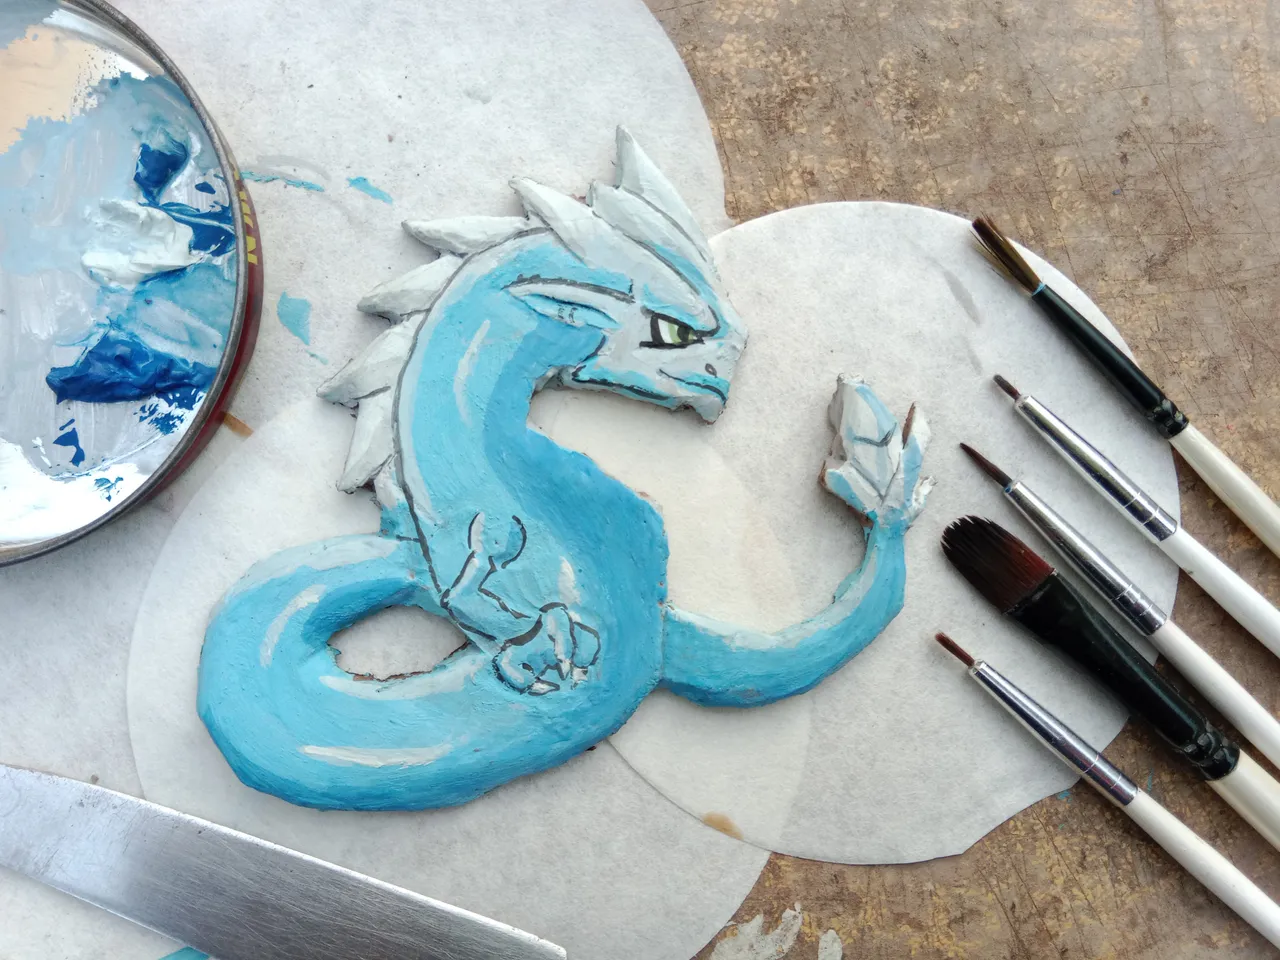
- This is the last image I captured it on placing on a board and below the round papers which you can see our filter papers which I always use before placing any sculpture on board.
Final look

After creating it I was so excited that I took a lot of images with this sculpture to be honest it took a lot of time then I had expected.

That's it guys this was alpha today's article I hope you guys might have enjoyed it the procedure and the art piece which I created don't forget to give your suggestions below see you next time have a nice day.