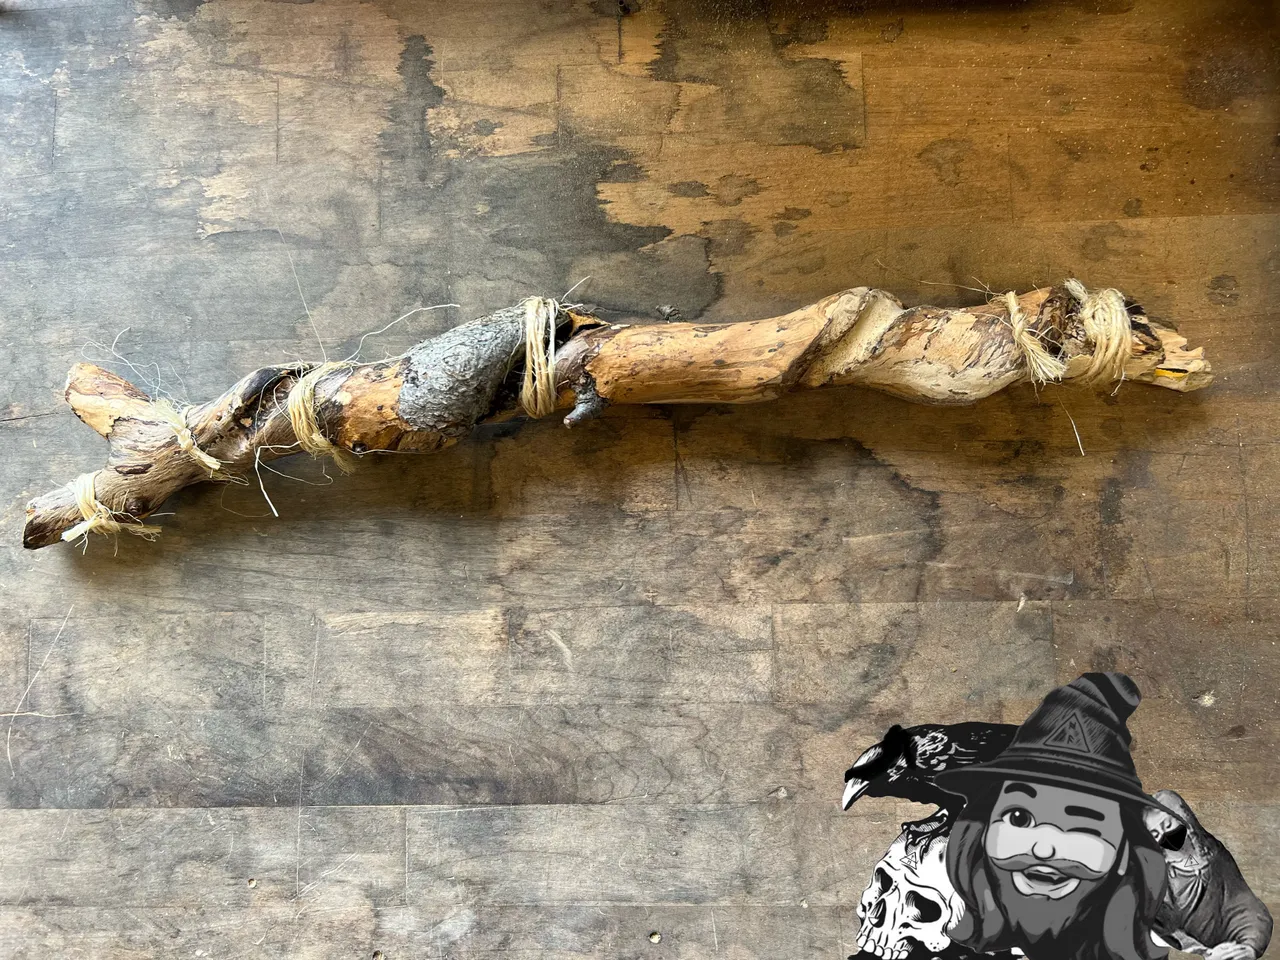
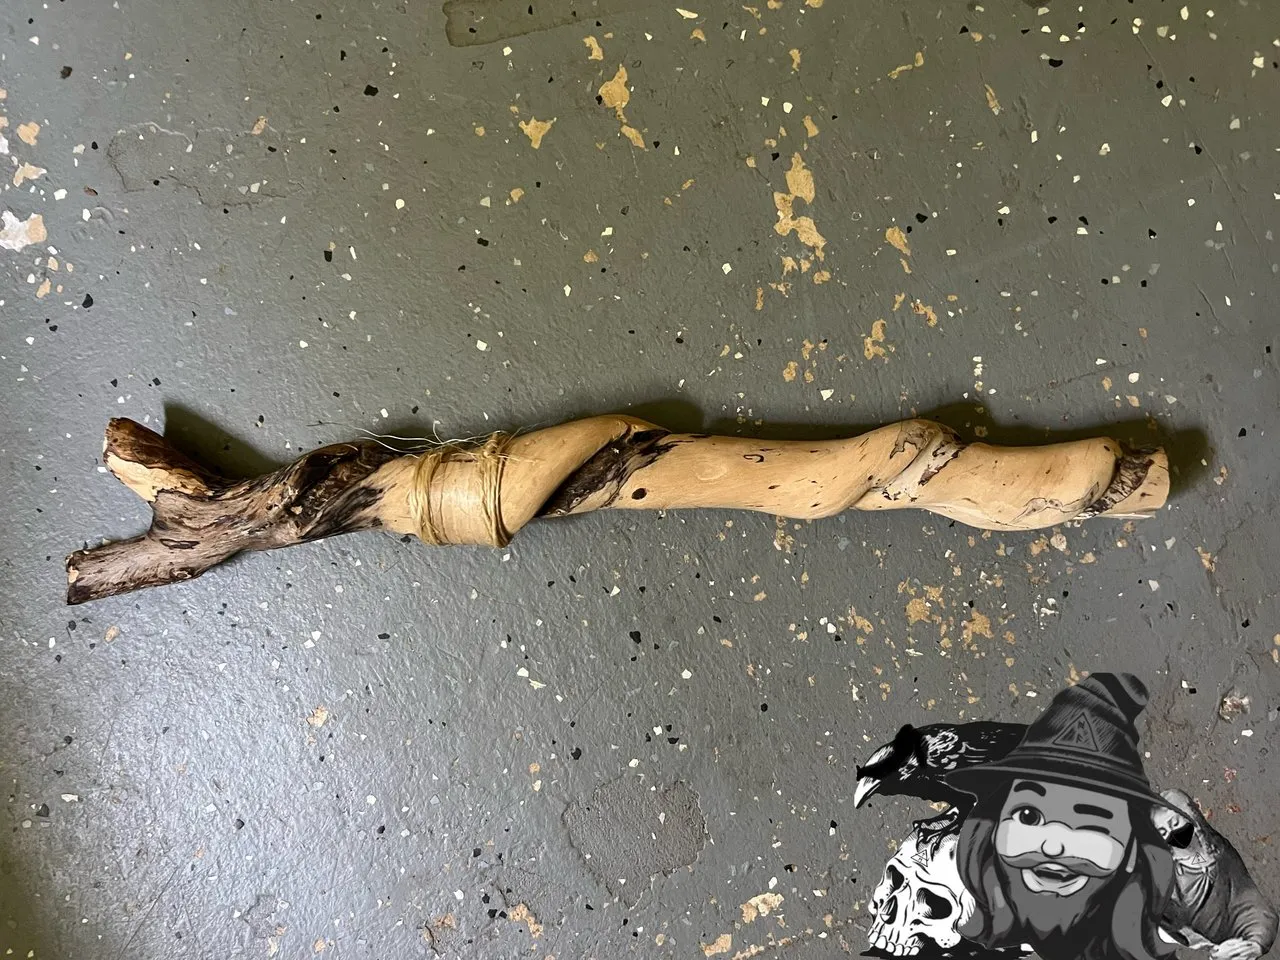
I decided to stick to what estimated I would be doing next, which means this time we will focus on cleaning up the exterior surface of the hollowed and reassembled branch.
DAY 1
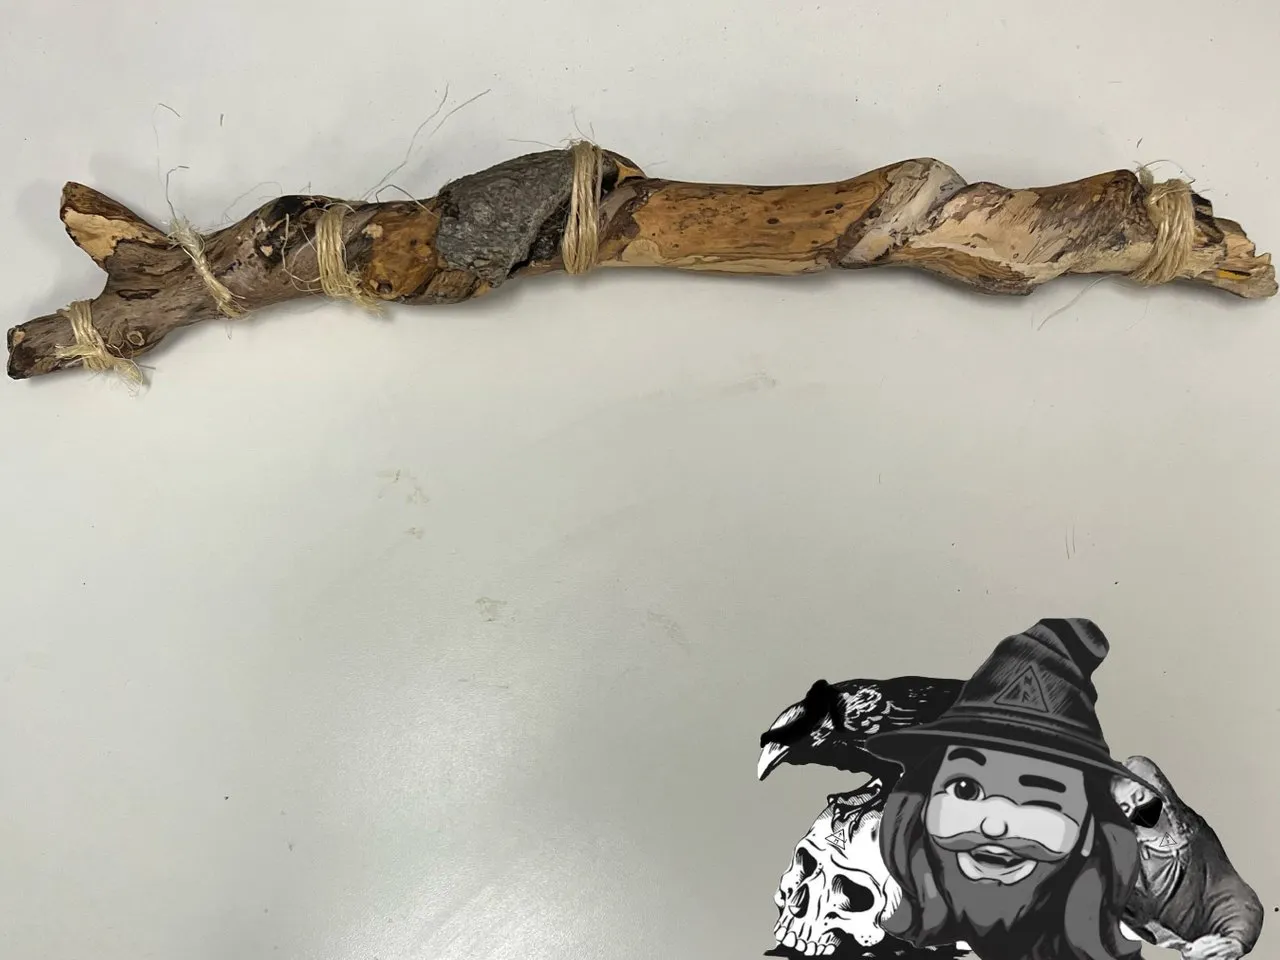
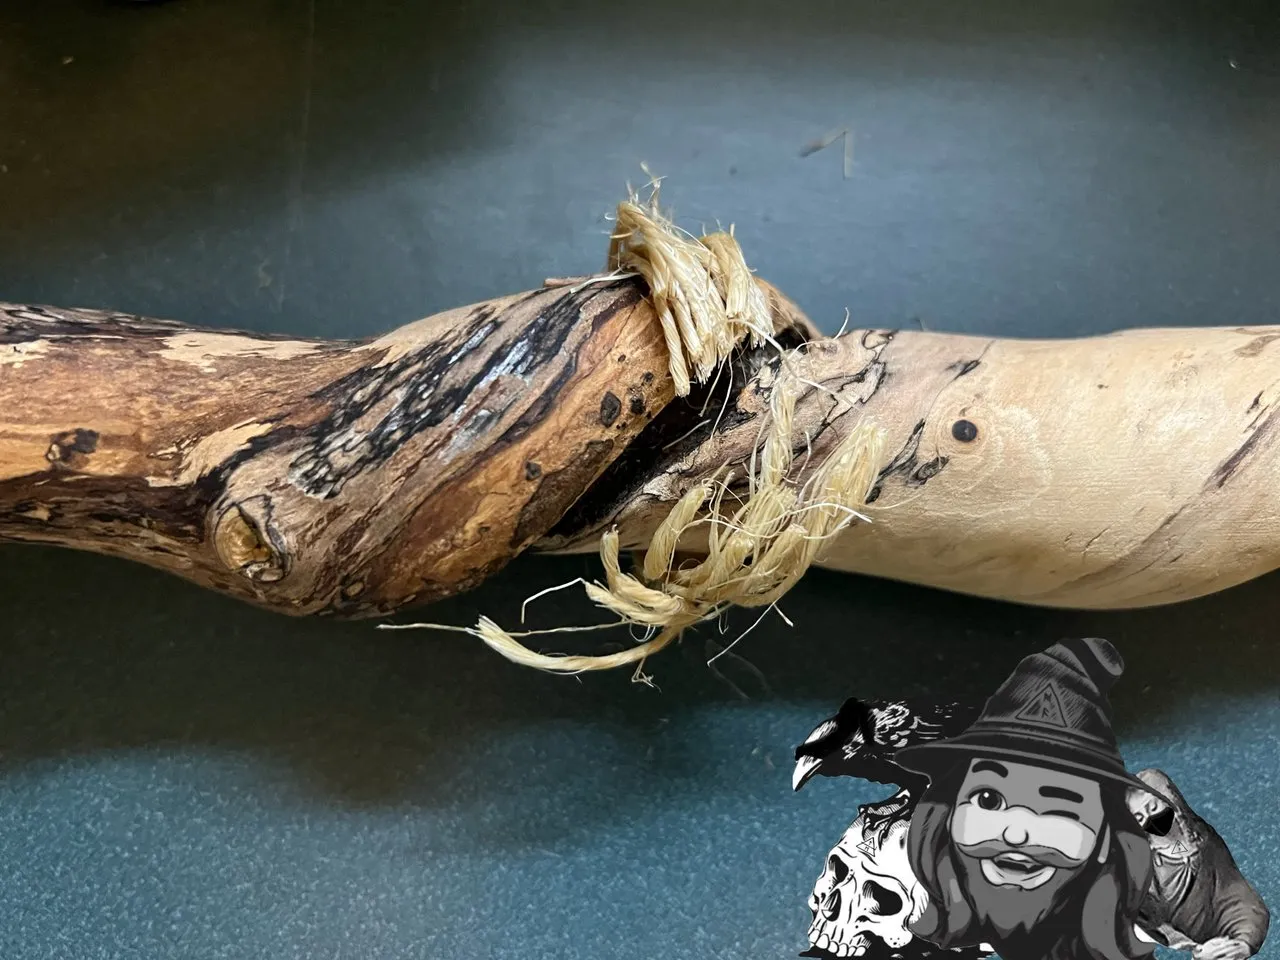
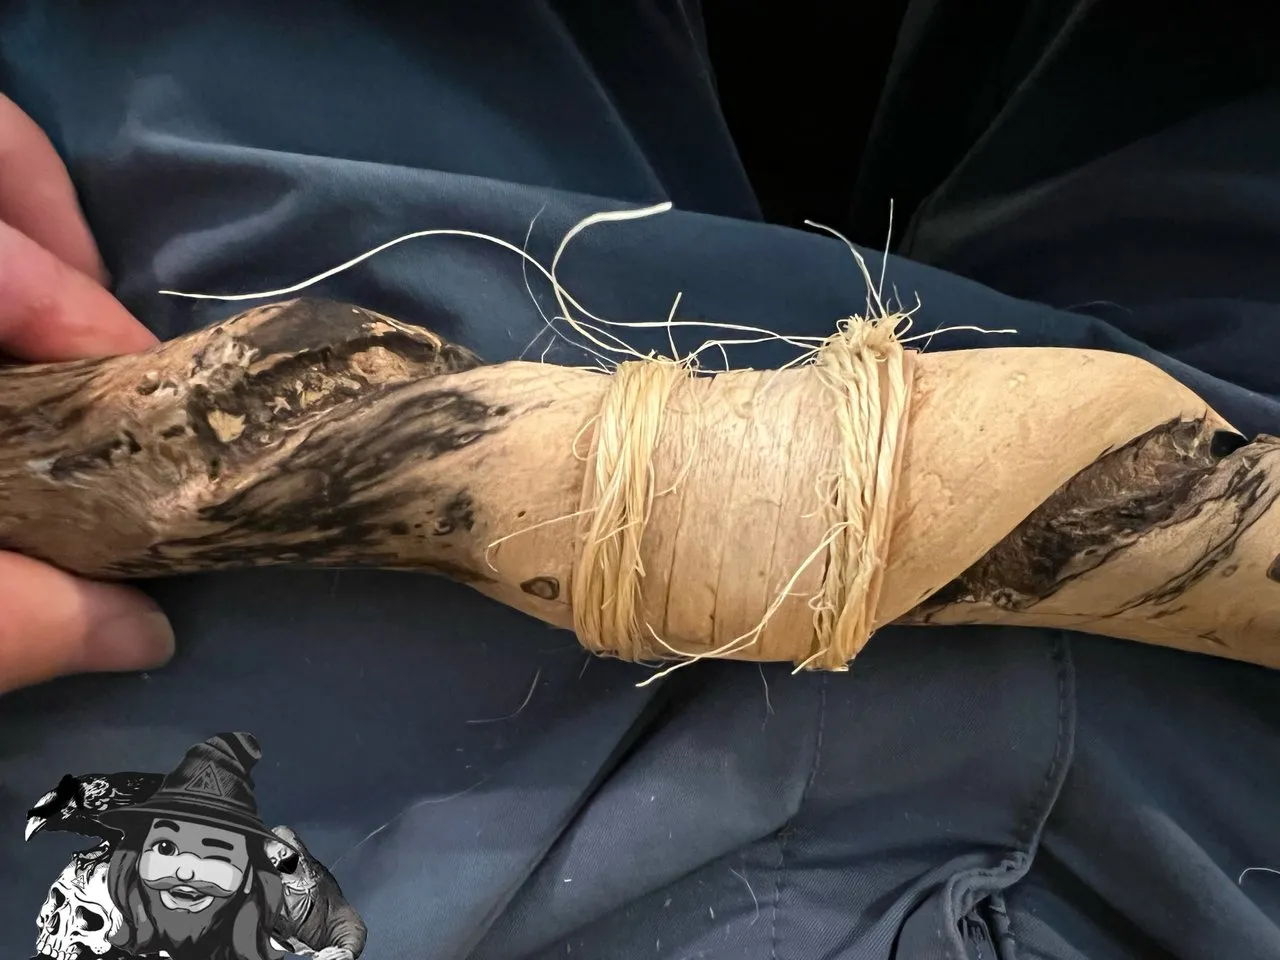
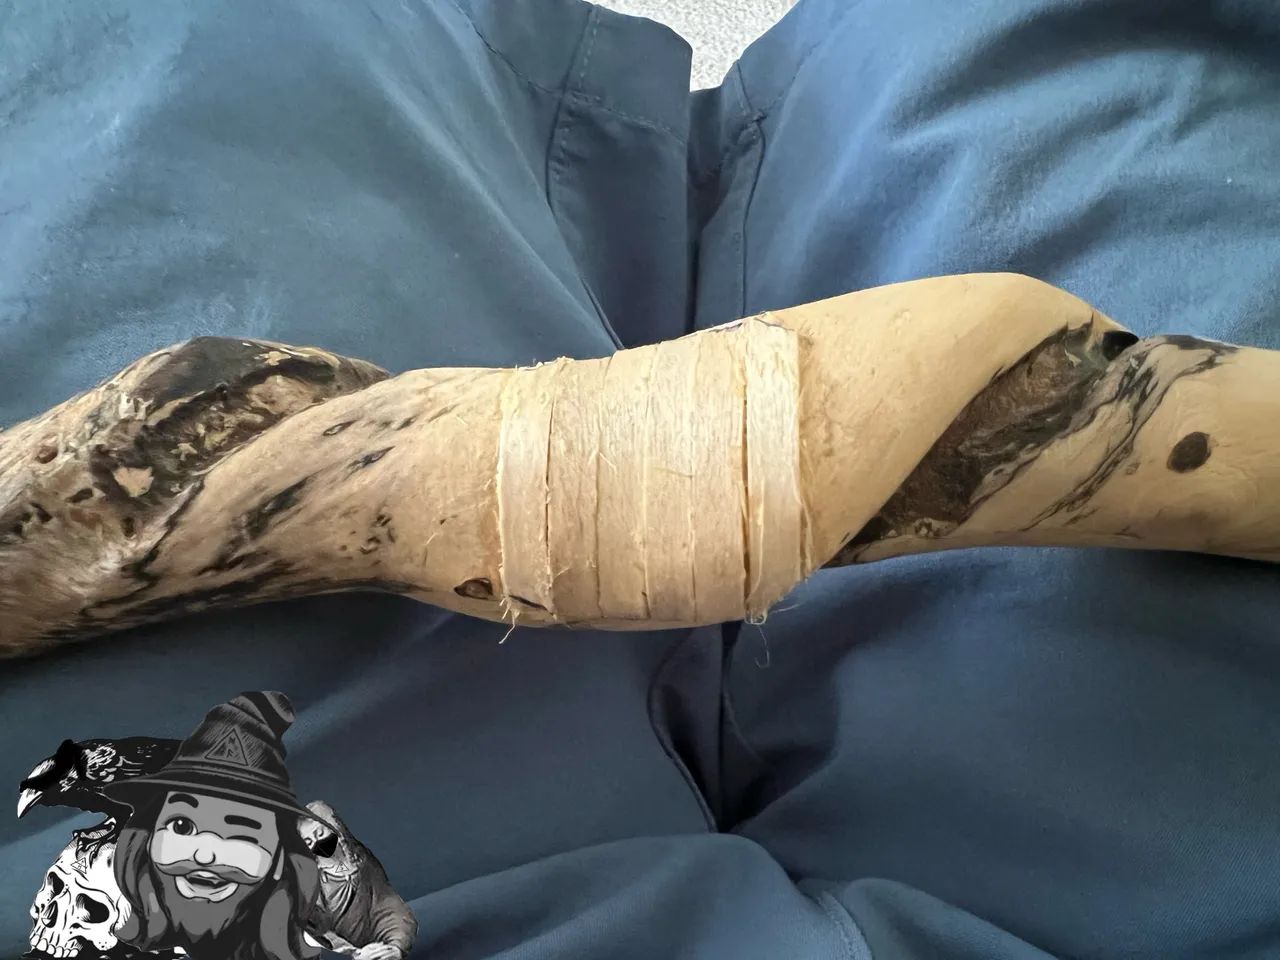
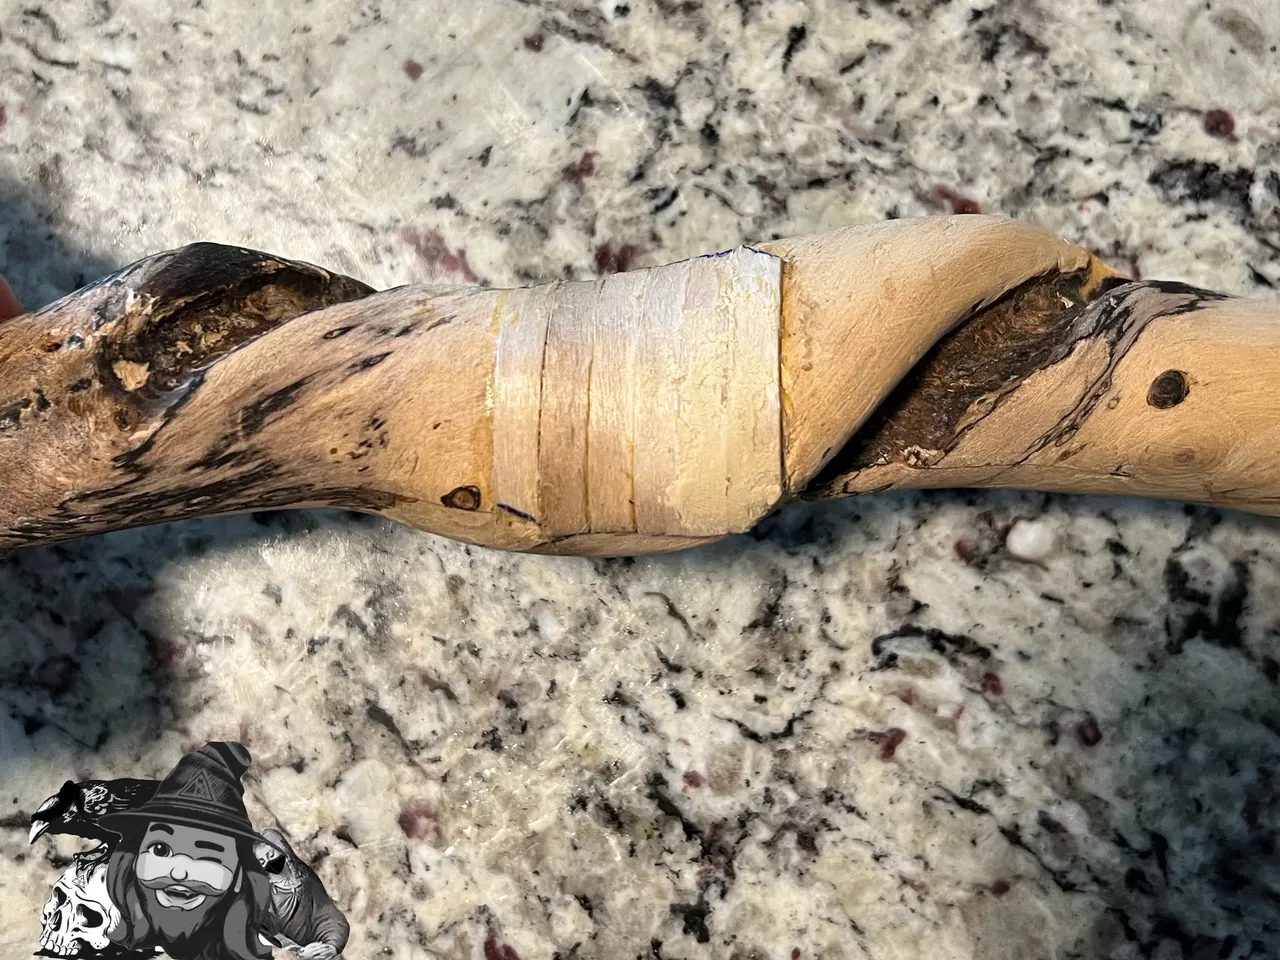
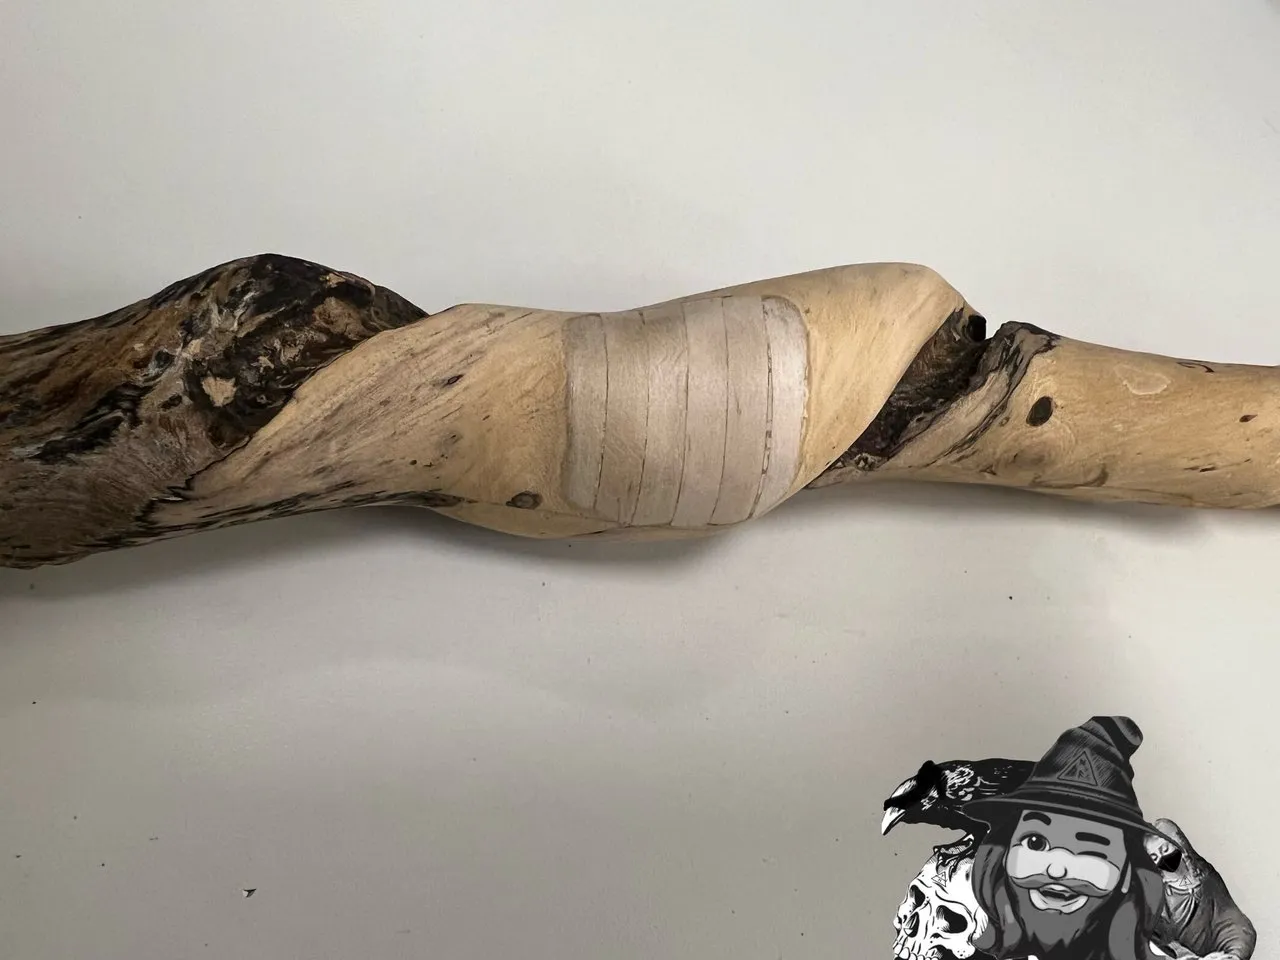
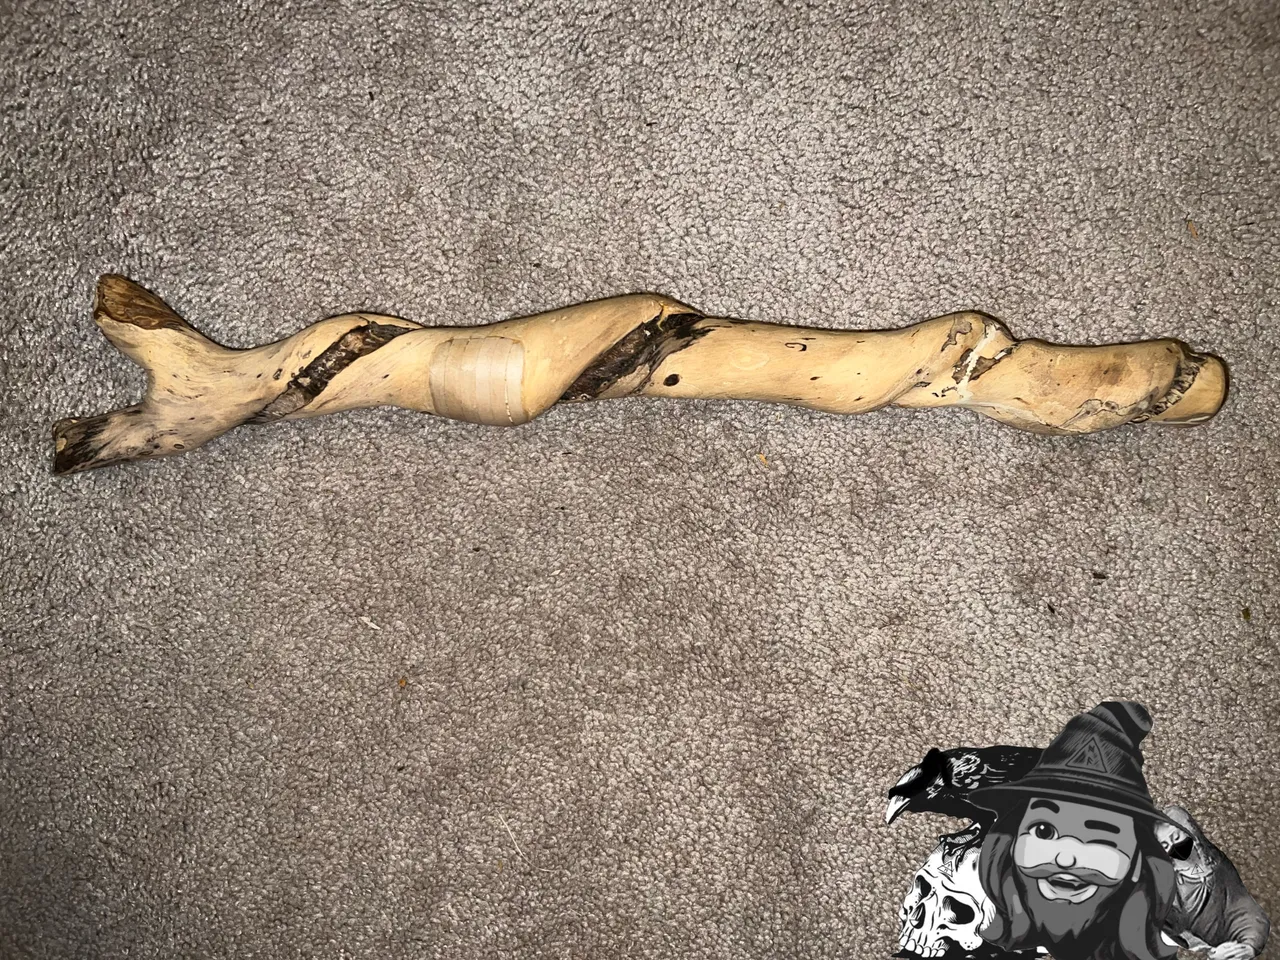
I started out by cutting just a few of the bindings and sanding the accessible surface lightly. I will start out by smoothing the mating surface so the two sides are flush. Once that’s done, I will make the decision as to whether I leave some of the darker skin or sand all the way to clean wood.
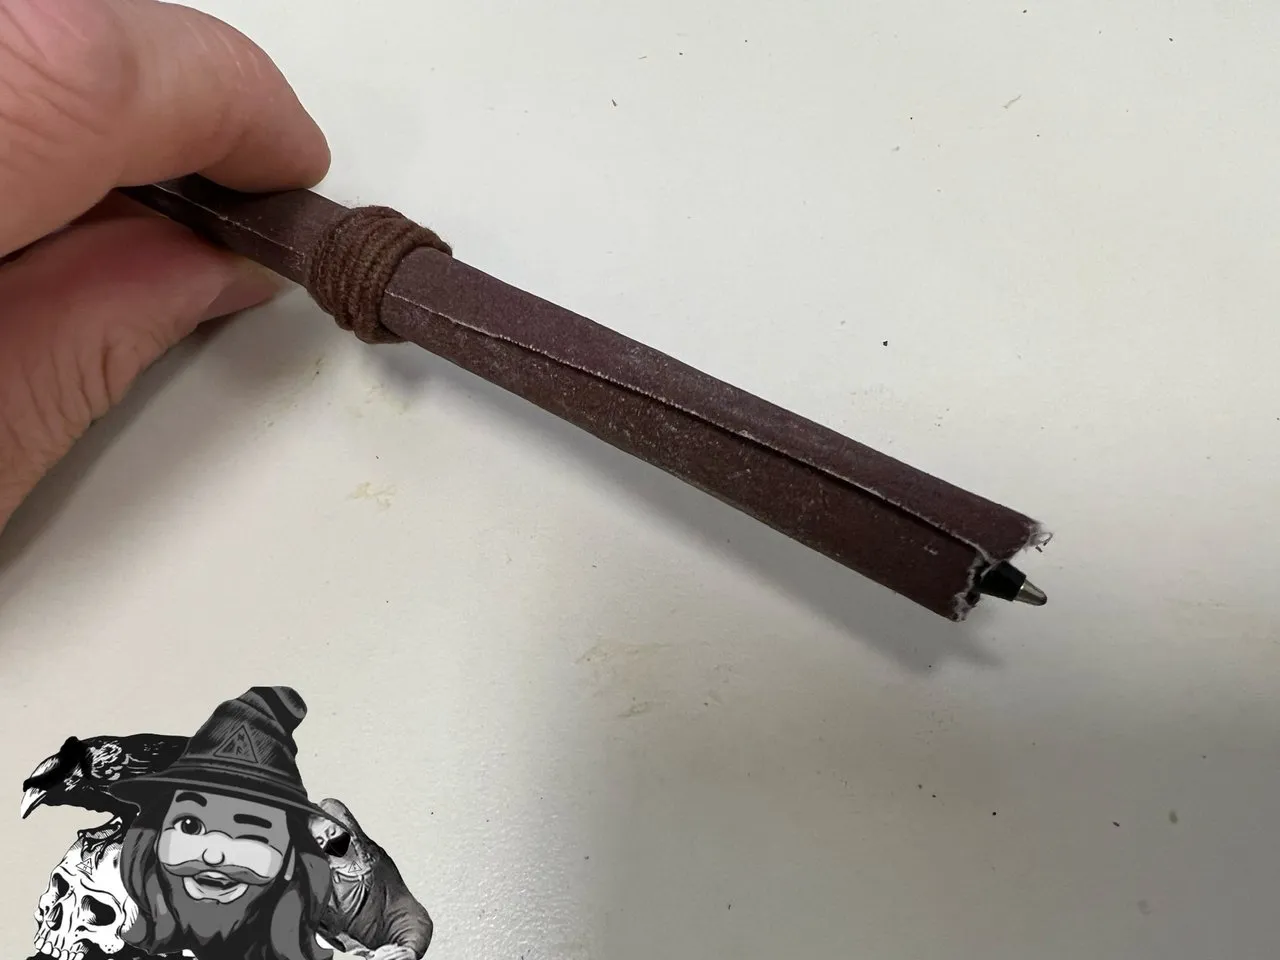
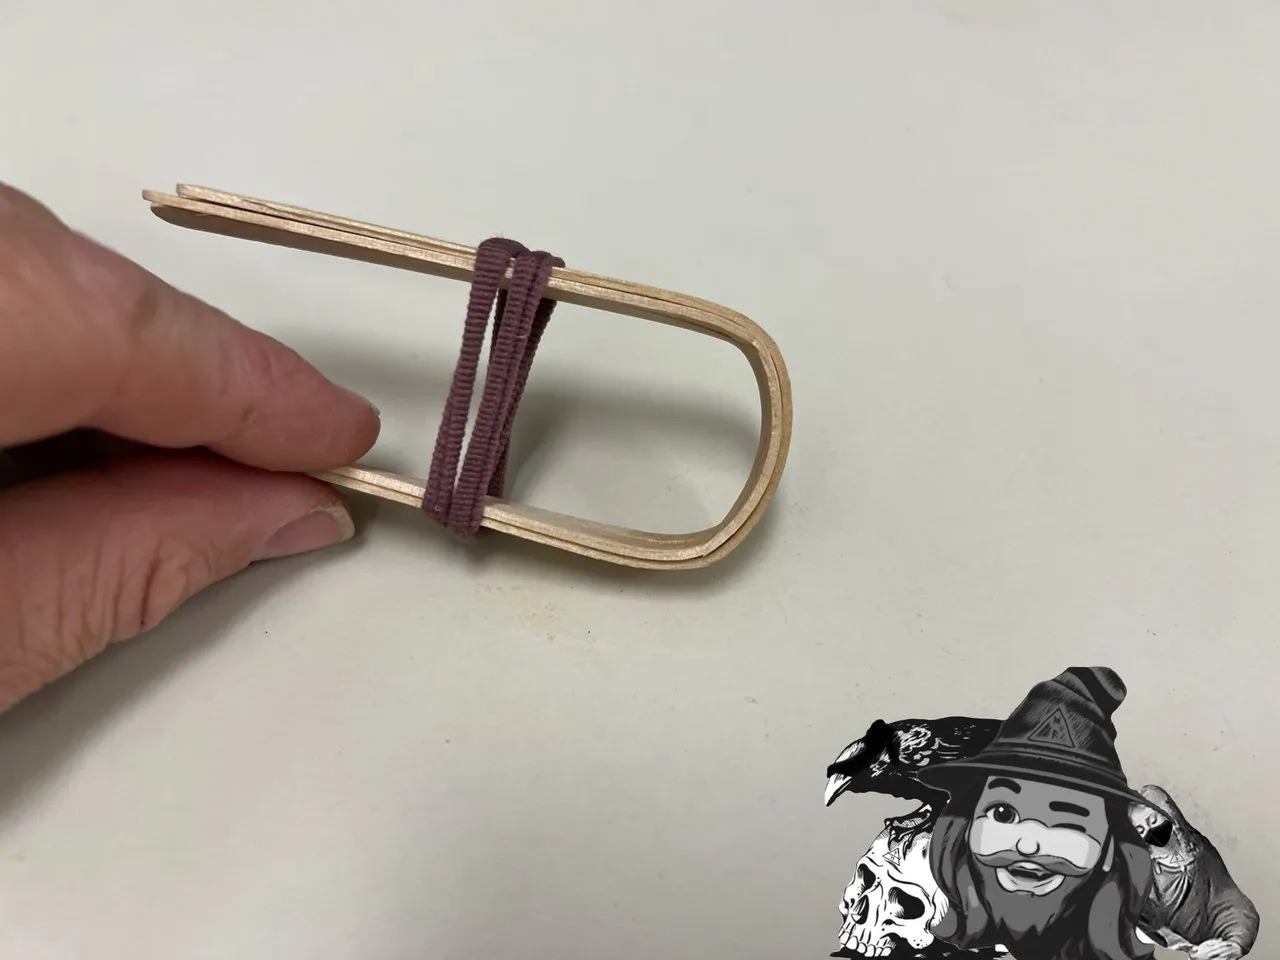
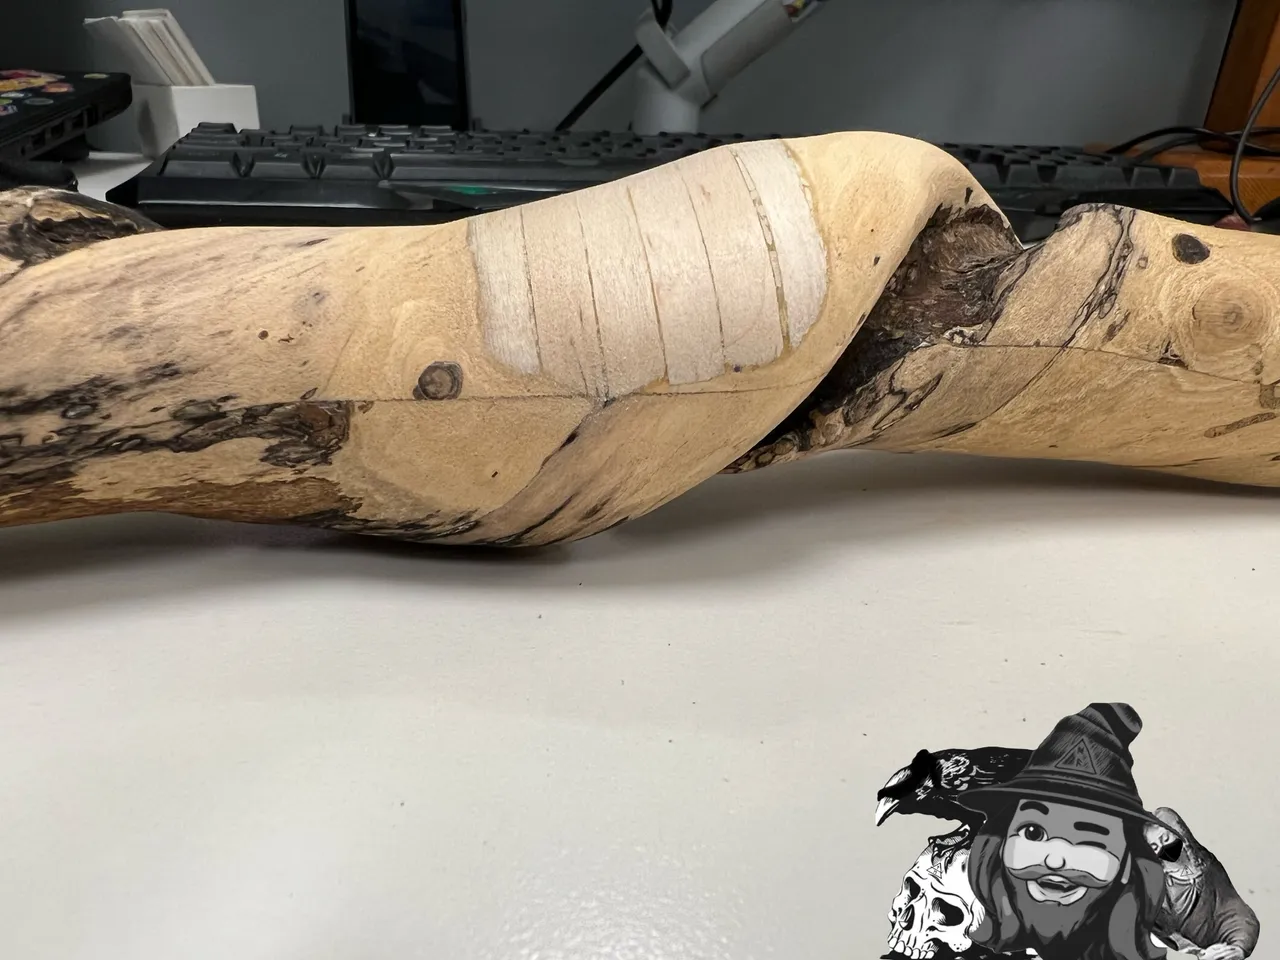
For the recessed grooves where the vine once grew, I wrapped sandpaper around a pen. I held it together with a hair tie. This won’t work for all of these areas, but it might be helpful for at least half of them. Honestly, I may leave most of those areas rough, but I definitely want to sand the areas that were repaired with wood filler, and this fits nicely in there.
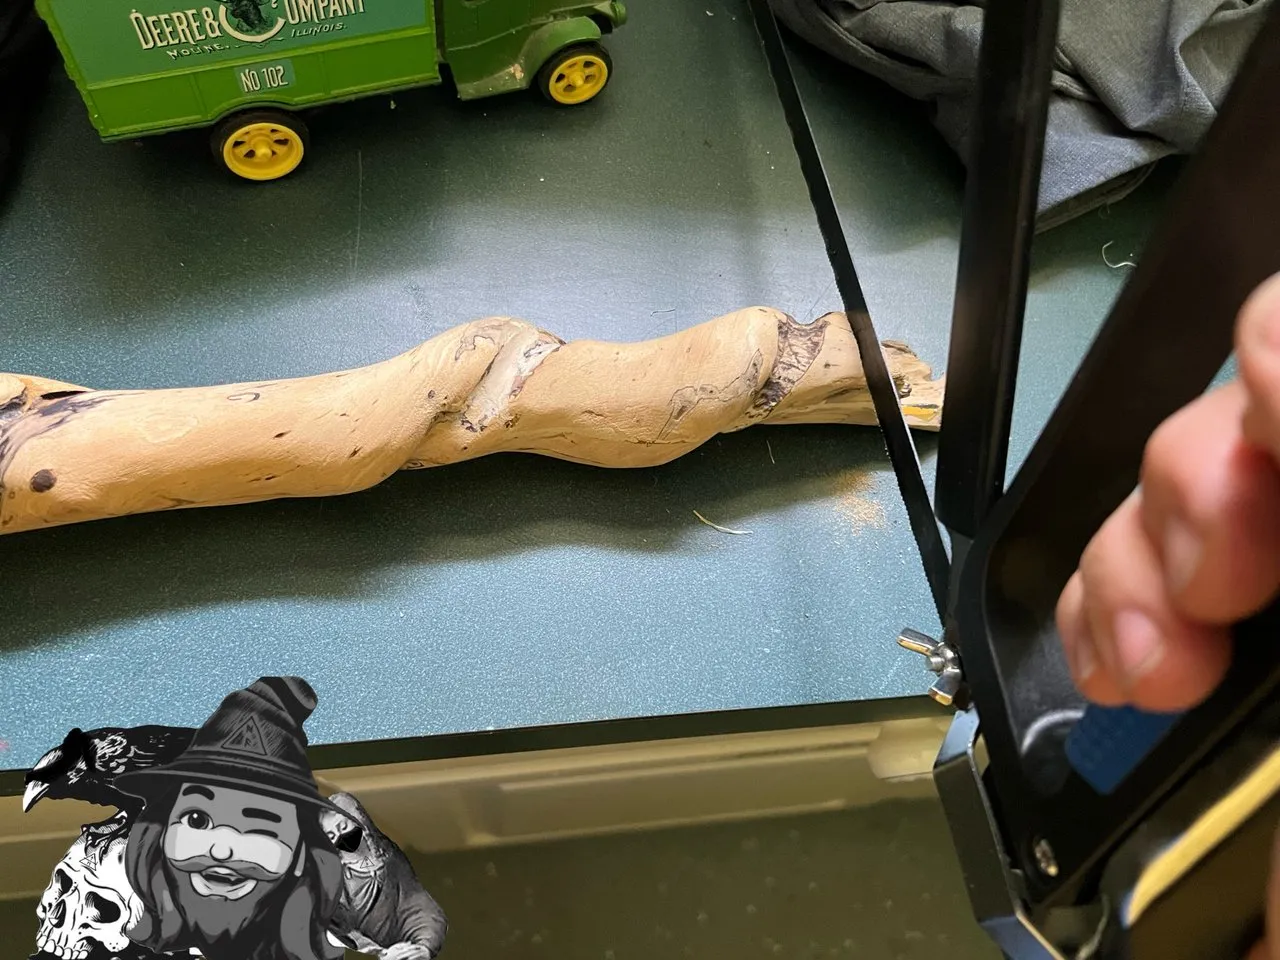
…but before I got too far into that, I took a break to remove the small nubs from the branch. I just used a hack saw blade with no handle. The absence of a handle adds to the flexibility, enabling me to work around the curvature of the branch, and to fit into tight spaces. If the handle were attached, I’d have been forced to cut more deeply into the branch than I wanted.
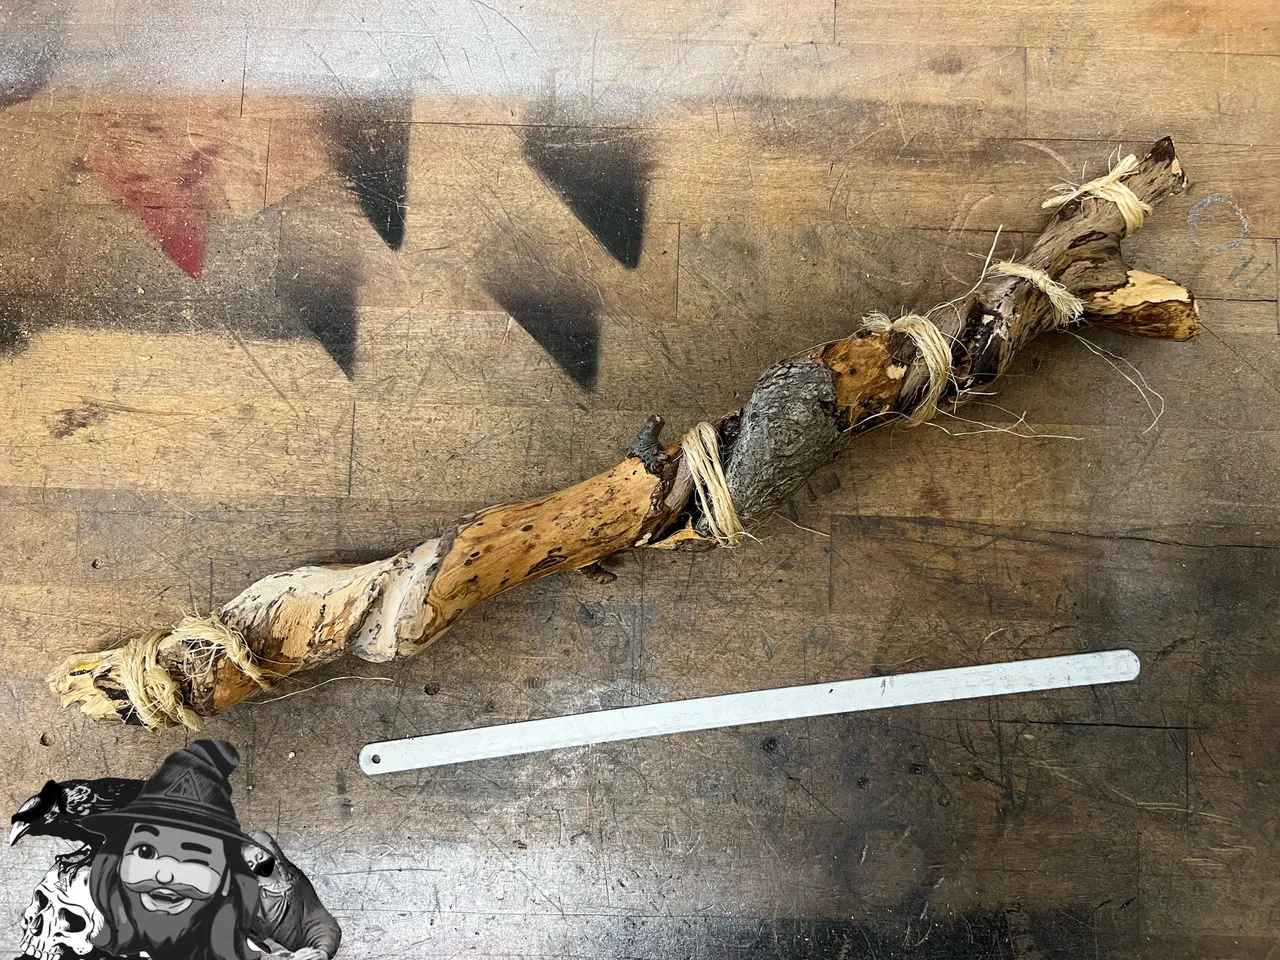

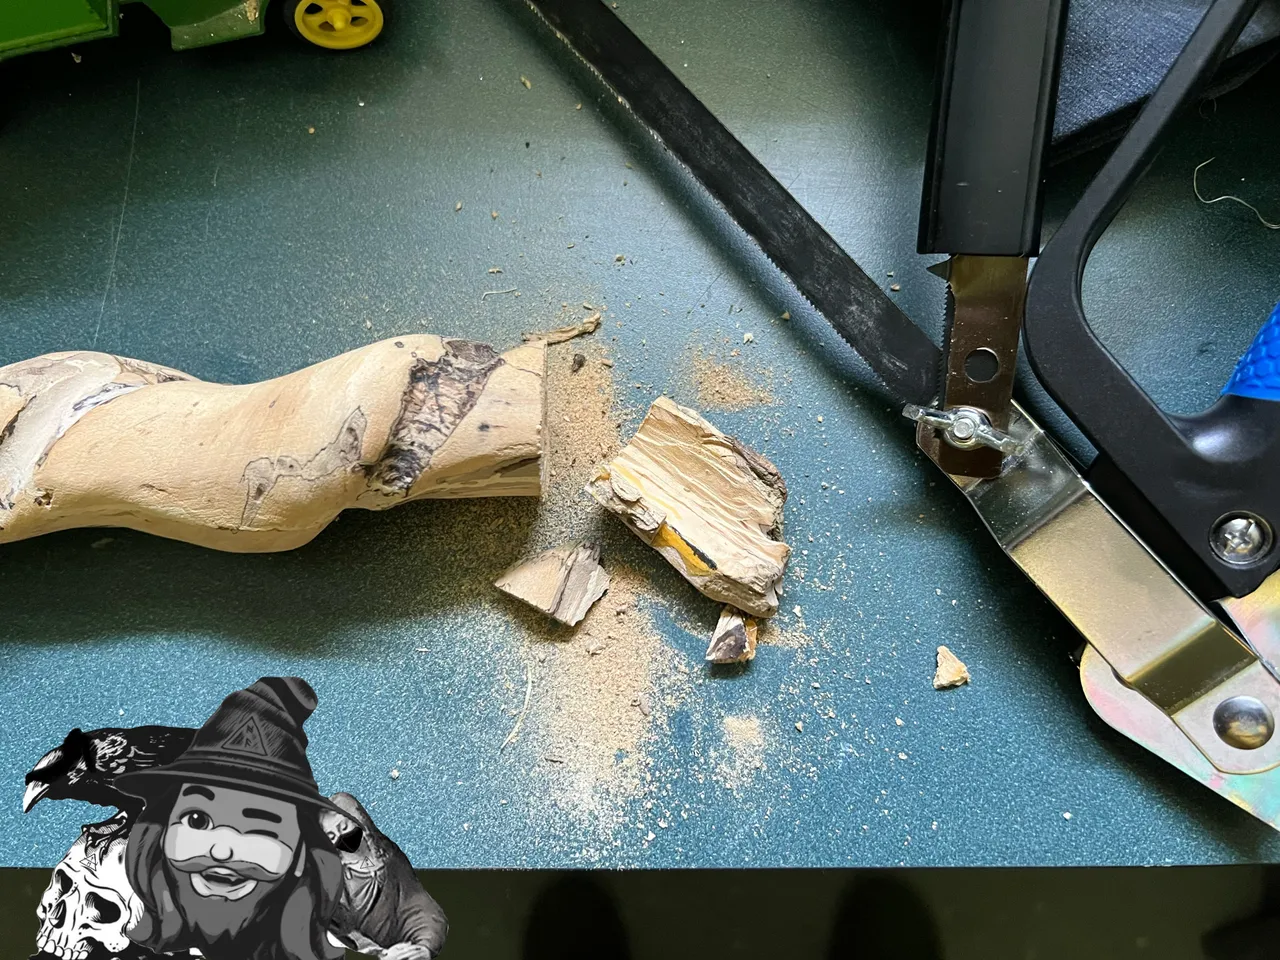
All-in-all I removed five nubs (there’s got to be a better name for these!) from the branch, but only two were large enough to really show.

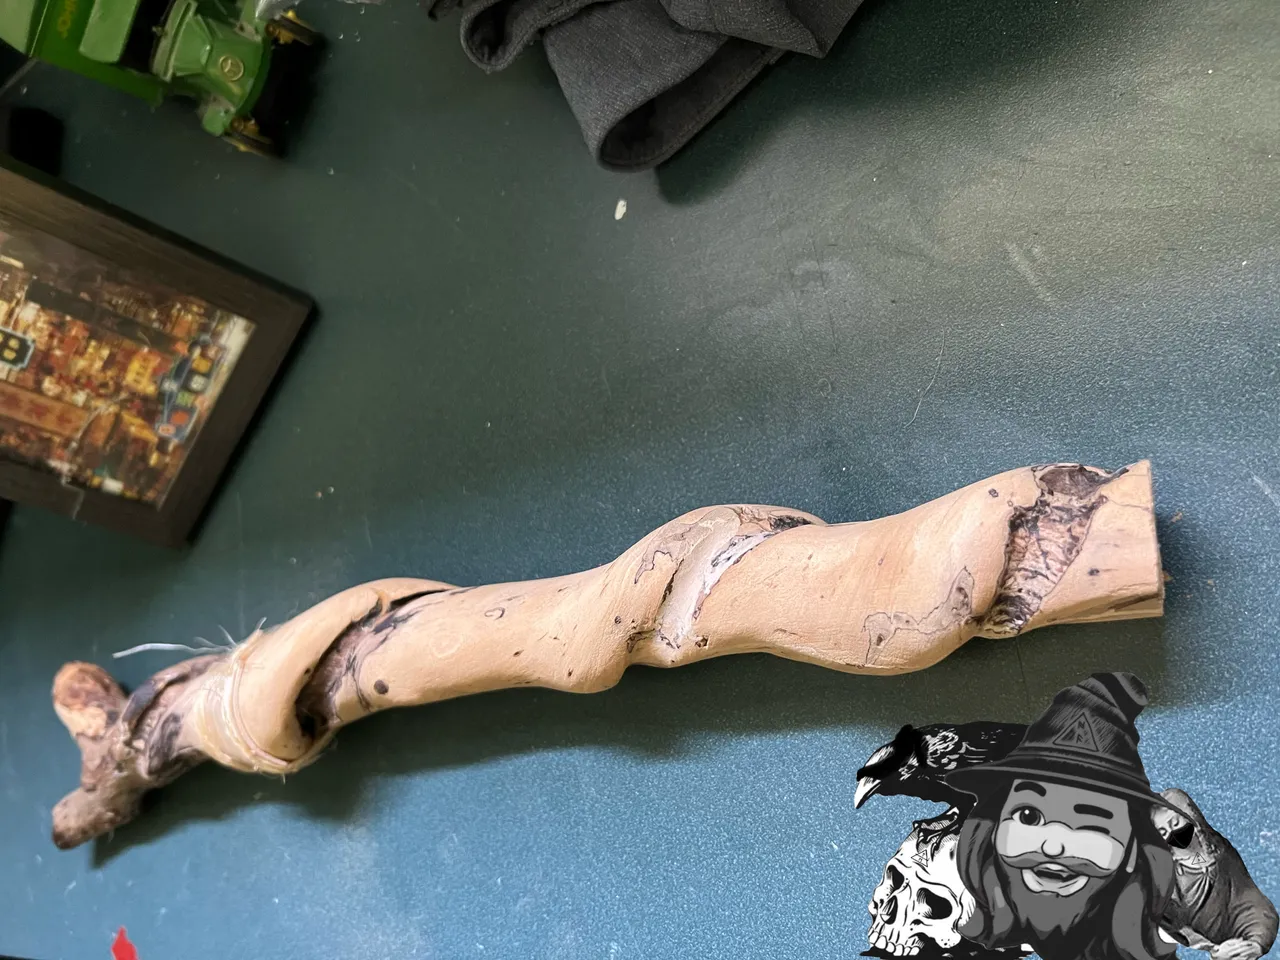
After this, I sanded for a while…
…and then I whittled bark at the red lights on the way home - but NOT while driving ;)

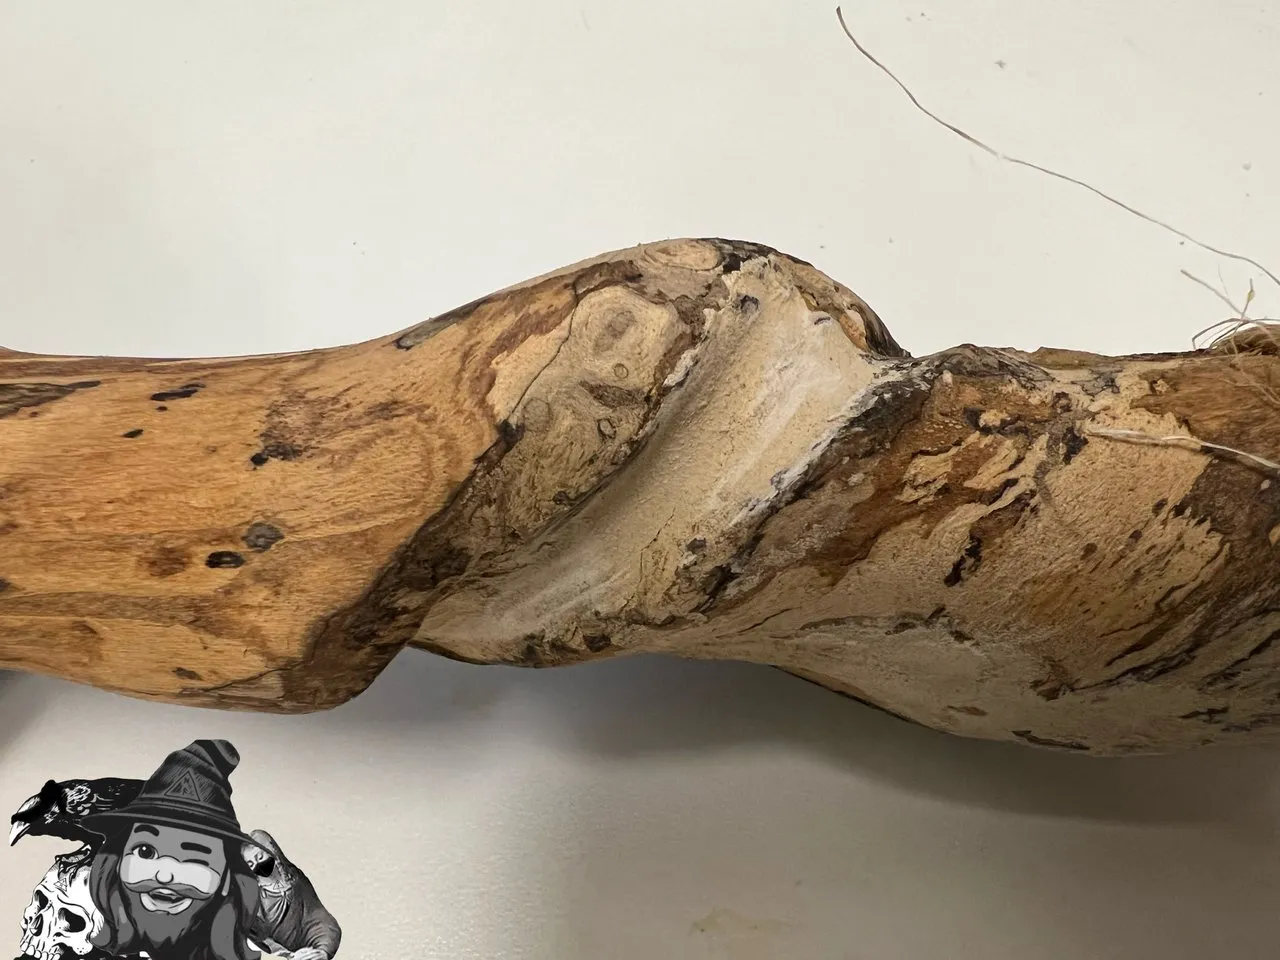
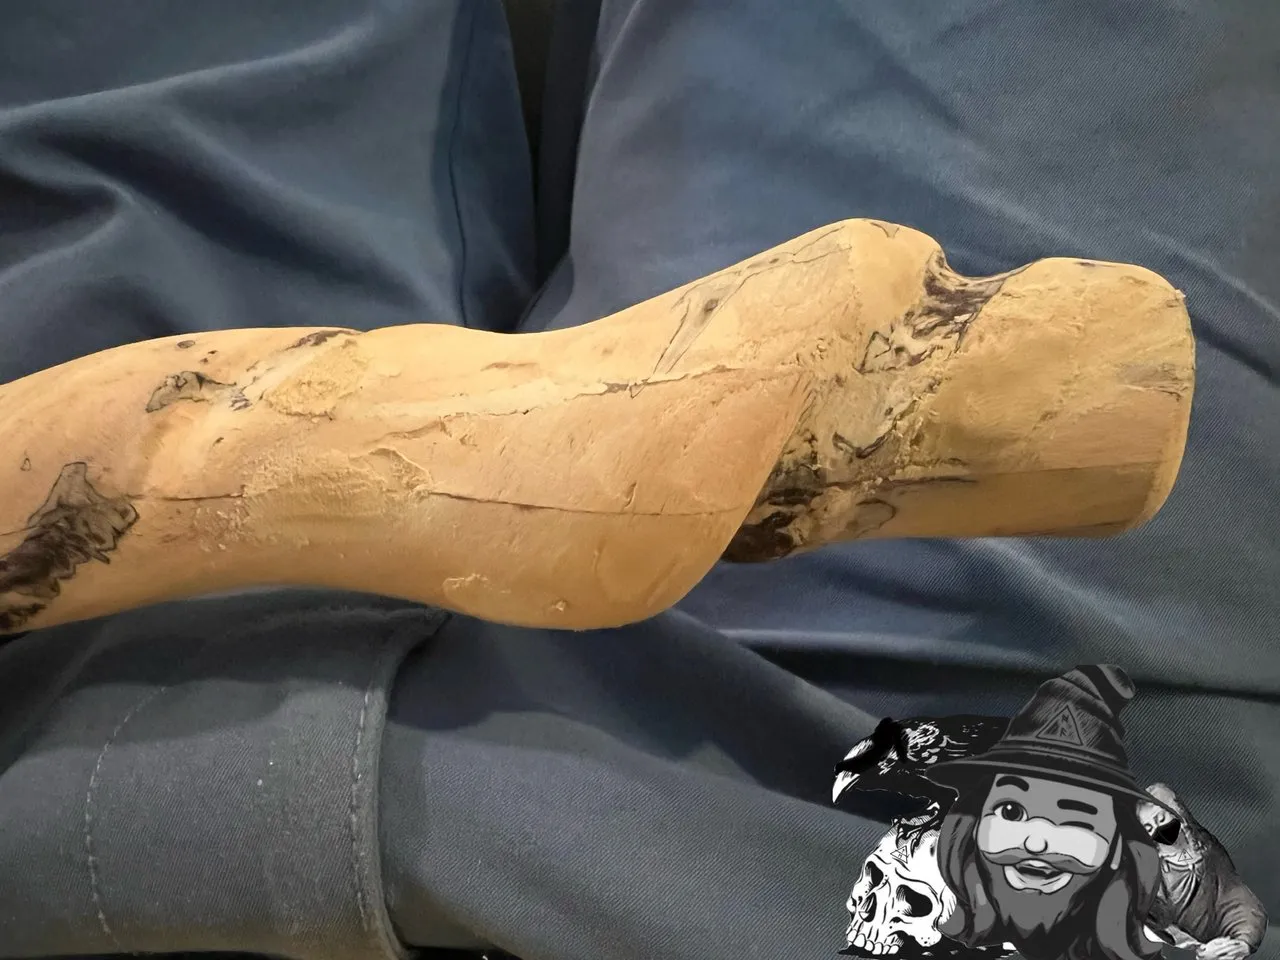
After things slowed down at night, I spent a little more time on it and managed to remove the rest of the bark.
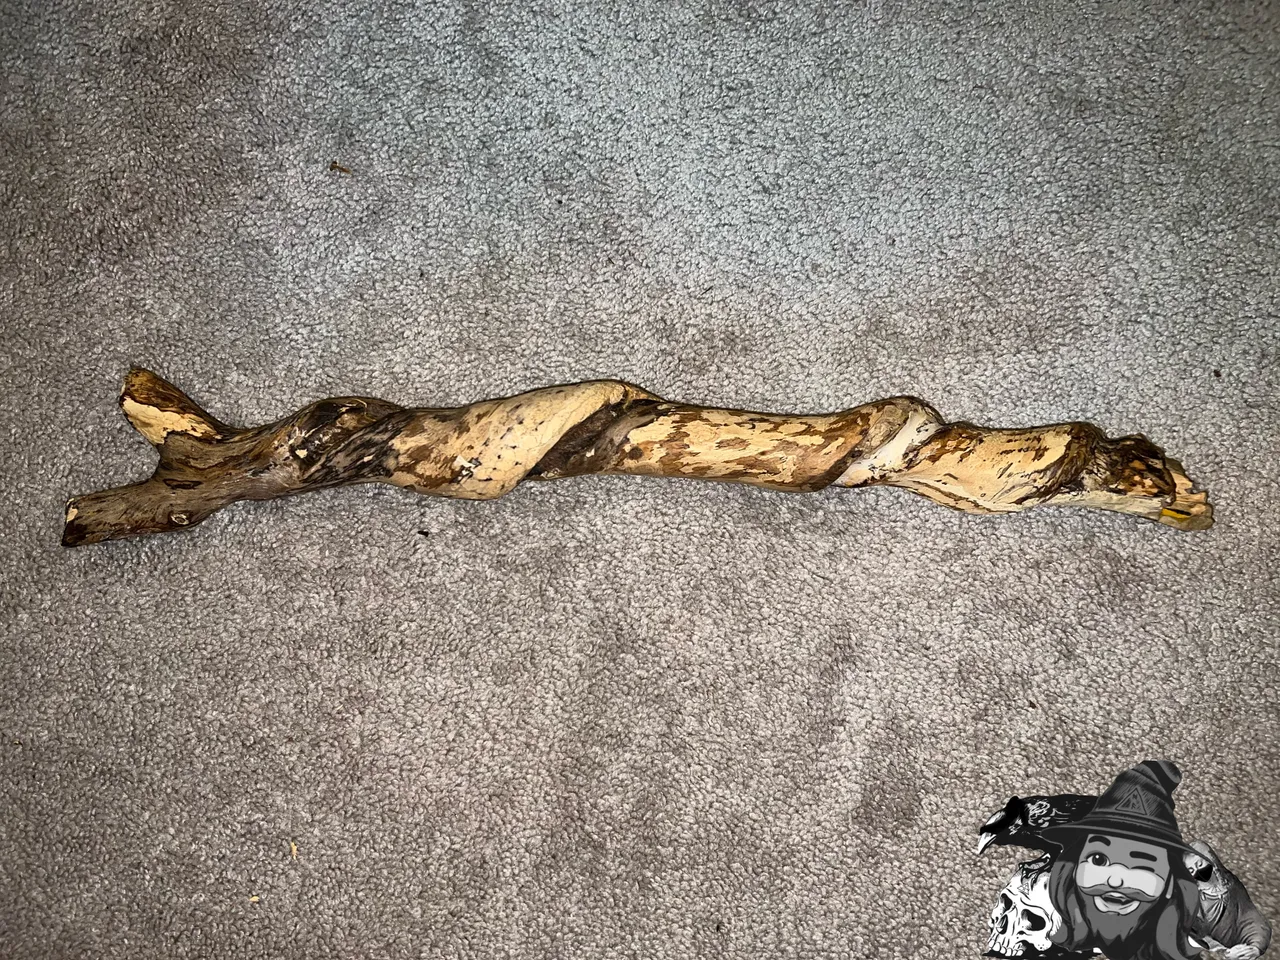
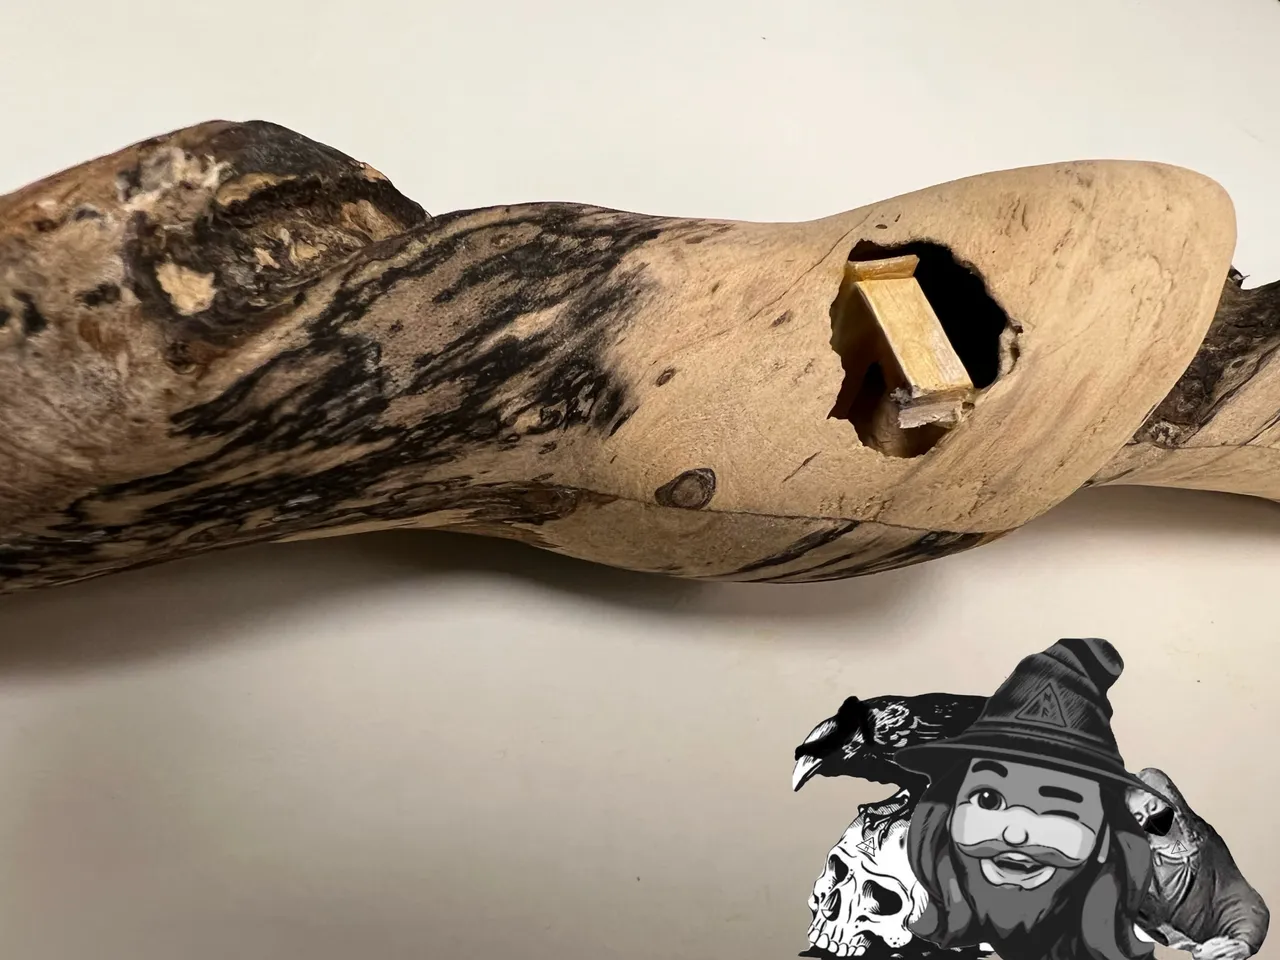
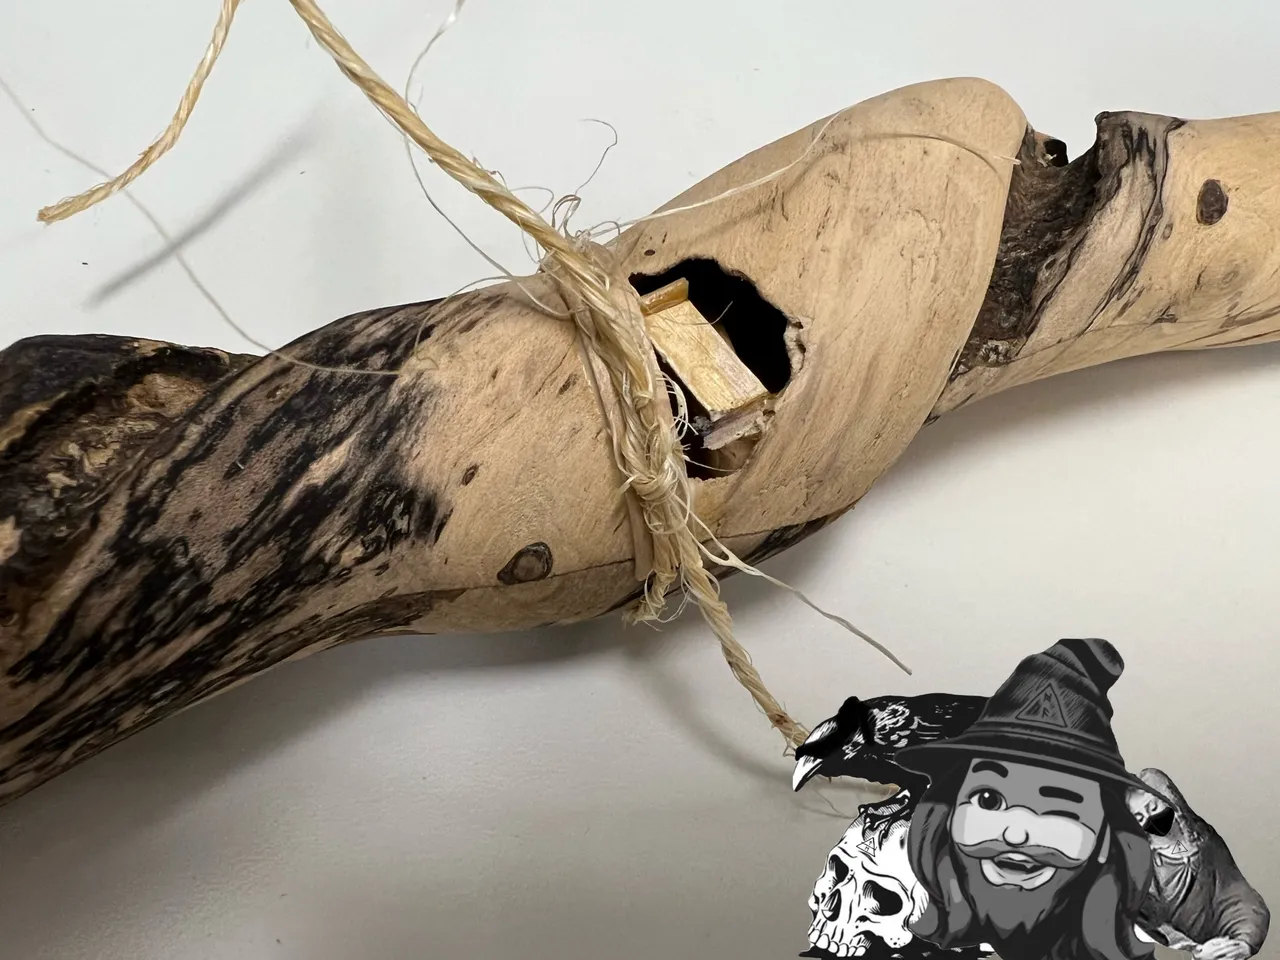
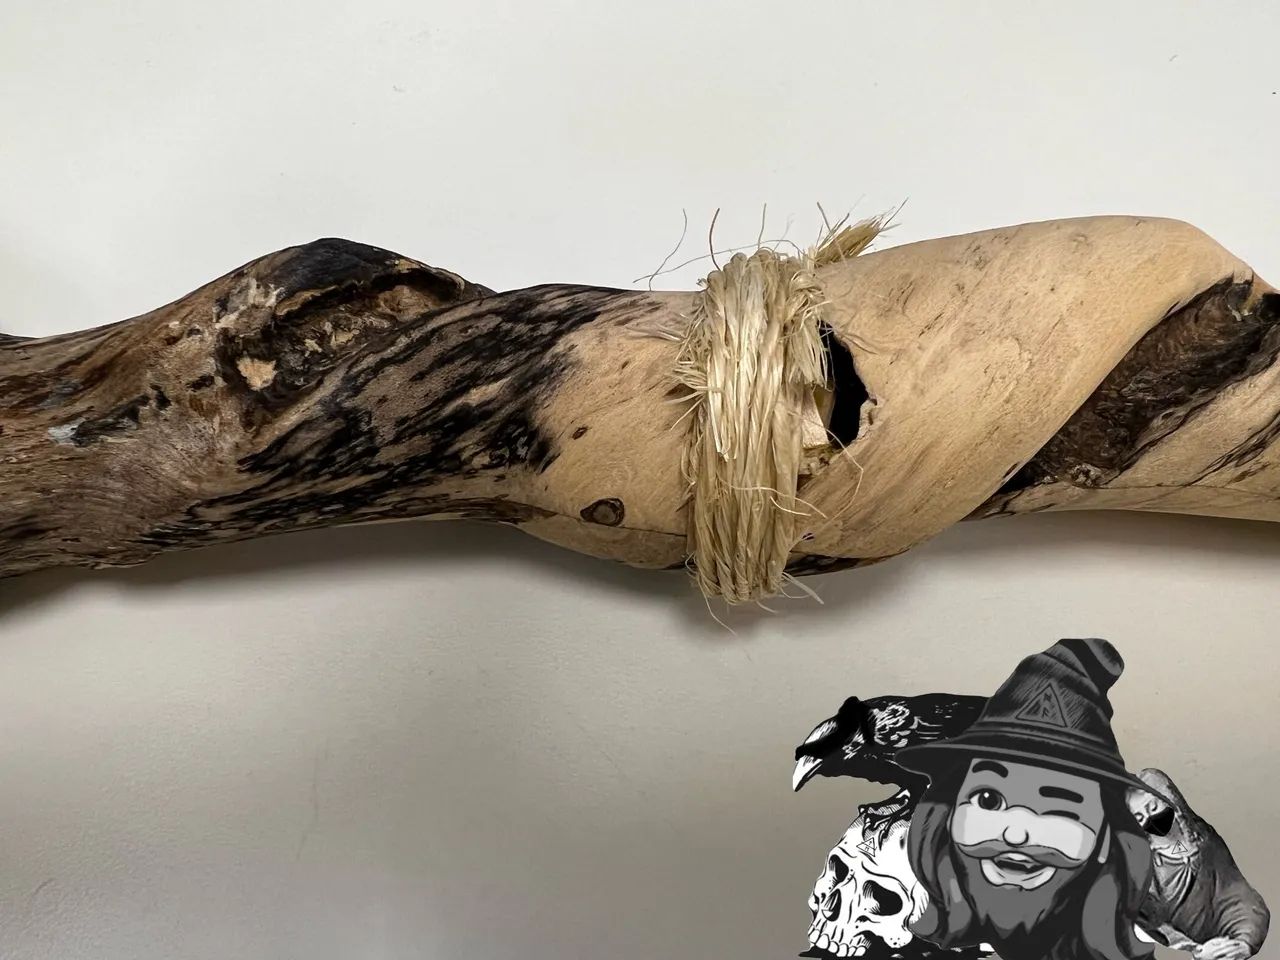
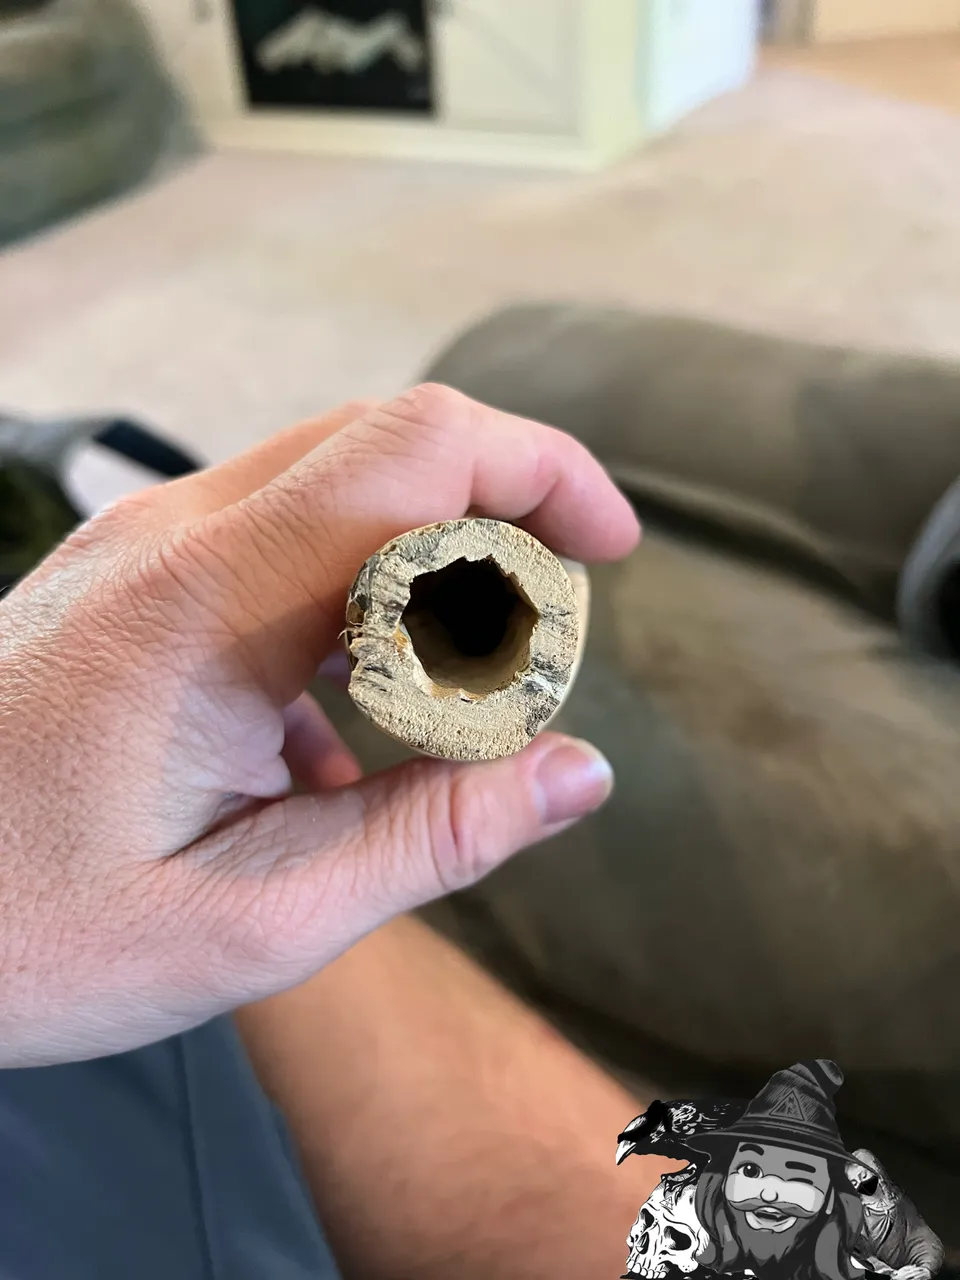
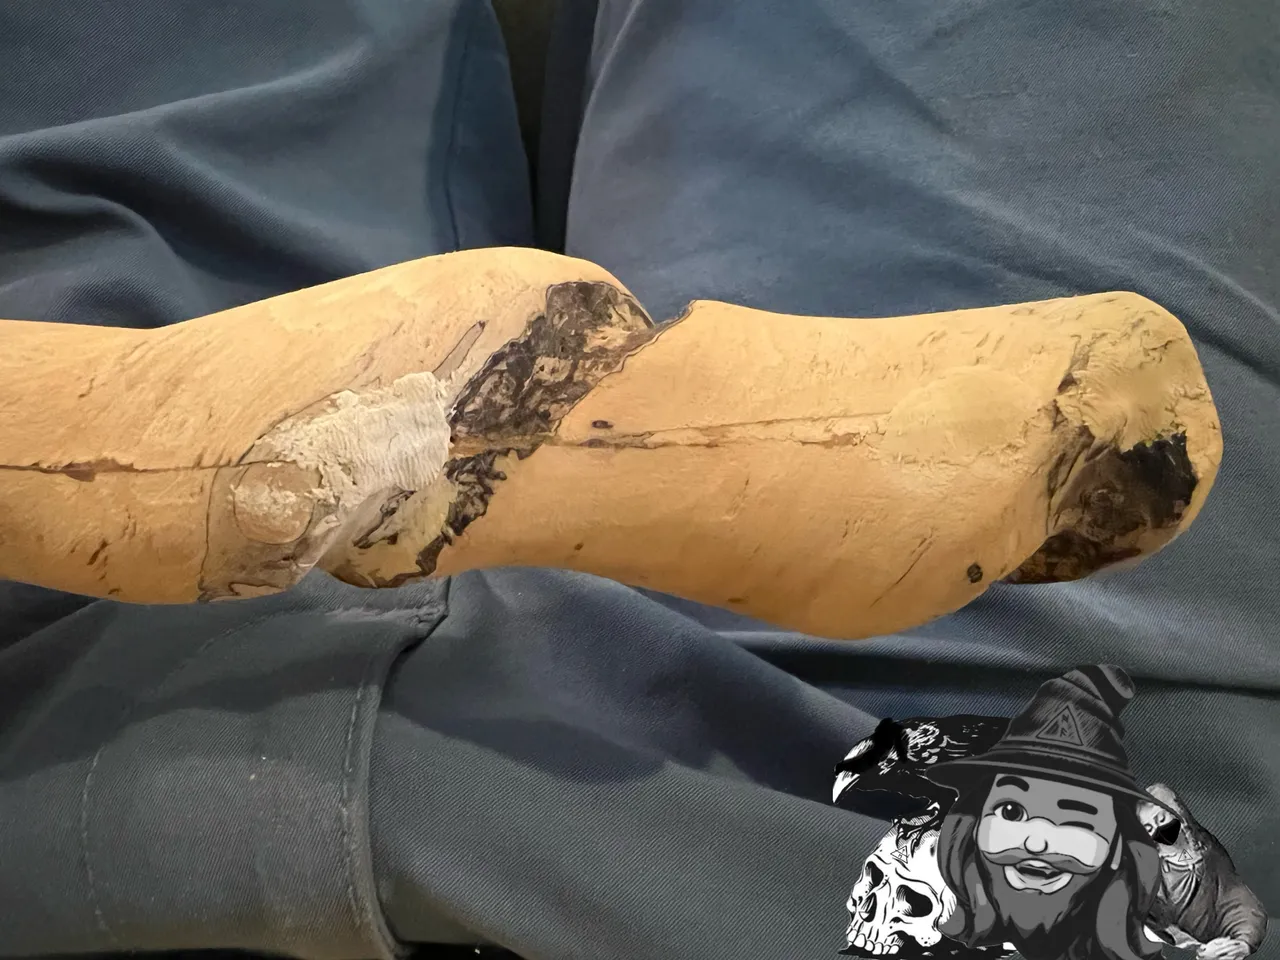
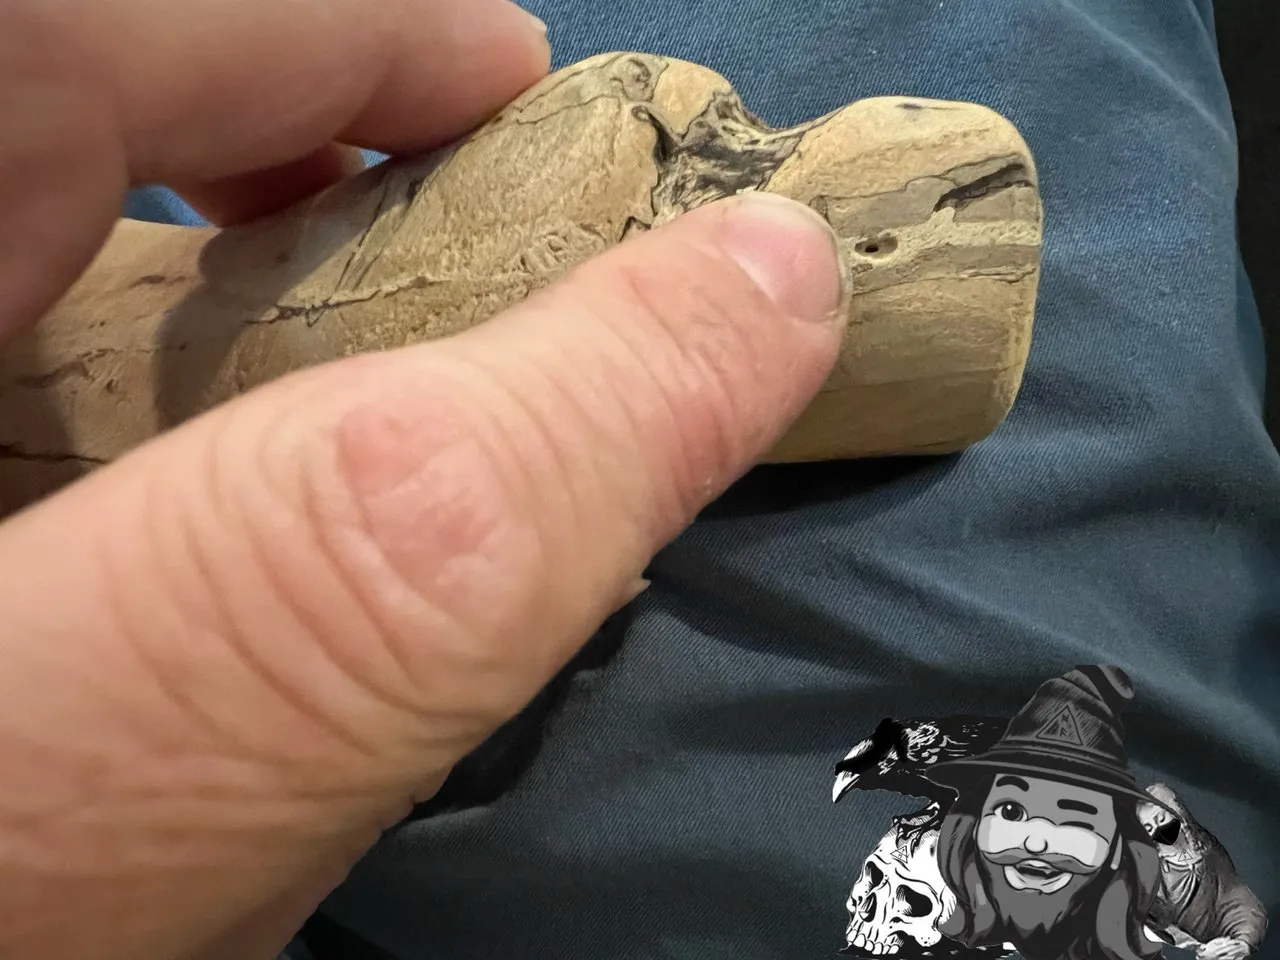
After removing the bark and doing some sanding, I found a small hole. It was maybe .5mm x 2mm. I debated just putting some wood filler in the hole, but I could feel that the surrounding area lacked structural integrity; I had made the wall too thin, and in order to trust this thing to hold up over time, I would need to deal with it properly.
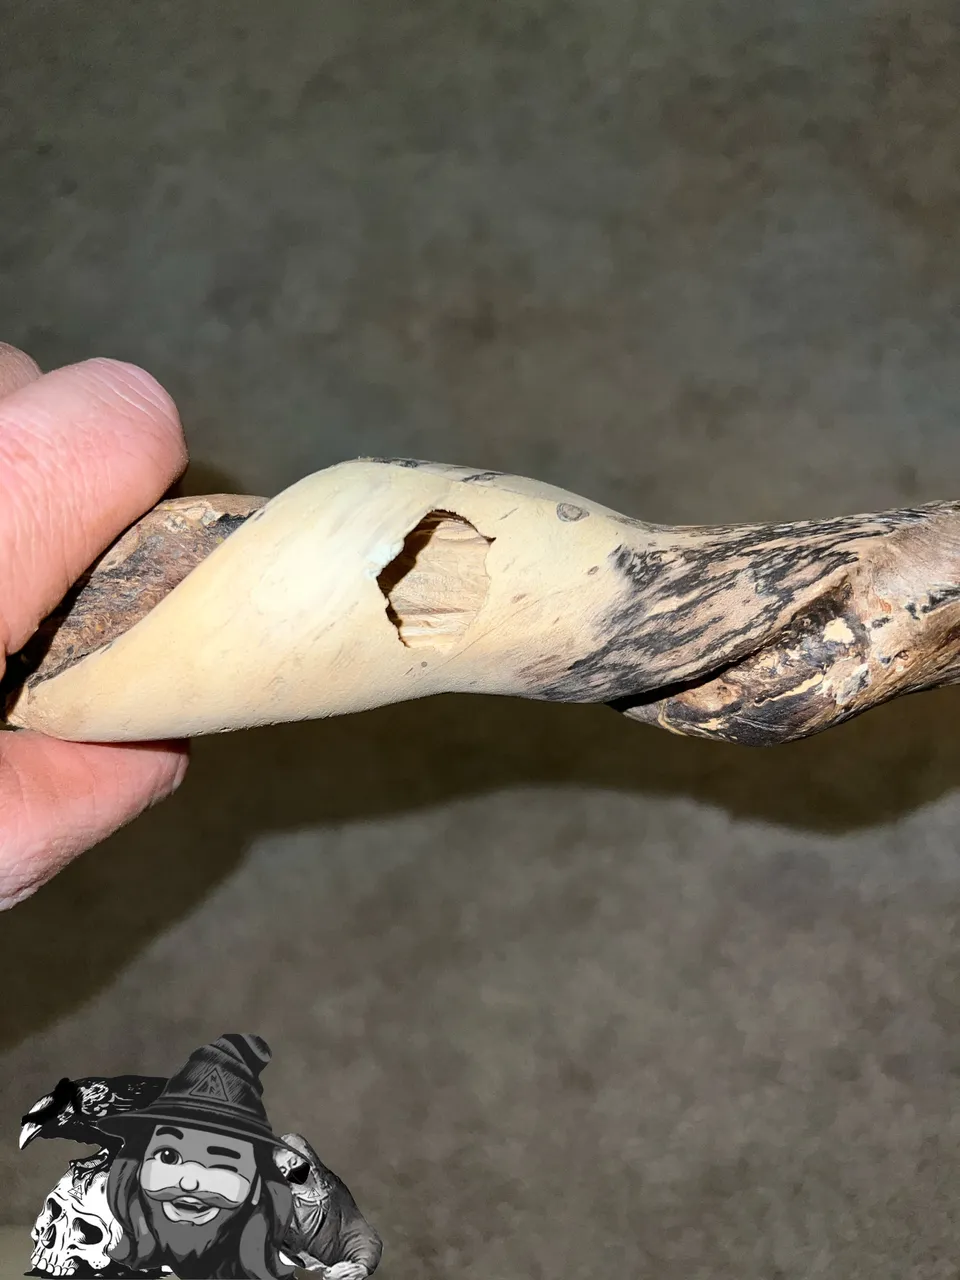
So as much as it pained me to do so, I pressed on the soft wood, breaking the thin wall away.
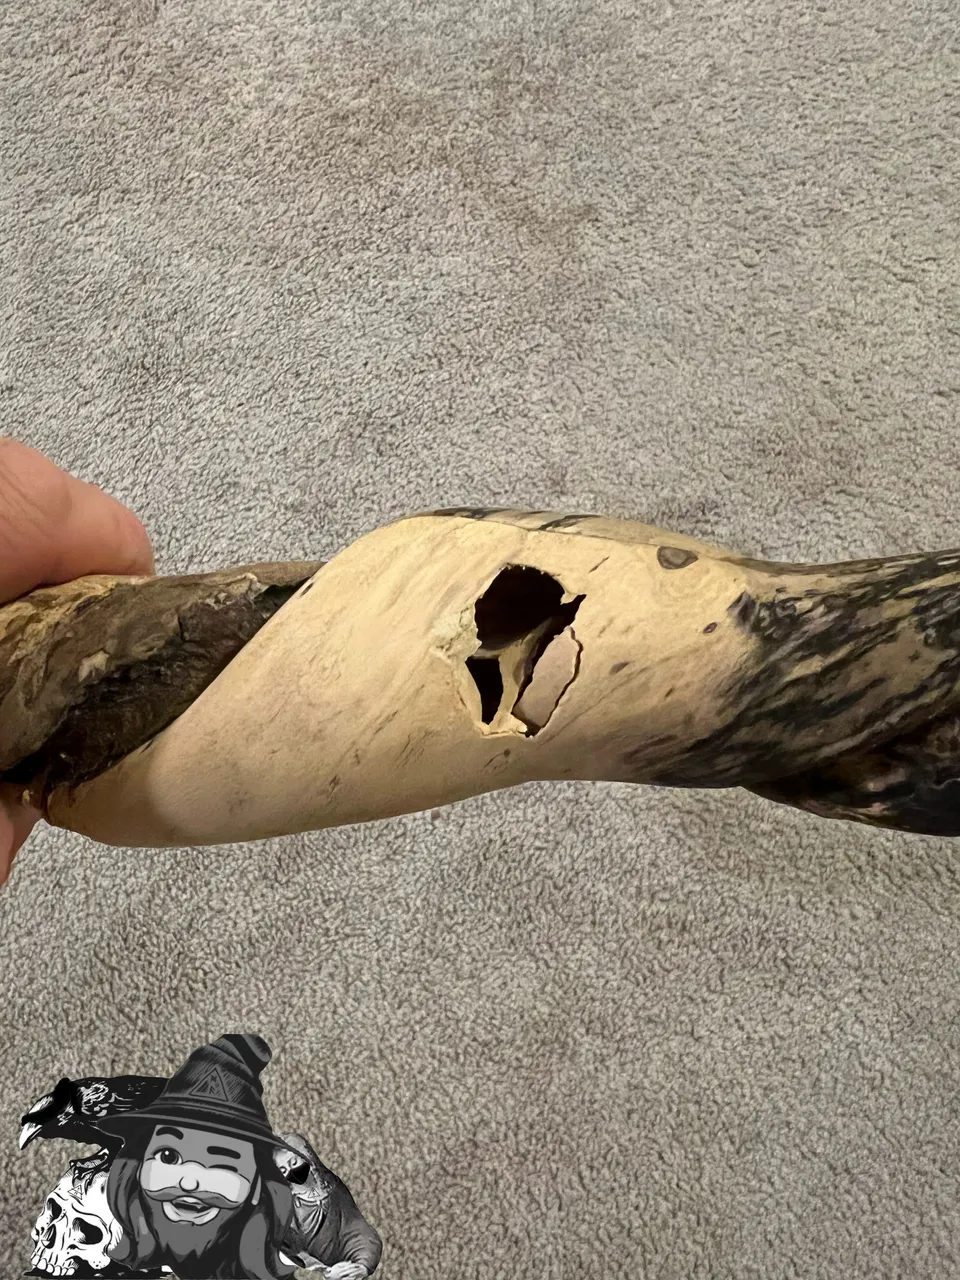
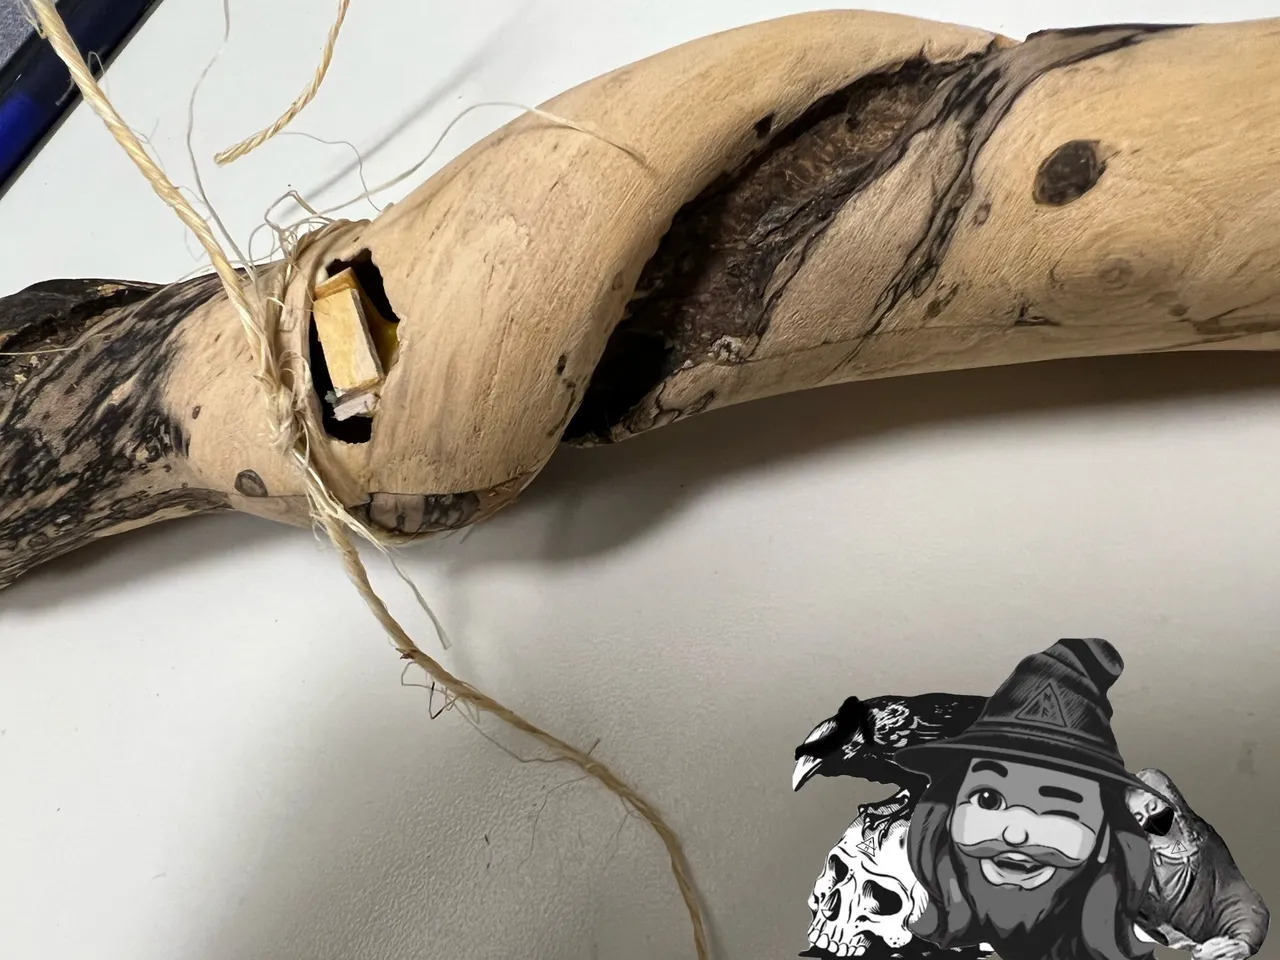
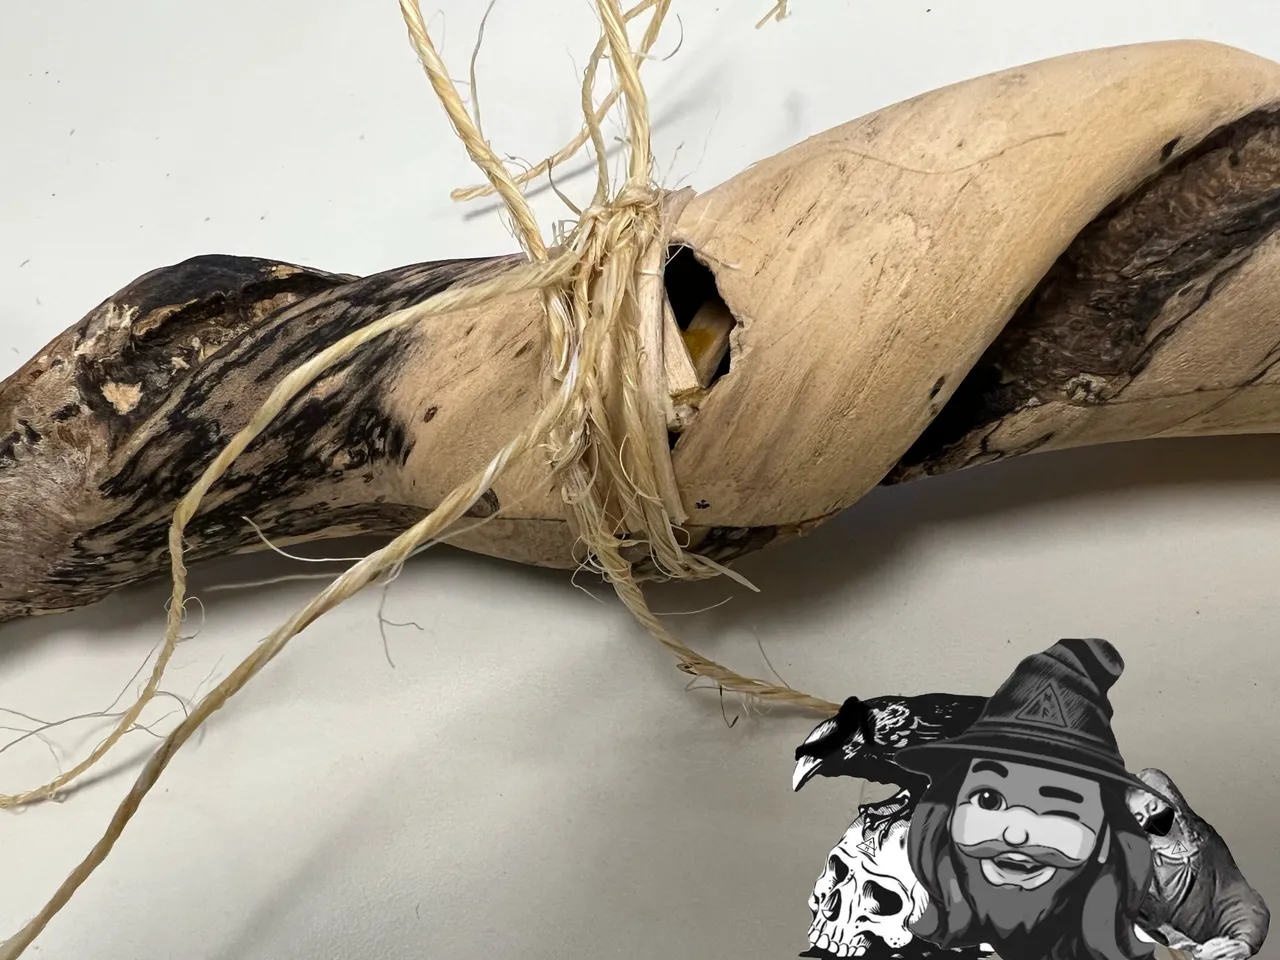
After breaking through the weak spots, I broke all the pieces loose and shook them out of the hollowed branch. The hole that resulted from all this was pretty big.
I sat and thought about this for a while, but eventually came up with a few ideas I thought could repair this area. I would end up deliberating more over the next couple days to come up with the end plan.
DAY 2
| Column1 | Column2 |
|---|---|
| Option 1: Toothpicks/Woodglue | Fill the hole with toothpicks coated in wood glue, taking care not to let the toothpicks go too deep into the flute. I use this technique for fixing stripped holes in wood usually. Once dried, you can drip/screw just like new…but I doubt it will be the right technique for this project. |
| Option 2: Coffee Stirrers with Tension Cable | I’m picturing four coffee stirrers, glued side-to-side with a small hole drilled through the center and a tension cable pulled through it. I can coat the edges in glue, work this in through the hole, then set it as desired and apply tension until dry. Afterwards, the cable would be cut and the nut on the back would fall out, and the hole and recessed edges would be plugged with wood filler. |
| Option 3: Keyed Wood Plug | Make a custom fit plug with a flange to be glued and pressed in. This would be sanded smooth afterwards, creating the most aesthetically pleasing solution of these three. |
Honestly, at the end of DAY 1 I only had options 1 & 2 - and was dead set on 2. But today while I was mowing, I saw this thin piece of the trunk of the tree that fell on my house, and came up with option 3. I think this is the best and coolest solution for the most part, although I liked that Option 2 would have been sealed from the inside. Maybe I’ll do both?
…not sure, but for now, here’s the start of Option 3.
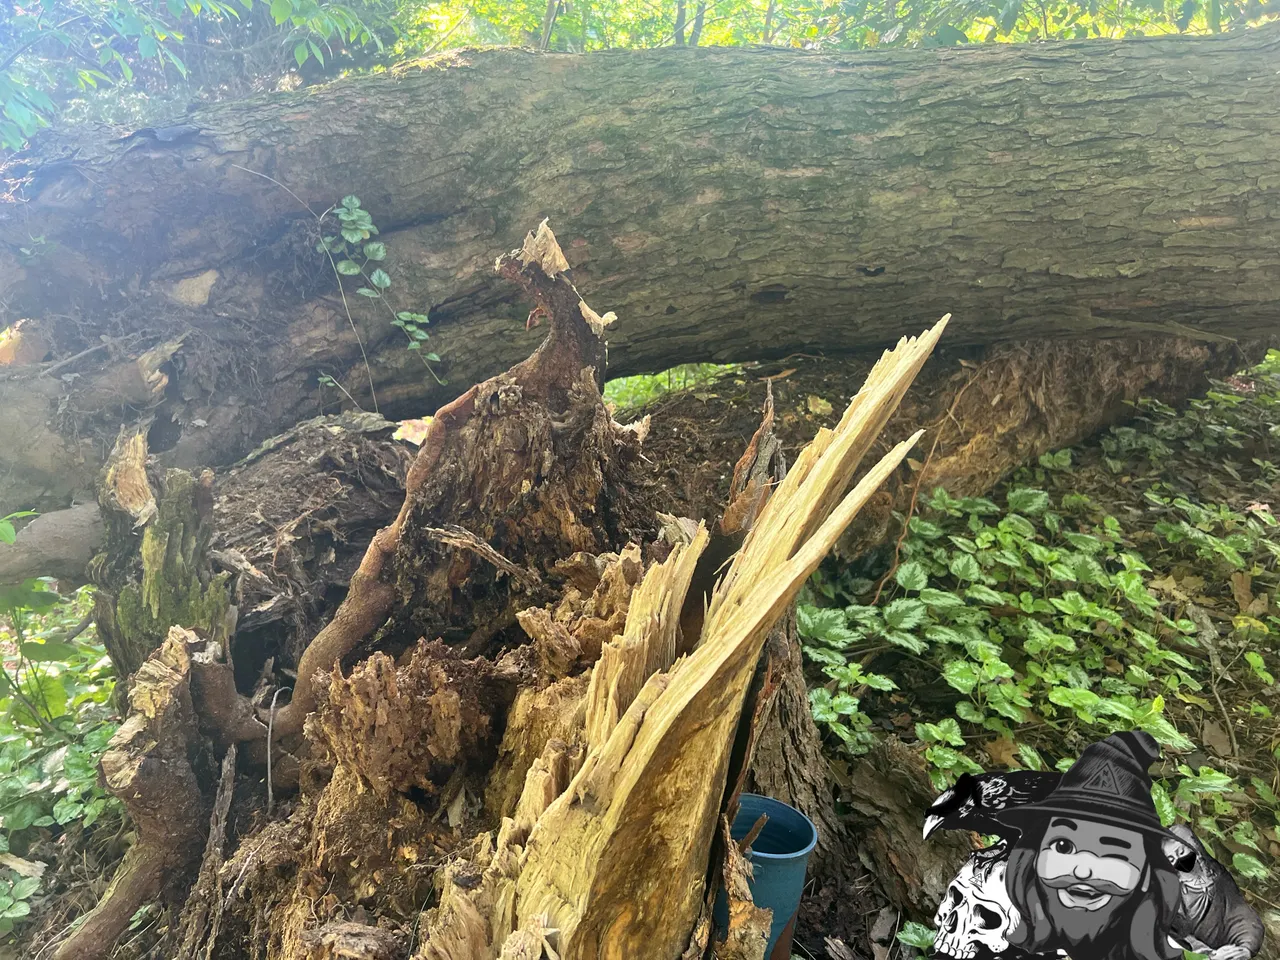
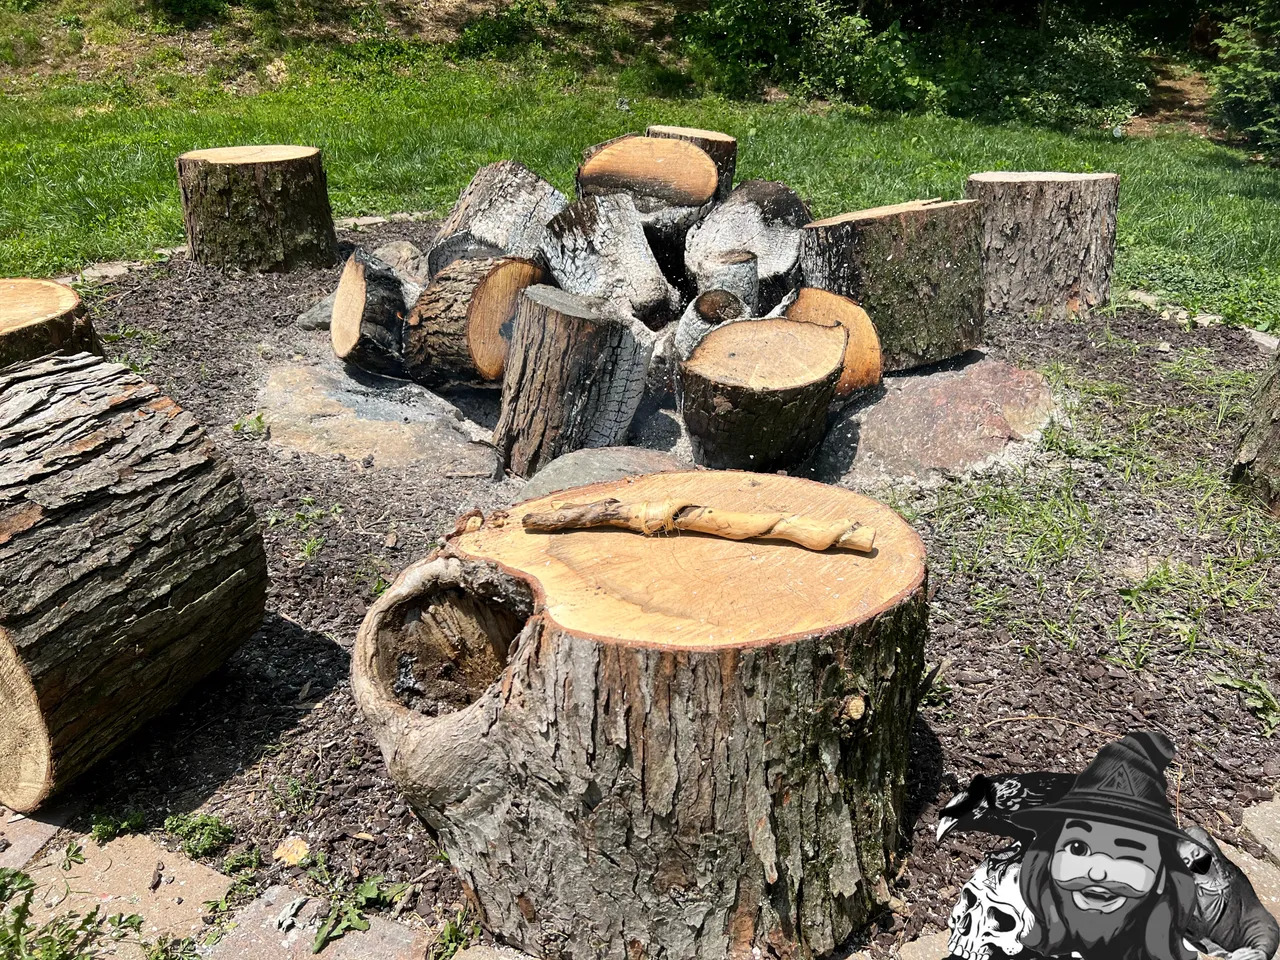
Here’s the stump that inspired the plan. It had a thin section sticking up, which gave me the idea.
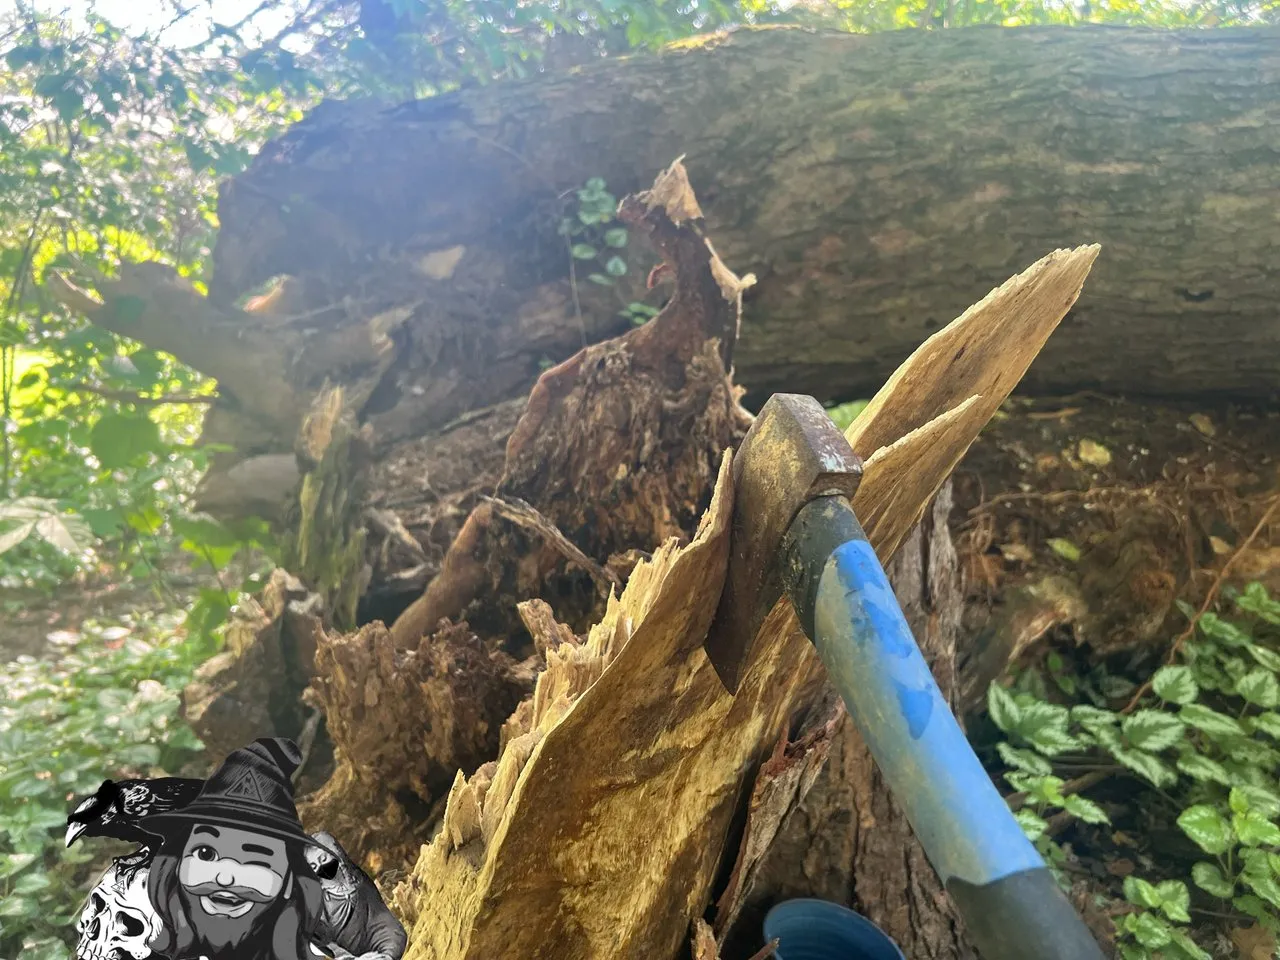
I split this piece with an axe, then hacked in from the side to break it off. Normally, I would use a saw for something like this, but I took all my tools like that to North Carolina when my wife and I went down a few weeks ago
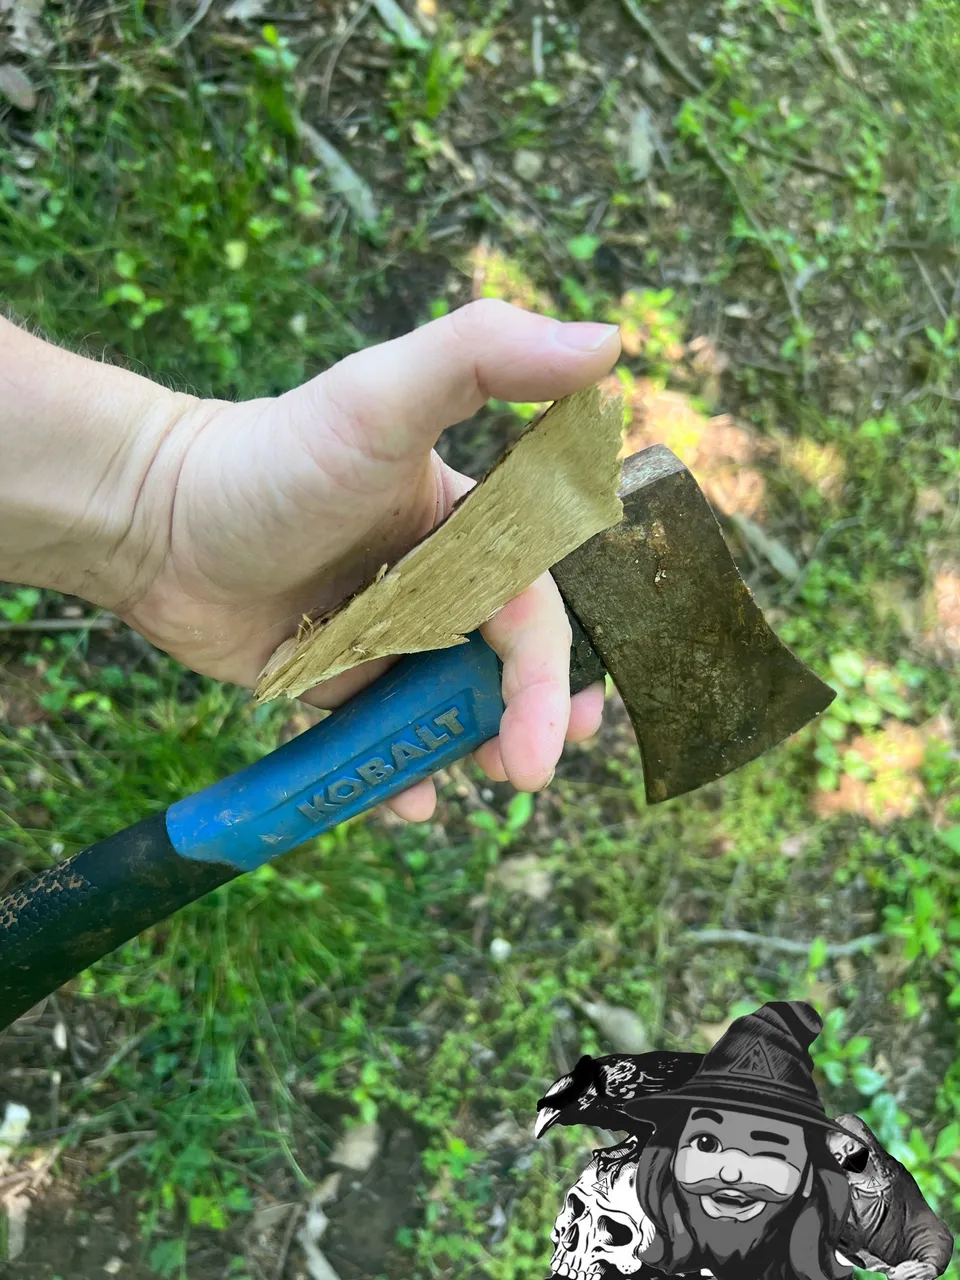
Here is the piece that I’m going to try to use. This tree was a maple, so hopefully it will stain up to look pretty nice :)
Next, because it’s really wet, I put it in the oven…
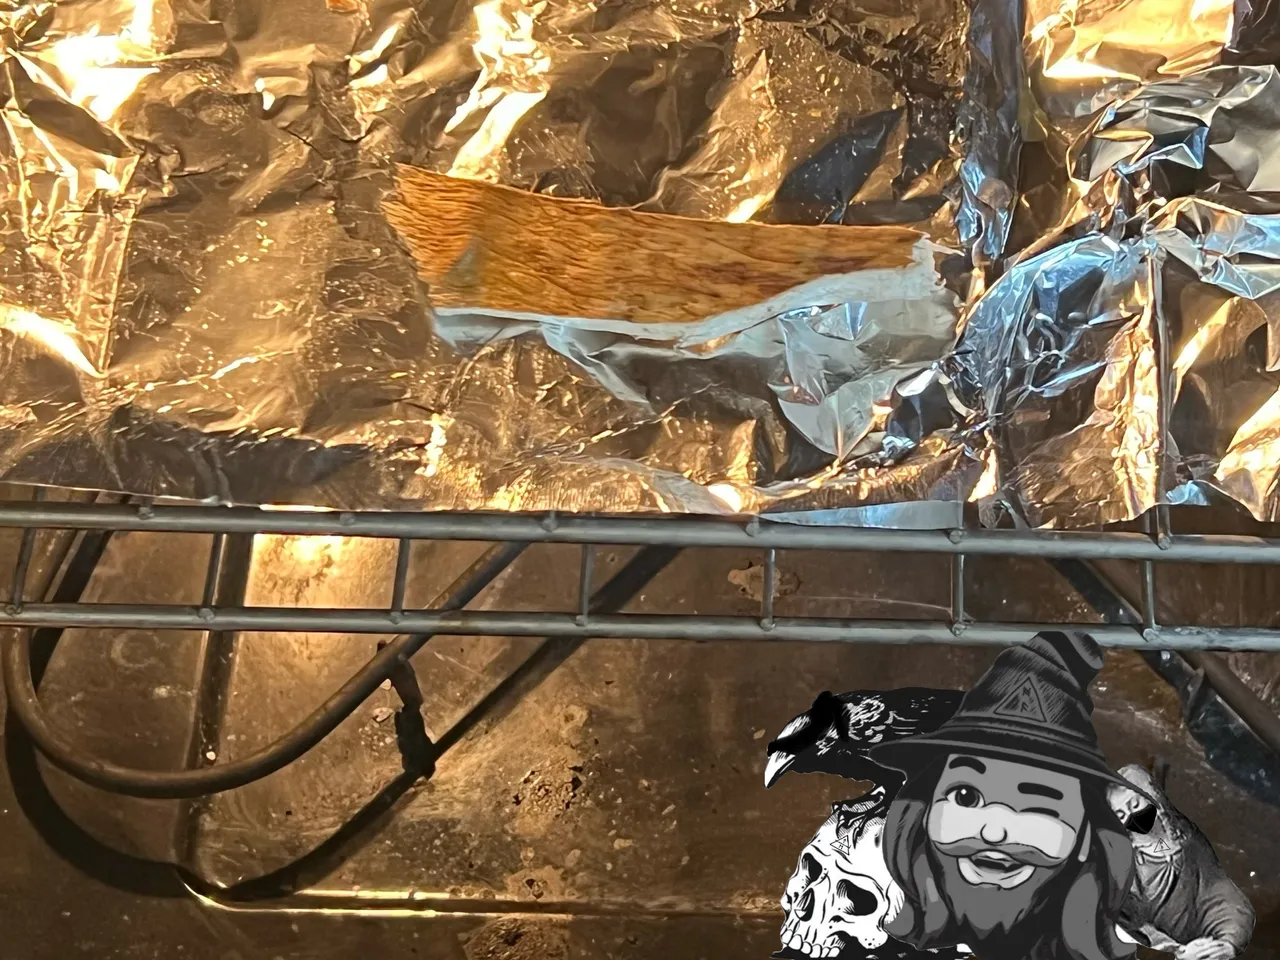
…and set it to go at the minimum temperature for a couple hours. This is another normally situation, but normally I would have left this in the dehydrator for a couple days with no heat, but…yeah you already know, down in North Carolina, woo woo woo.

Now that it was dry, I just needed to wait until I had the time to take the next steps.
DAY 3
Today I started out by following through on what I thought was going to be my best option for repairing this hole.
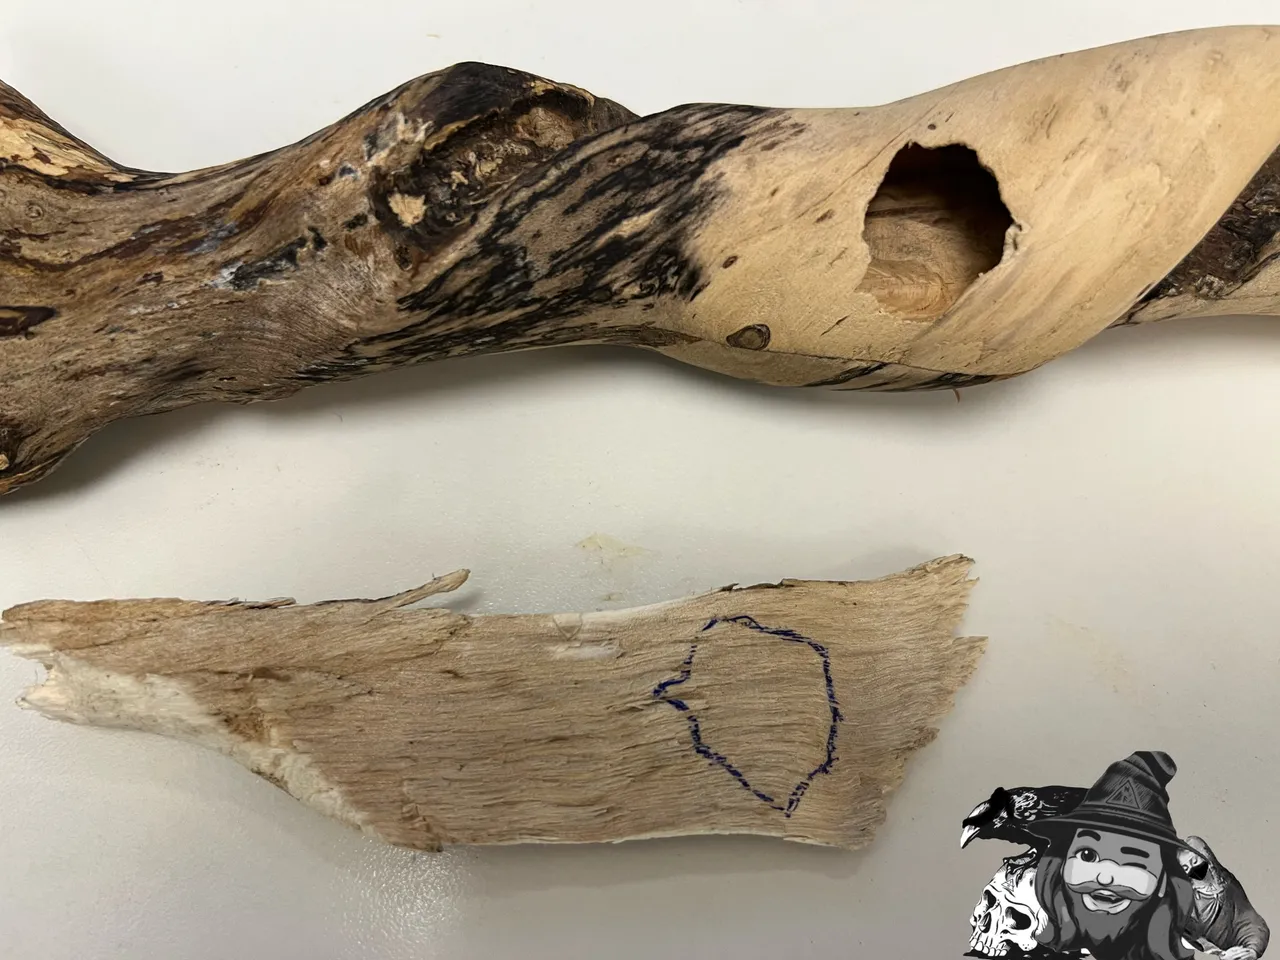
I pressed a piece of paper against the edges of the hole to get a good outline.
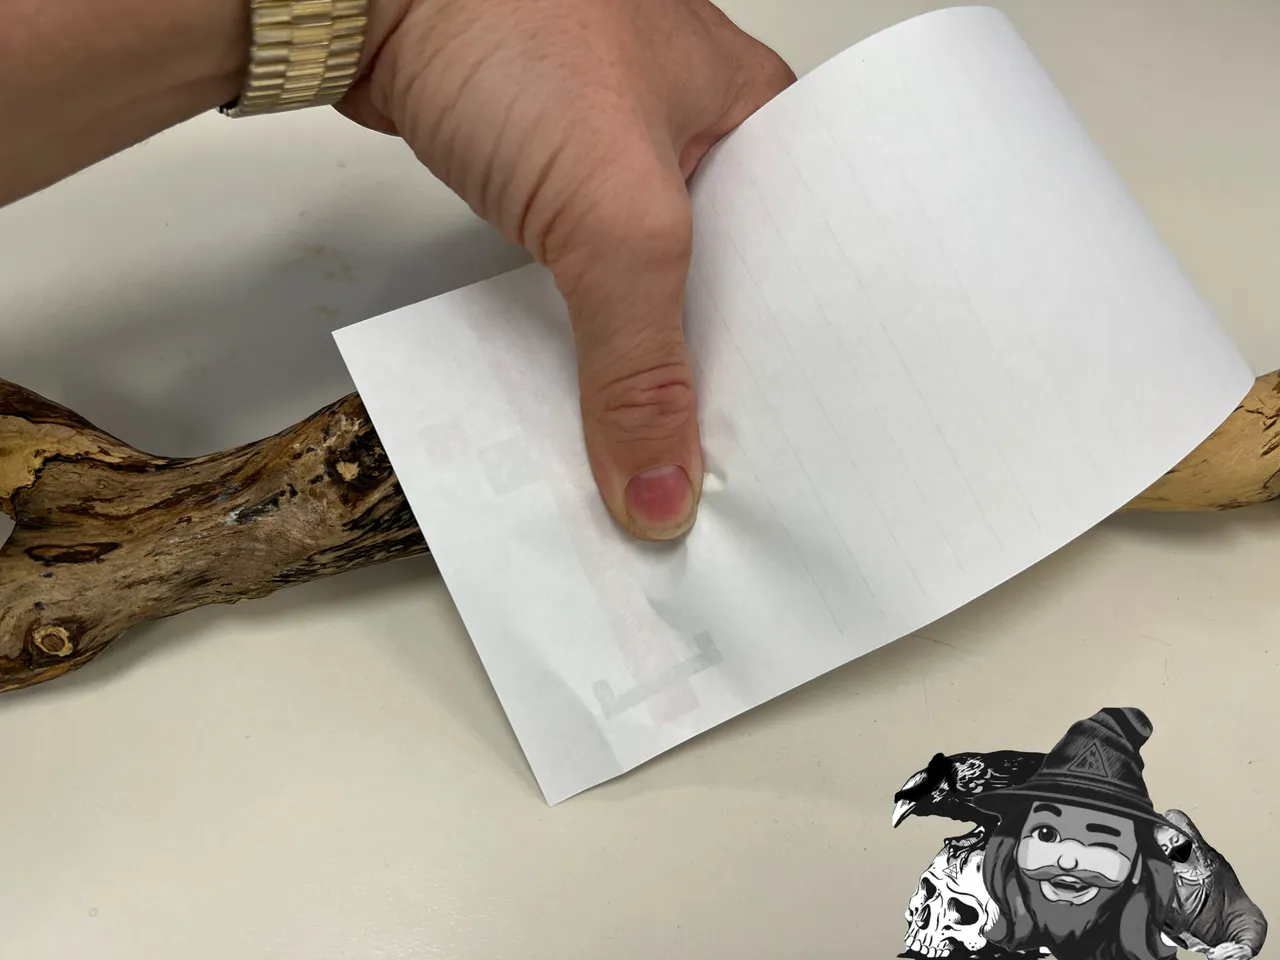
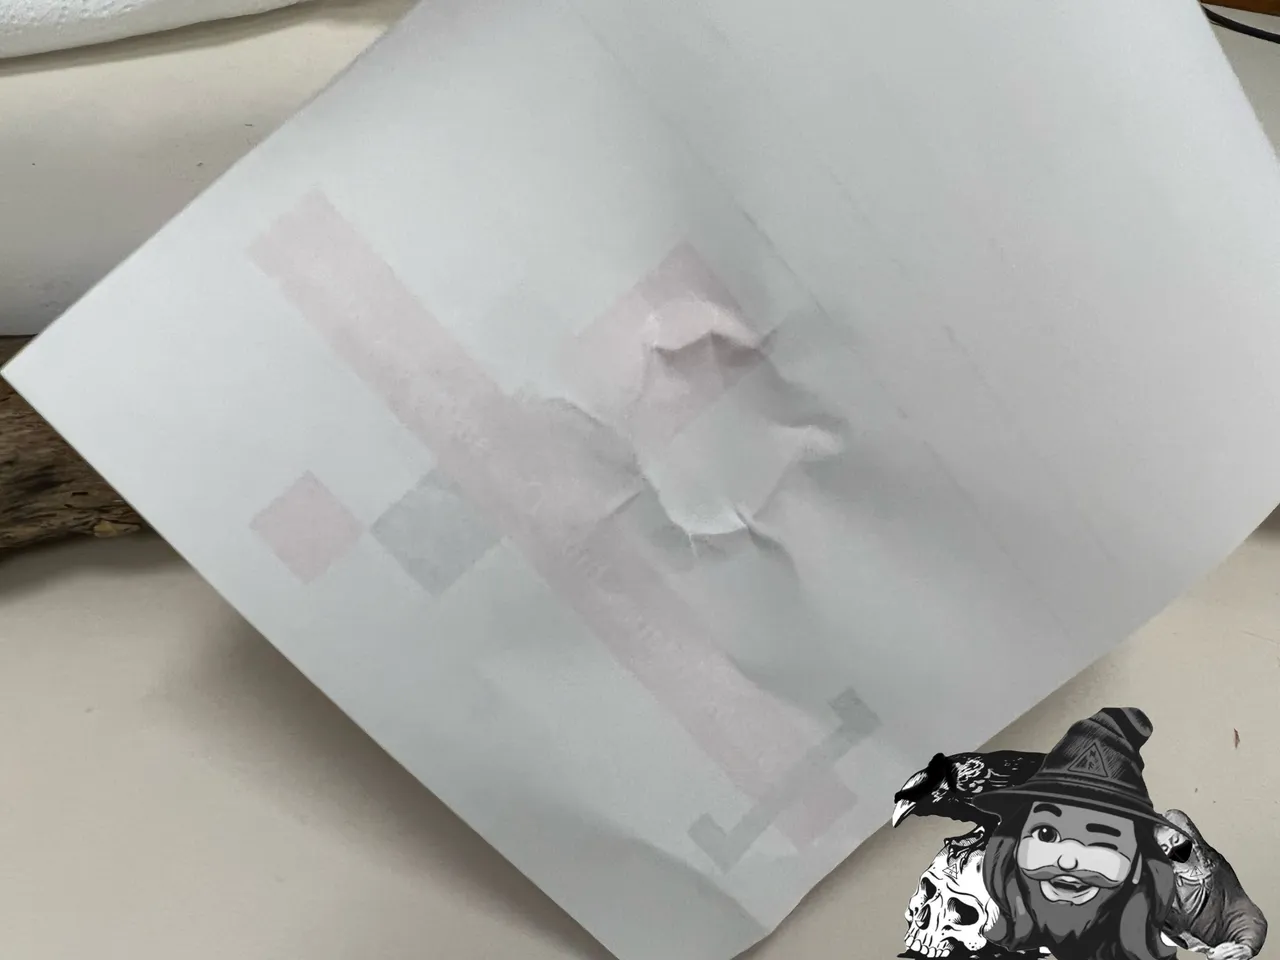
Once I had a good outline, I traced the edges with pen before cutting it out.
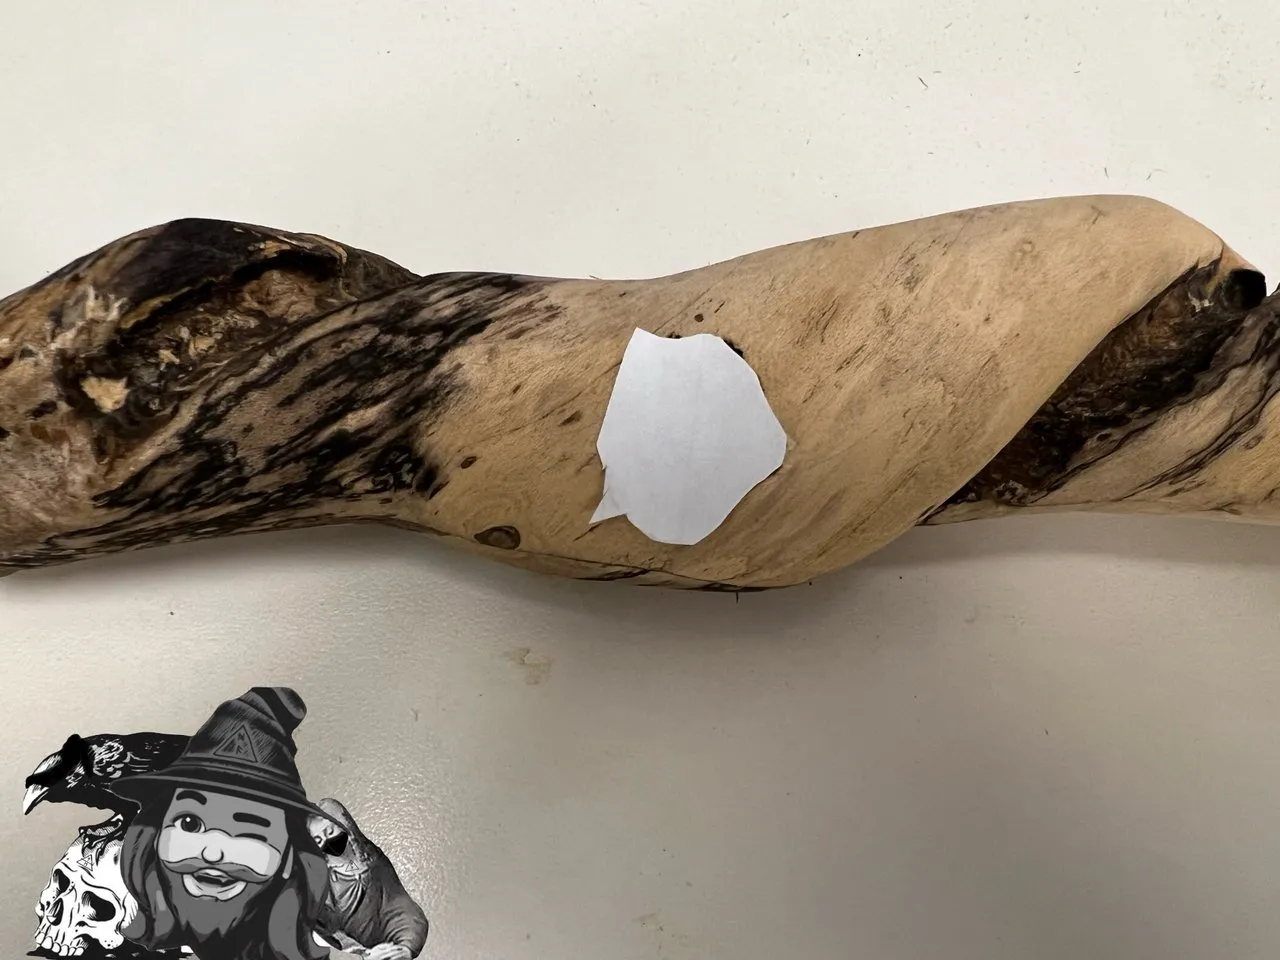
Then I laid the small scrap of paper on my chunk of rough cut maple, this time flipping it over to get the inverse shape, and traced it on the wood to mark my routing path.
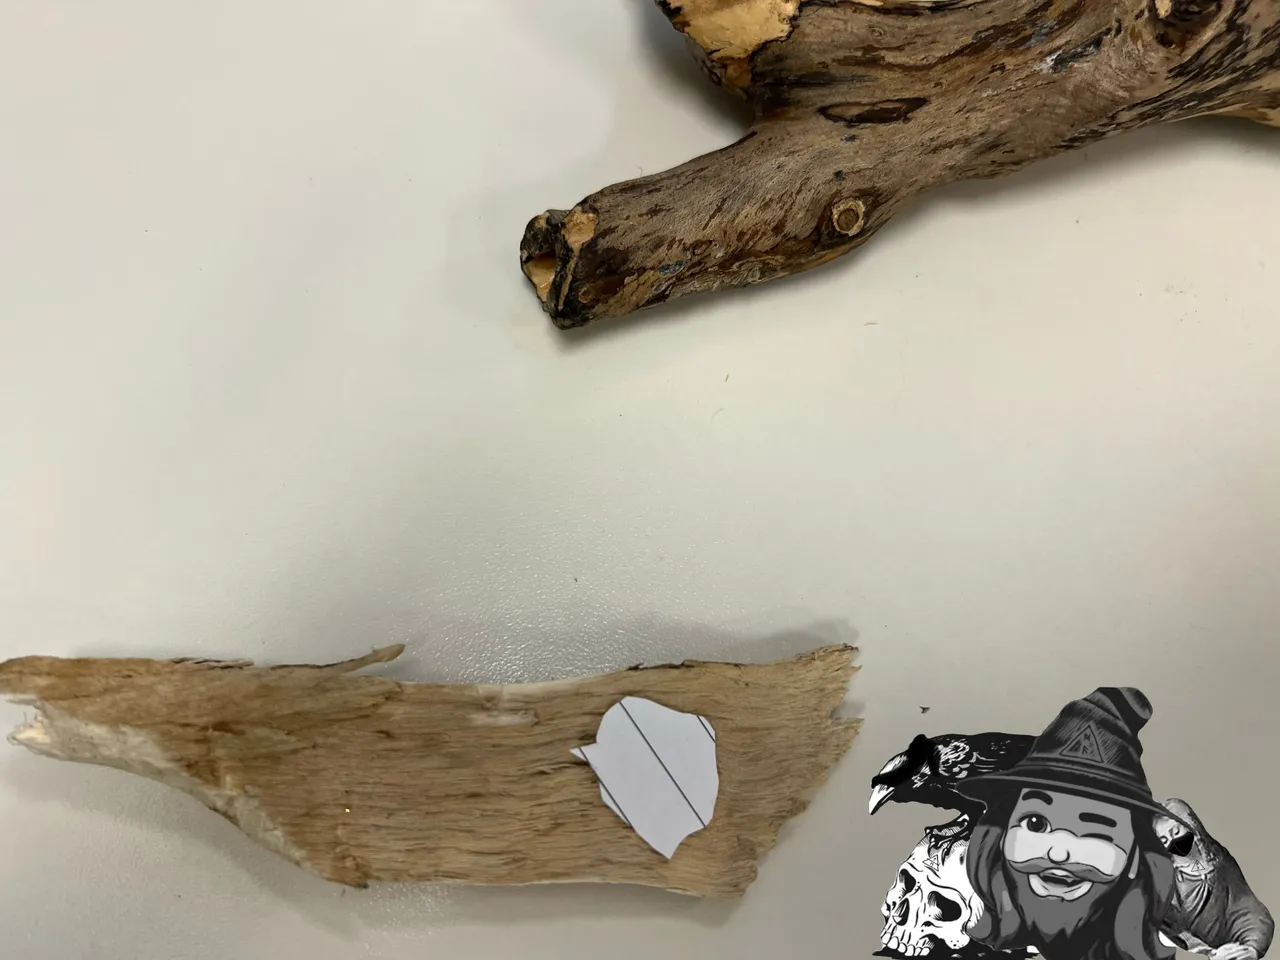
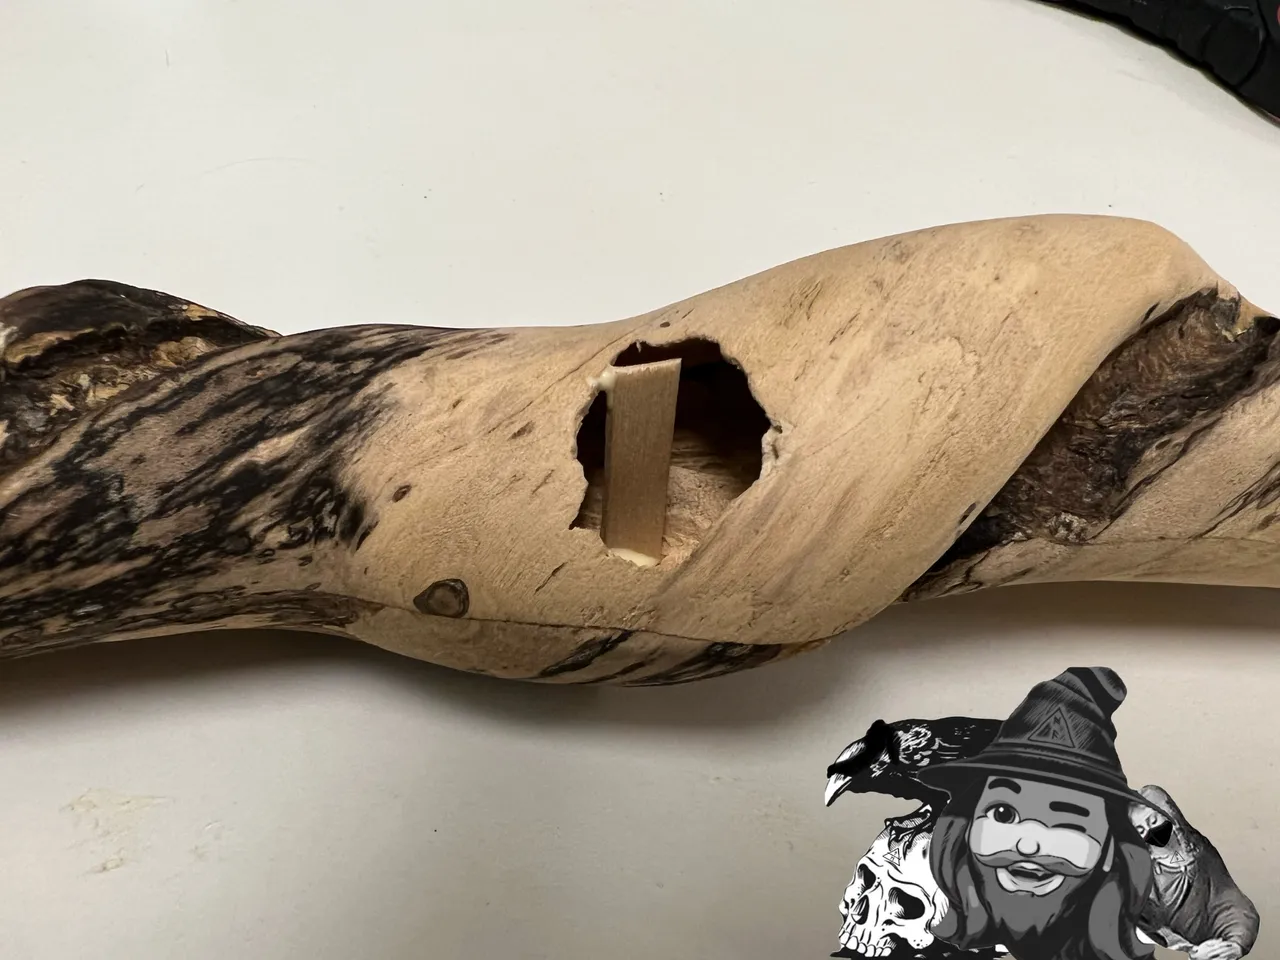
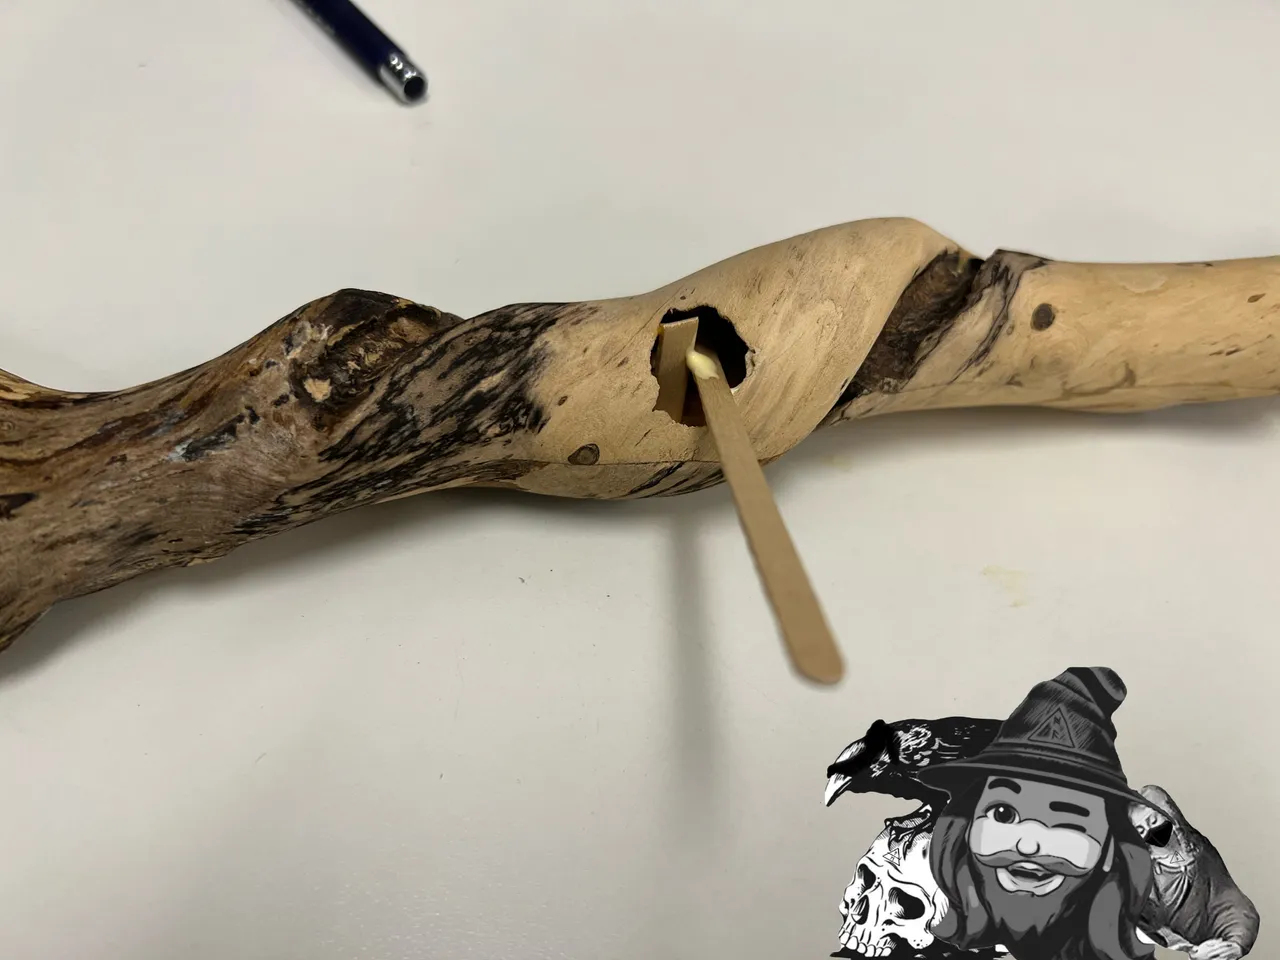
With the rough cut maple marked, I took a few minutes to cut away the material around the edges. This shape would be intended to fit inside the opening on the flute’s body, so I can sand it down to almost flush.
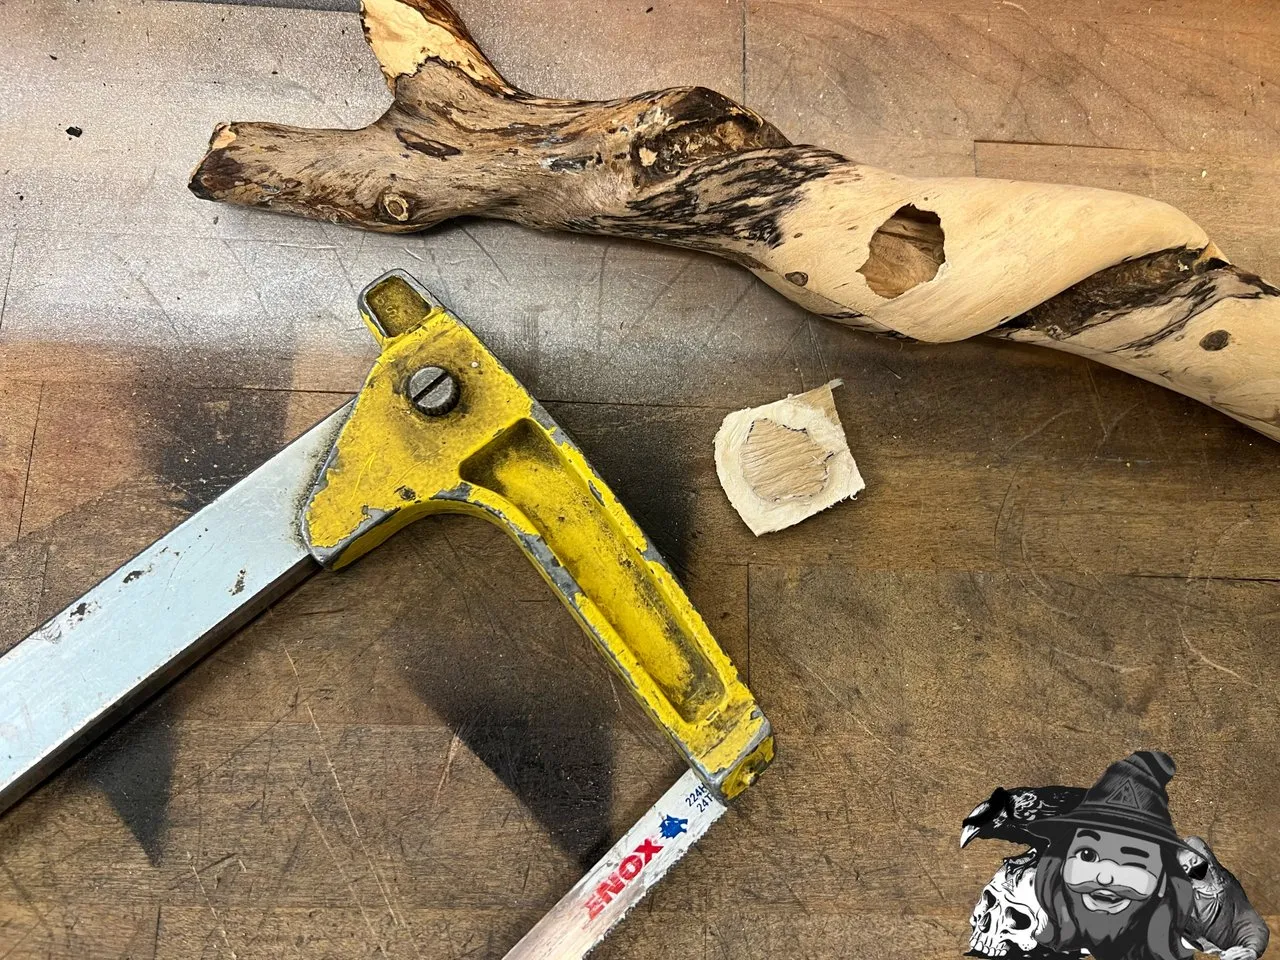
…but at this point it became clear that this solution was going to be more difficult than anticipated, so I scrapped the idea and began to try something else. In fact, I had a new idea at this time, which was none of the previous options.
I decided to bend wooden coffee stirrers and seal the hole from the outside.
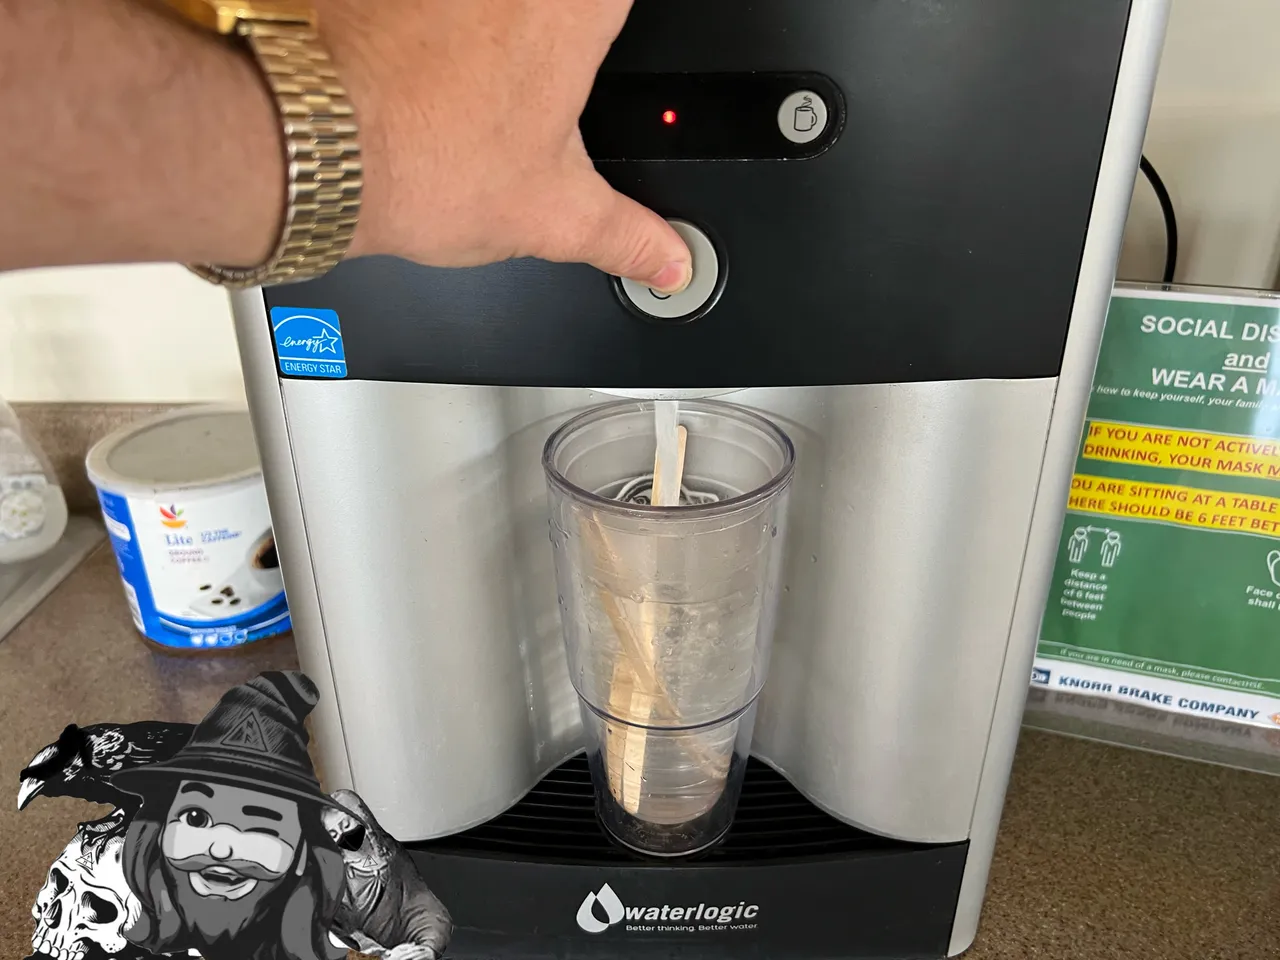
I took a cup of hot water and soaked some wood coffee stirrers for about 20 minutes, to get them nice and soft/pliable.
Once I was satisfied that they were soft enough, I wrapped them around a tube and held them in place with a hair tie, letting them dry in this position.
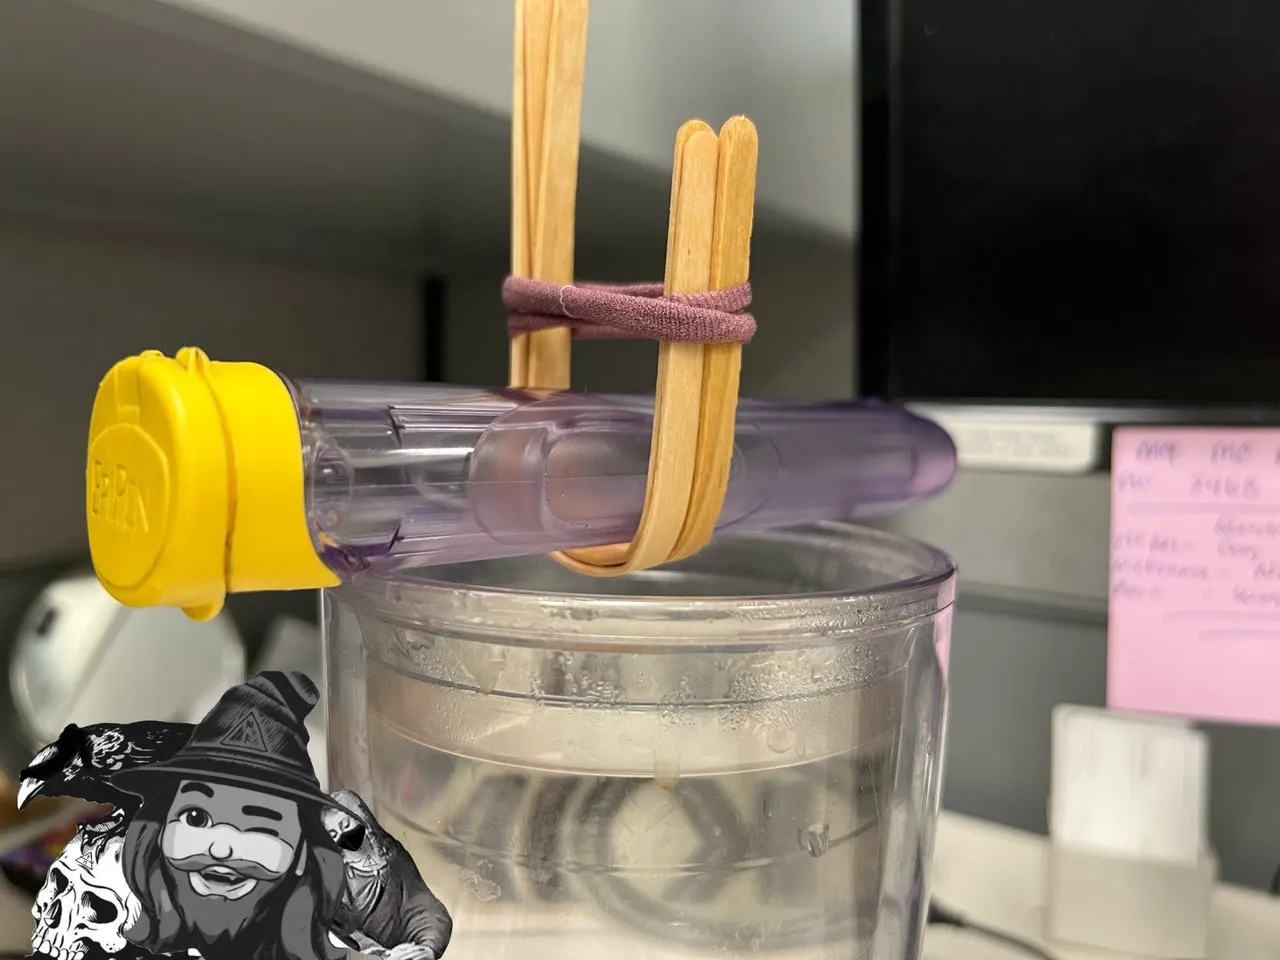
After a couple of hours, I tested their ability to retain their curvature without the supporting tube. They still needed a few more hours before I would take off the hair tie, but so far they looked good.
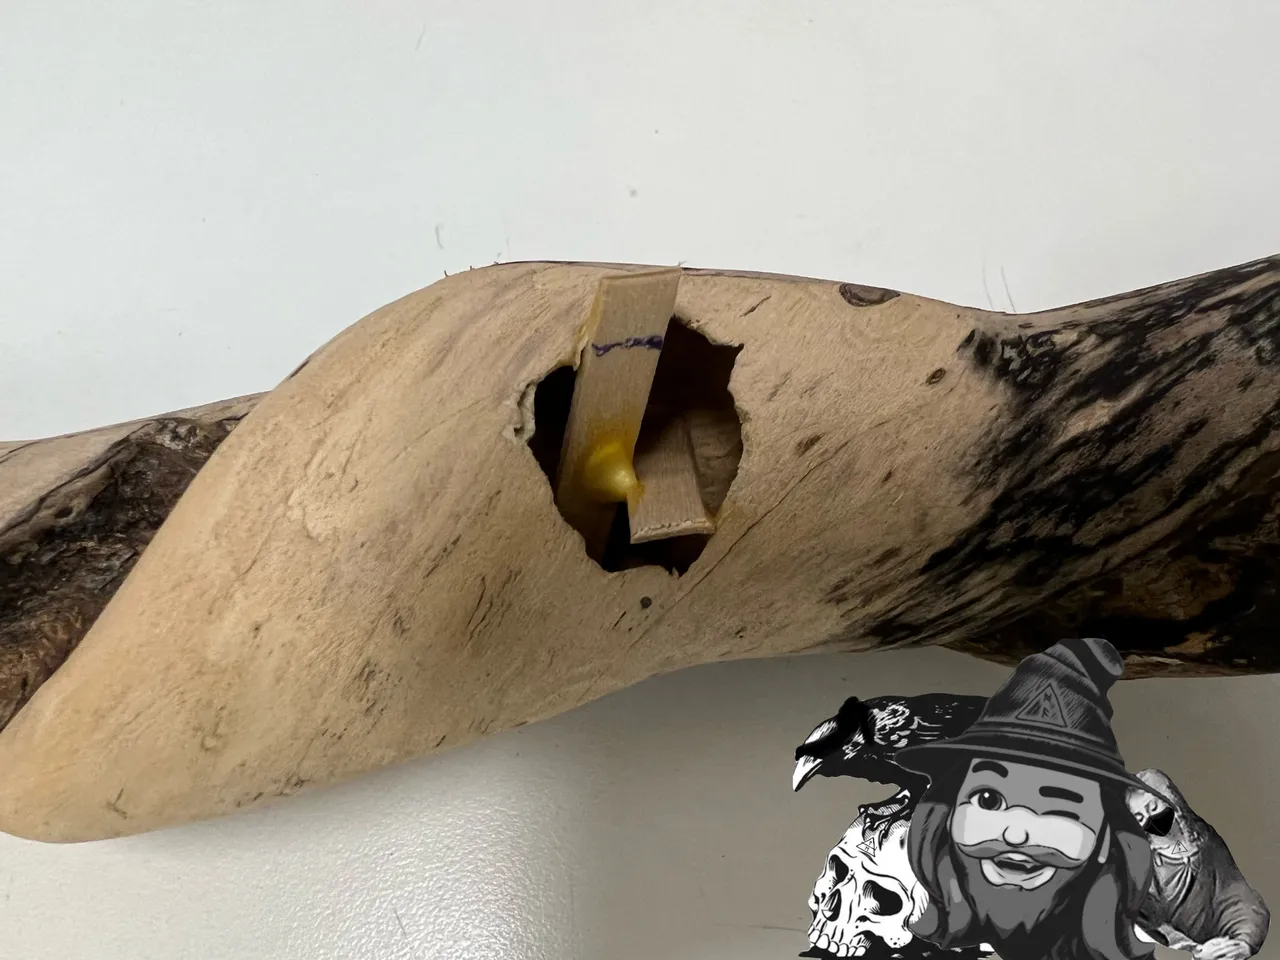
While the curved pieces dried, I glued in two support pieces. In retrospect, I probably didn’t need these, but once they were in I was committed - so they stayed.
I trimmed the supports after they’d nearly dried, but not all the way. I was afraid scissors would pull them out if I tried to get that close. Before I could cut them the rest of the way, I needed to add a cross-piece to help give them enough rigidity to survive the final cut.

Once the cross-piece was pretty dry, I used a cutoff wheel to trim the supports to match the exterior body of the flute.
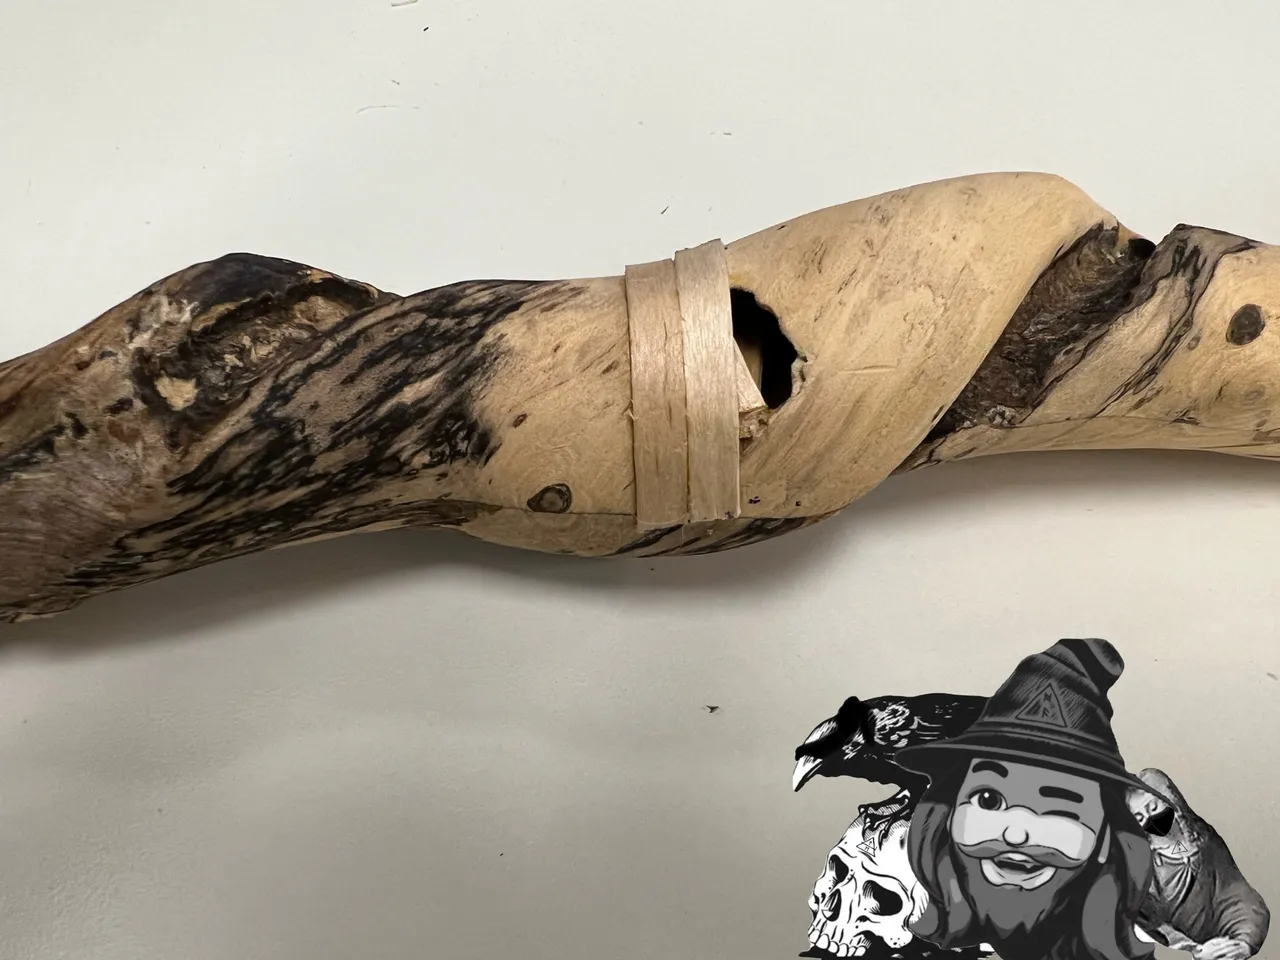
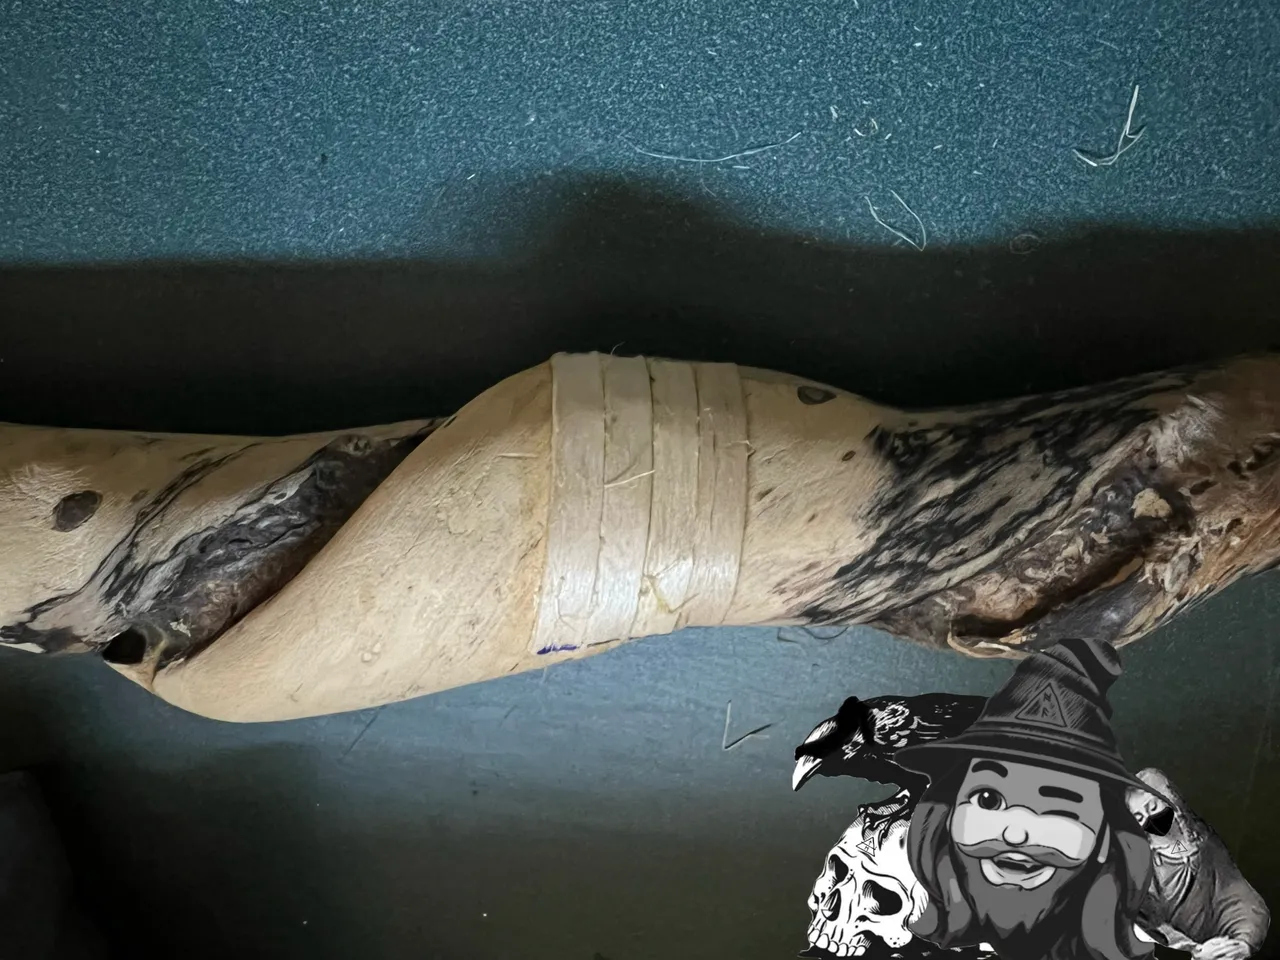
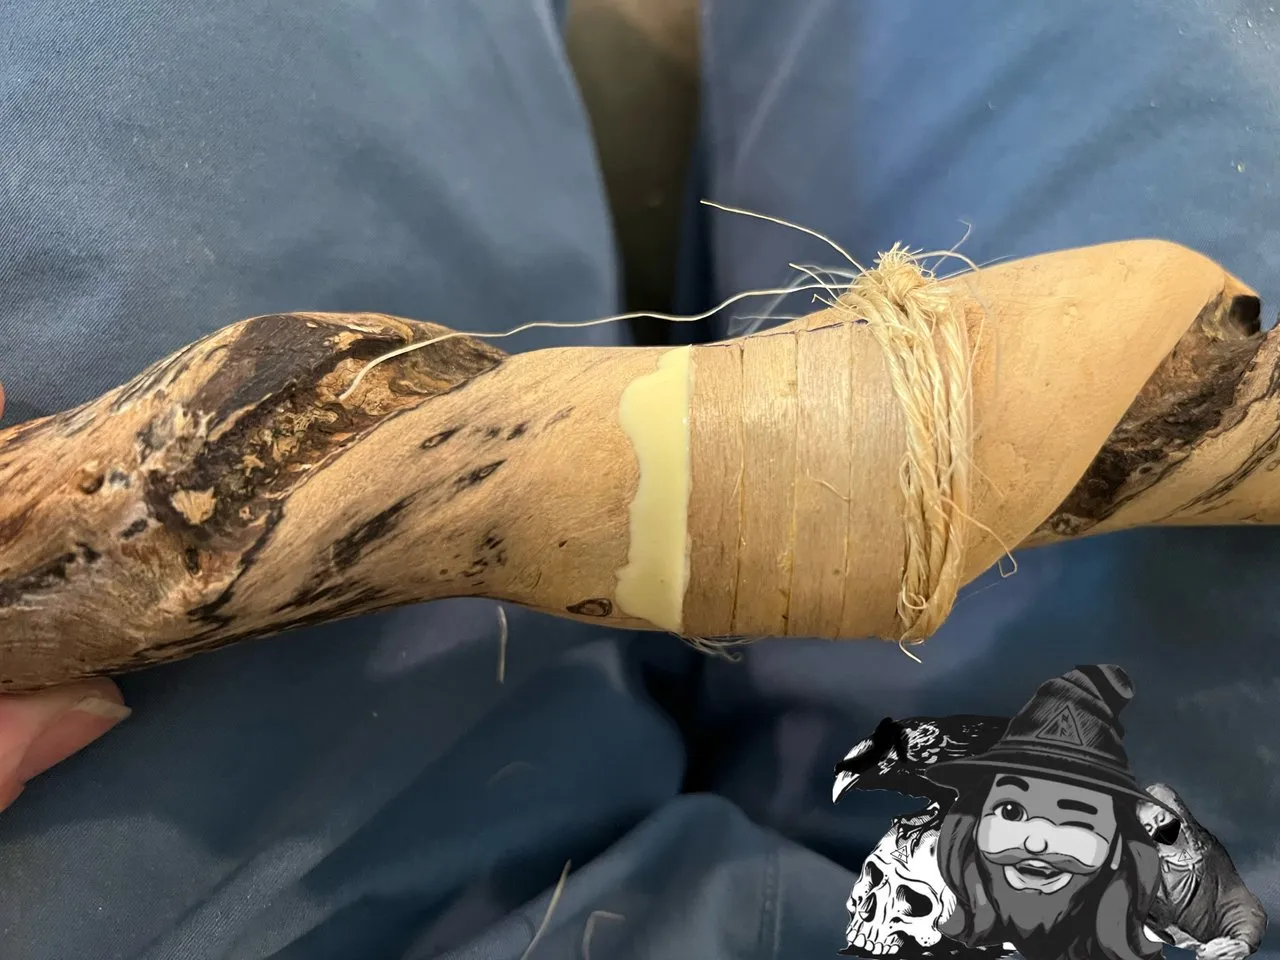
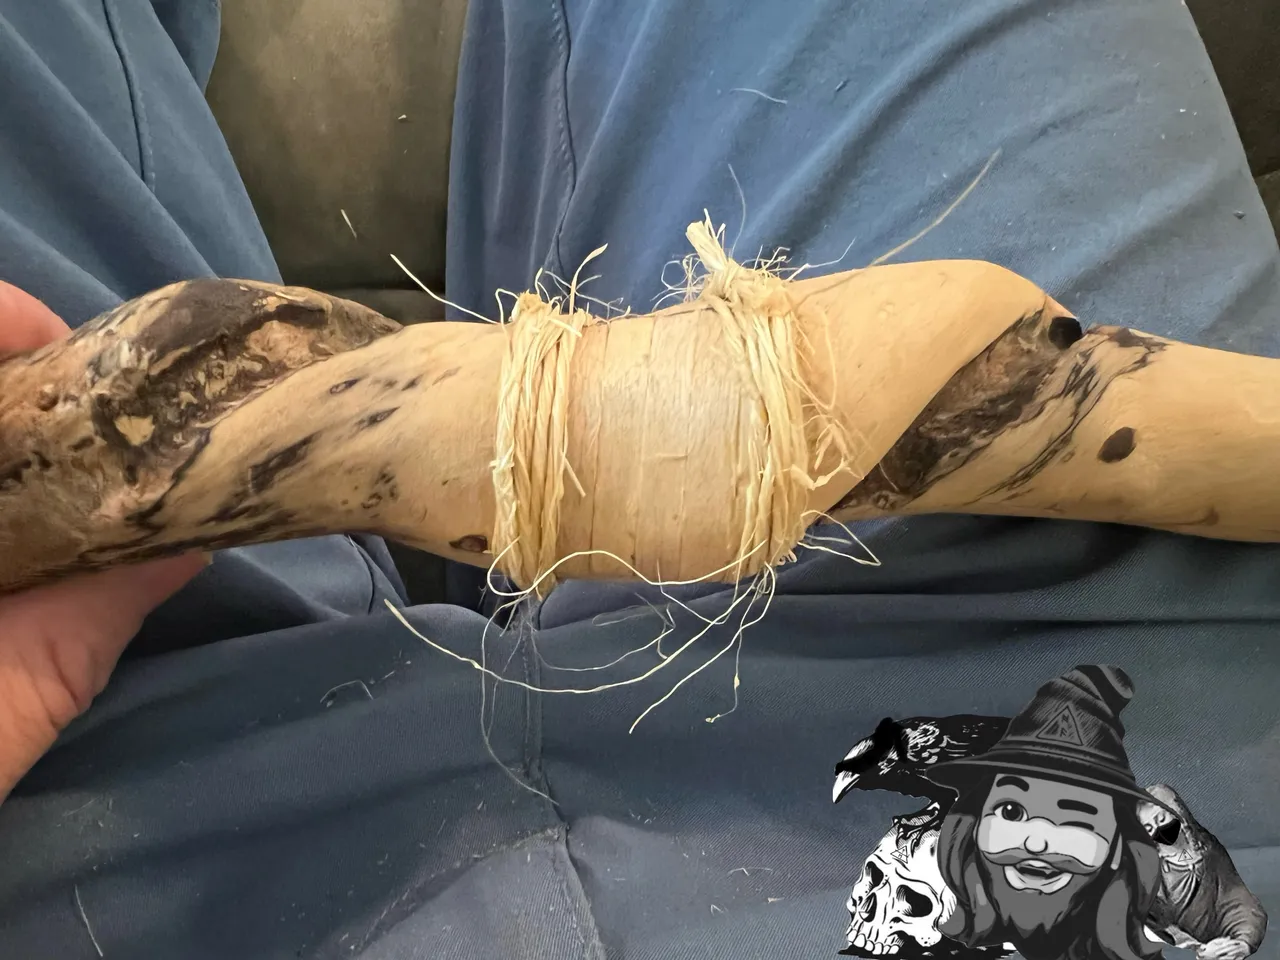
Now the fun part! I added the first of my pre-bent bands. I applied wood glue only to the bottom, and fixed it in place with twine tied in a square knot. One wrap and a single knot looked to hold it in a good spot.
I gave the first band about 30 minutes to dry before adding the second. For this piece, I put wood glue on the bottom, as before, but also on the side that would mate up with the first band. It will be important for here to seal completely, and the less I have to do after their installed, the cleaner I think it will look.
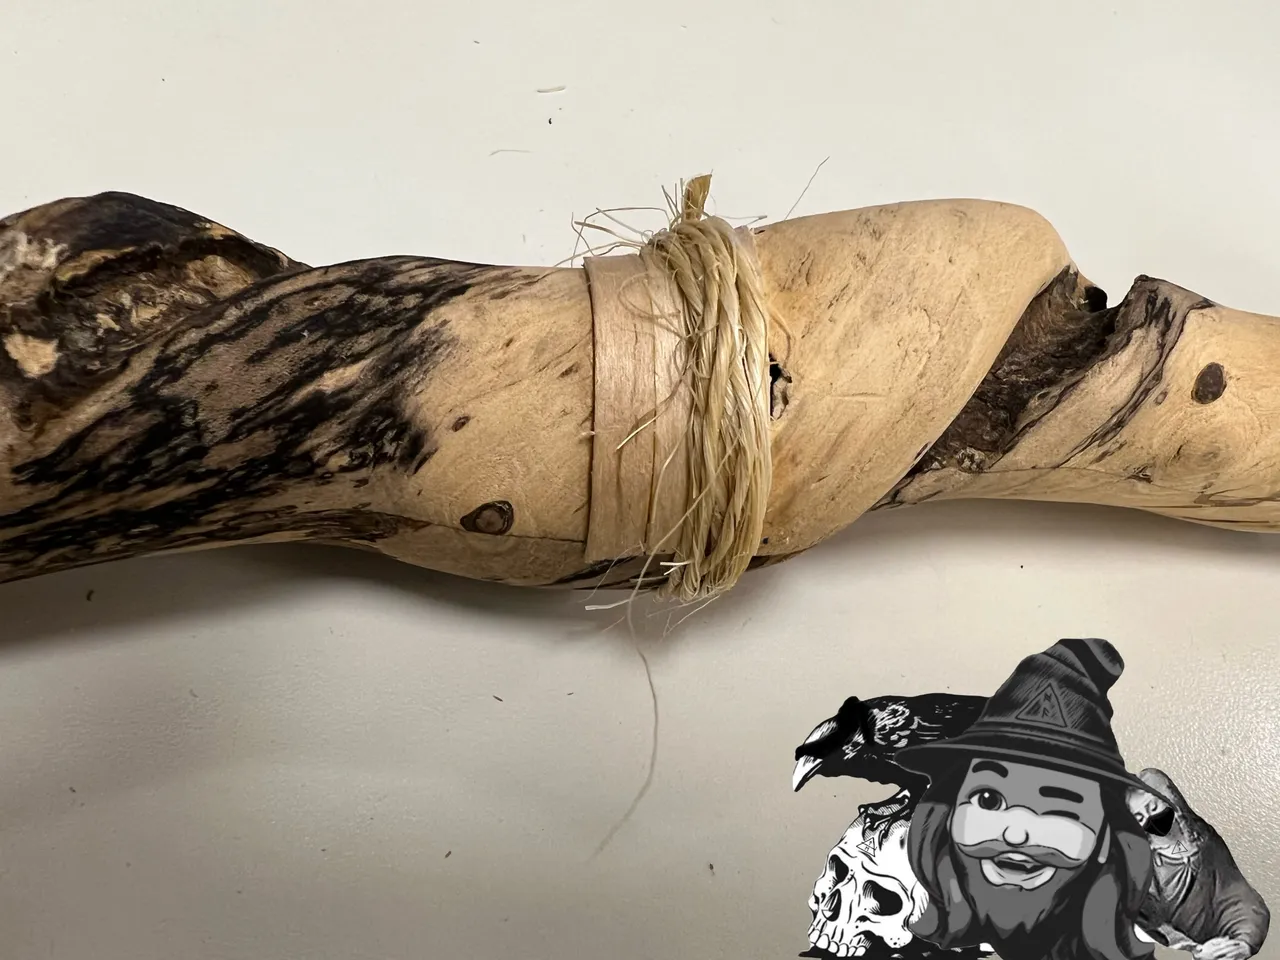
I noticed a corner lifting off of the second band, even with two pieces of twine holing it in place, so I did an additional wrap with several turns. As we saw before, this allows me to get it much tighter - but now if the bands got misaligned during the wrapping process, I won’t be able to tell until it’s too late. I’m just going to hope for the best and see what comes of it.
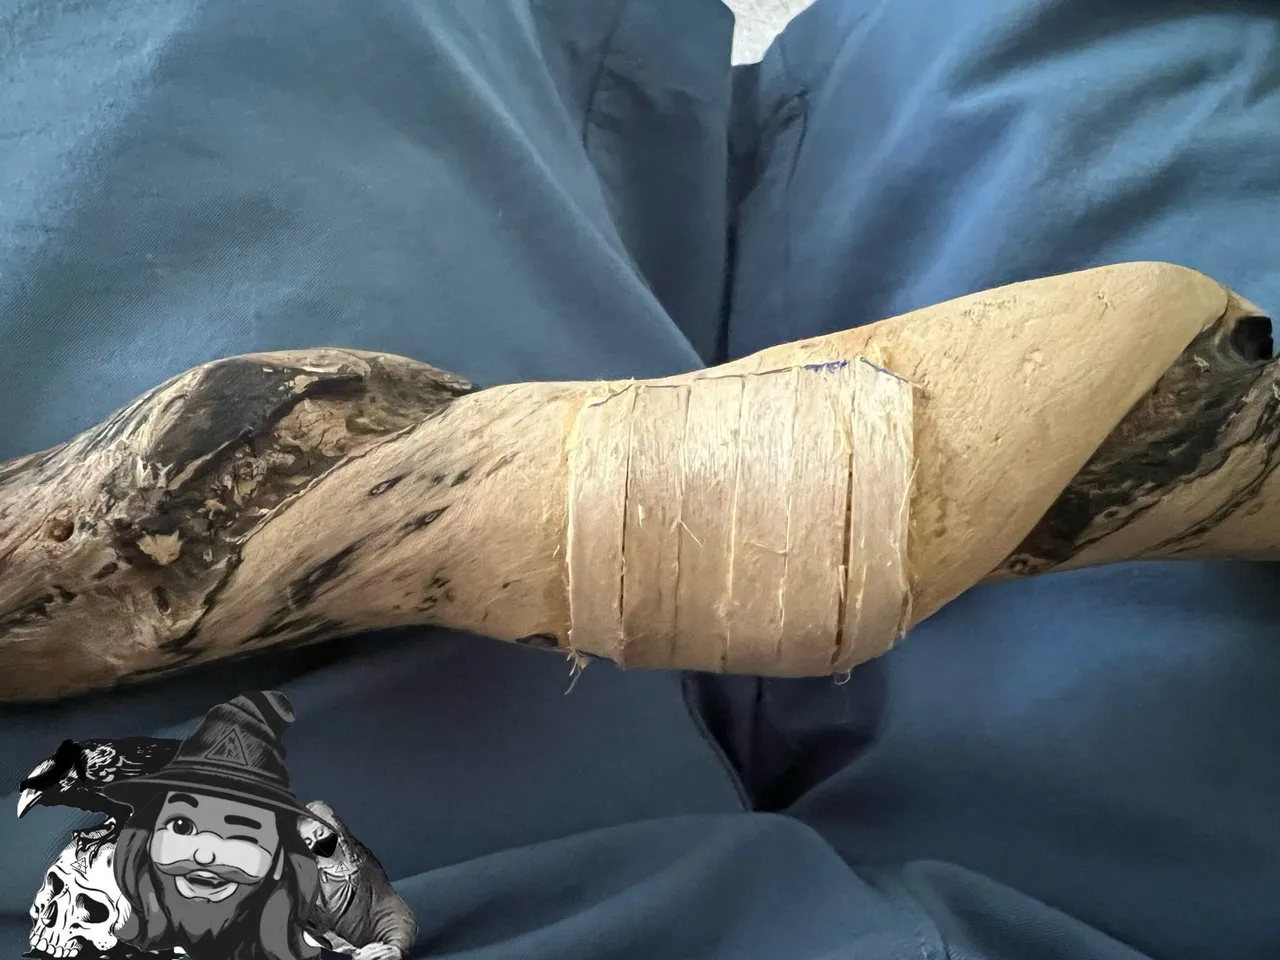
I gave the first two bands about an hour to dry before cutting off the wrap. It looks like they stayed pretty close to where I placed them, so now I will add the last two.
Adding the third band:
…and the fourth:
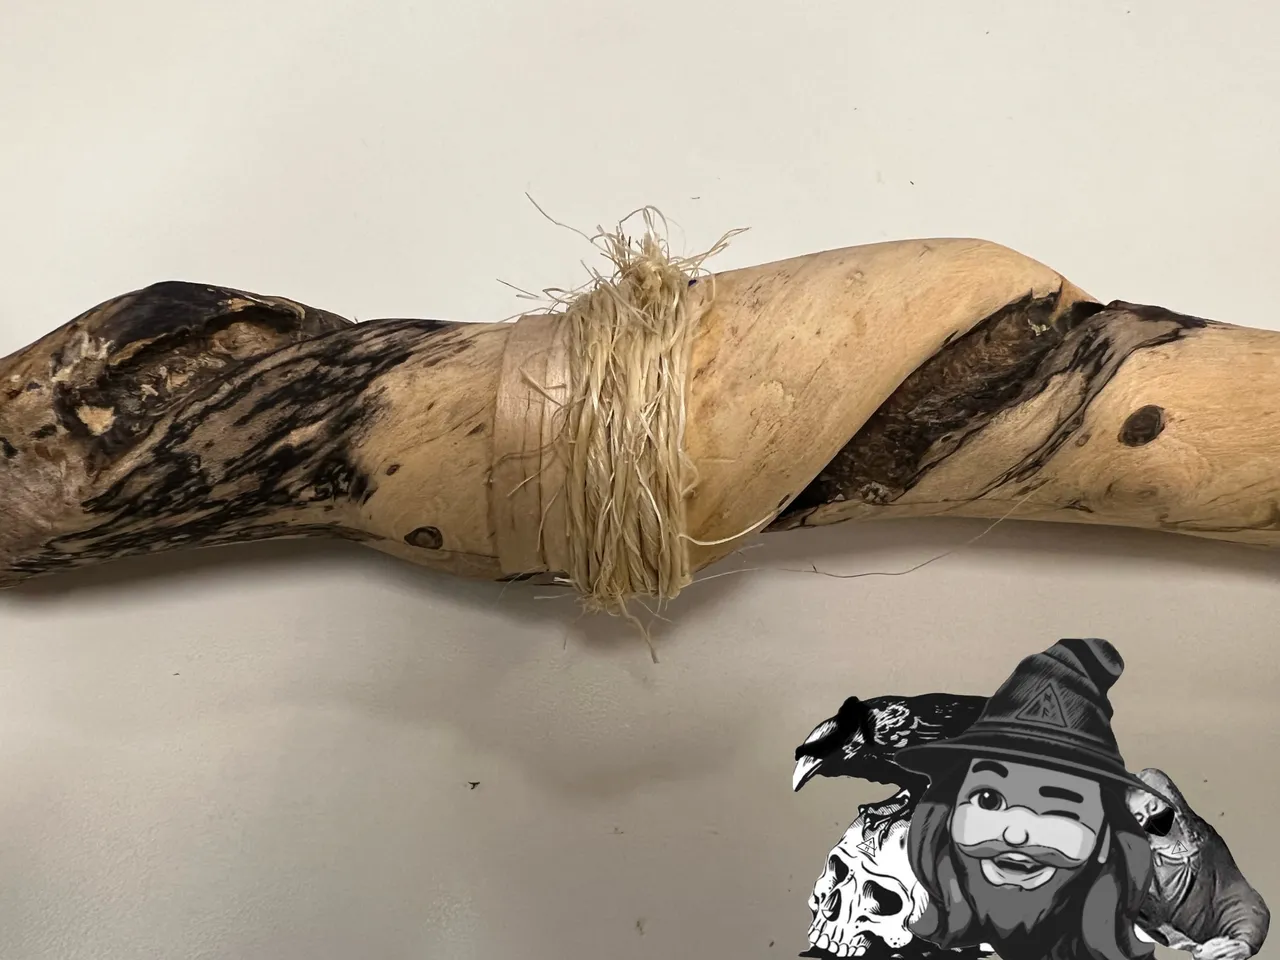
I let the last two bands dry for a few hours before cutting their wraps; these two had much more difficult curves to adhere to, so I wanted to make sure they were really dry before removing pressure.
To round out the day, I spent a couple hours sanding before bed. I’ve noticed you had to continuously blow the dust off or the sandpaper grinds it into the pores, resulting in a kind of gross/dirty look. I’ve also found it helps to apply little to no pressure, although that tends to slow progress a little too much for my liking.
Well, this post was just supposed to be cleaning up the exterior, but this little setback added a significant amount of consideration and effort. On DAY 4 though, we’ll get back to the originally intended task.
DAY 4
Now that the giant hole has been repaired, I’ll need to sand the patchwork down to make it feel like a better fit - but as I laid out the plans in my mind for doing so, I realized sanding the patch as is, I would run the risk of getting it too thin - right back where I started. So I decided to add two more bands, one on each side, before continuing.

For these ones, it just happened that I had some leftover stirring sticks that had sat in water overnight. As much as I hate to drag this out, I decided to cut them a little oversized, wrap them wet with no glue, and let them dry in place. This should make the gluing a little easier, but either way it will most likely help make them perfectly shaped for their spots.
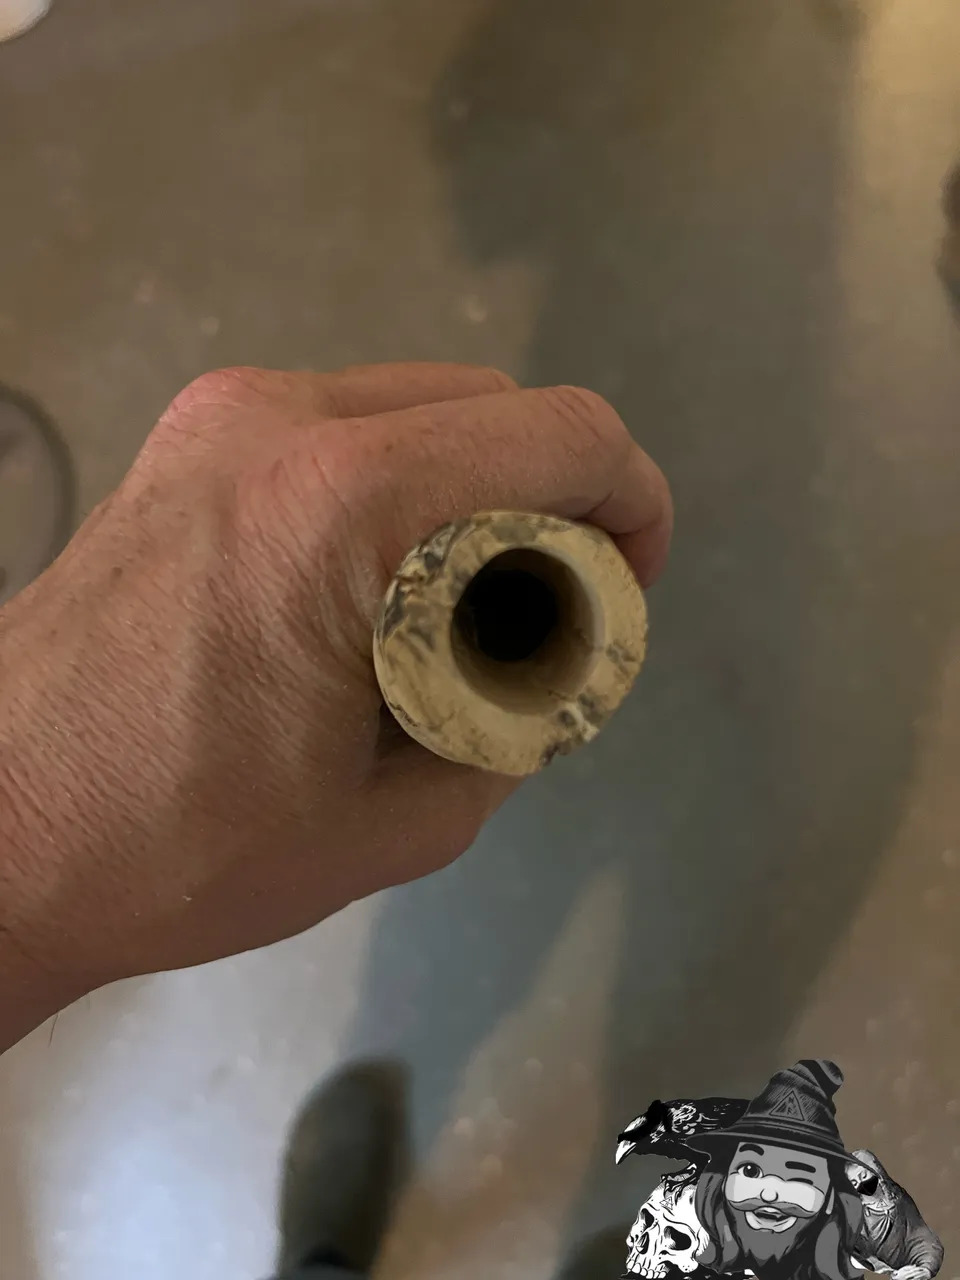
While these dried in place, I finally decided to take the plunge and saw the playing end. I don’t know why, but this is one of those steps that makes me nervous…although not nearly as much as the finger positions.
I know it isn’t proper, but I used a metal cutting blade to slow the cut and keep it cleaner.
The hole is not perfect, but I didn’t expect it to be at this point. Next I’ll use a sanding wheel to clean that up.
…Now that this is cut and rounded internally, I can almost do the fillet and notch on the outside edge. These will be very telling steps, as once these are done, we’ll know whether or not it can make a sound and, if so, what that sound will be. But before I can get these things done, I want to fill the remaining gaps.
| BEFORE | AFTER |
|---|---|
 |  |
 |  |
This will need to dry over night before I can sand it back down and smooth it all out, but hopefully I was able to press out all the air pockets and won’t have to take another run at it.
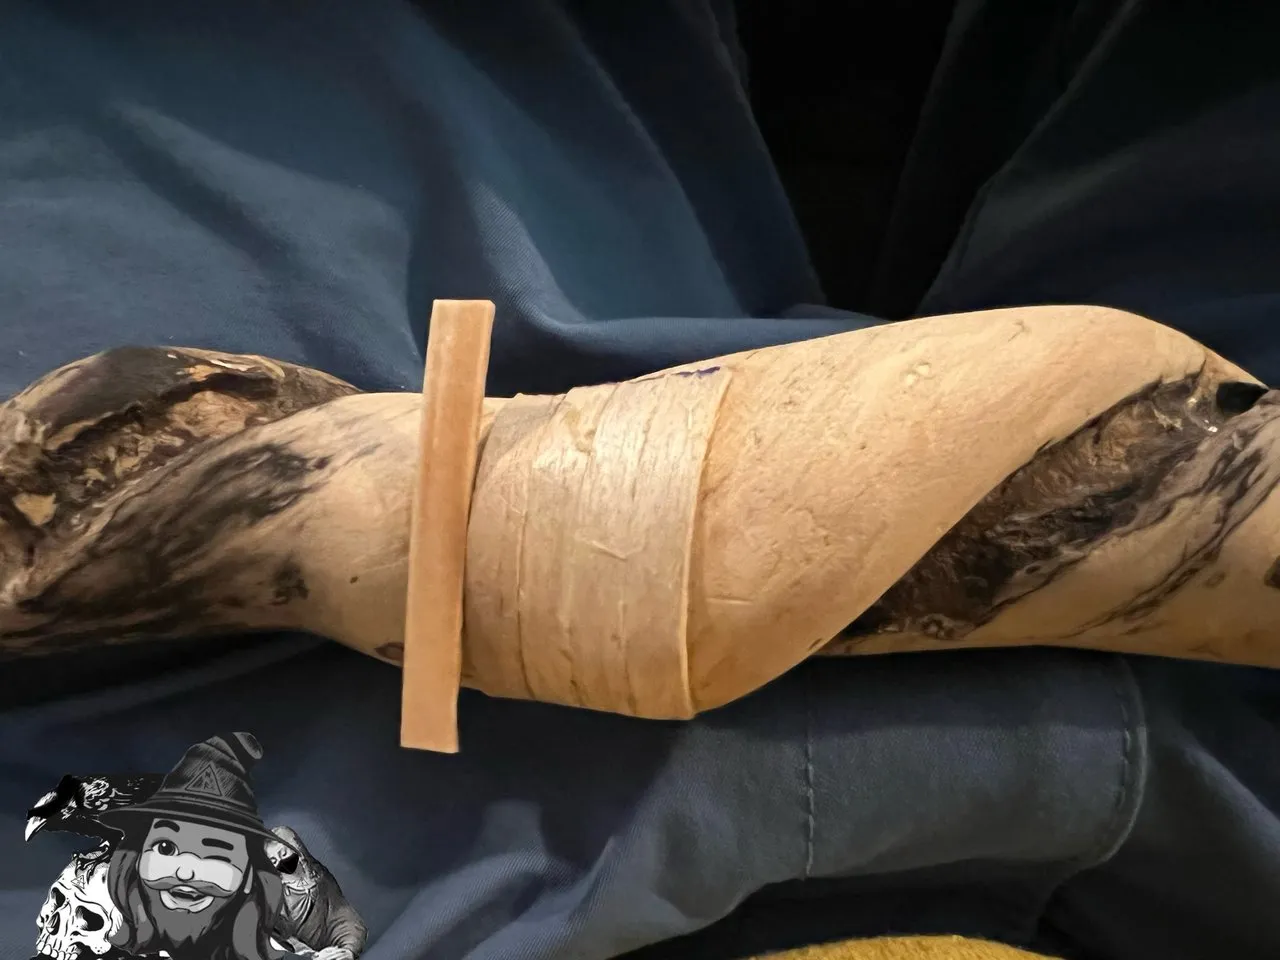
So as long as we’re waiting for things to dry, I figure I might as well go ahead and lock in the two outer bands.
Whereas previously, I had to put the glue on the band - which was tricky to work with - for these two cosmetic bands, I could put the glue right on the main body
After cutting, placing and wrapping the first band, I marked and cut the second band to fit.

…an of course, placed and wrapped it. Now I just need to wait patiently for all these things to dry.
To help speed things along, I went ahead and laid this out in the sun beside my three-day-old tree fire.
After a few hours in the sun, I cut the wraps. You can see that the patch job isn’t perfect, but I think it will sand down to look pretty good.
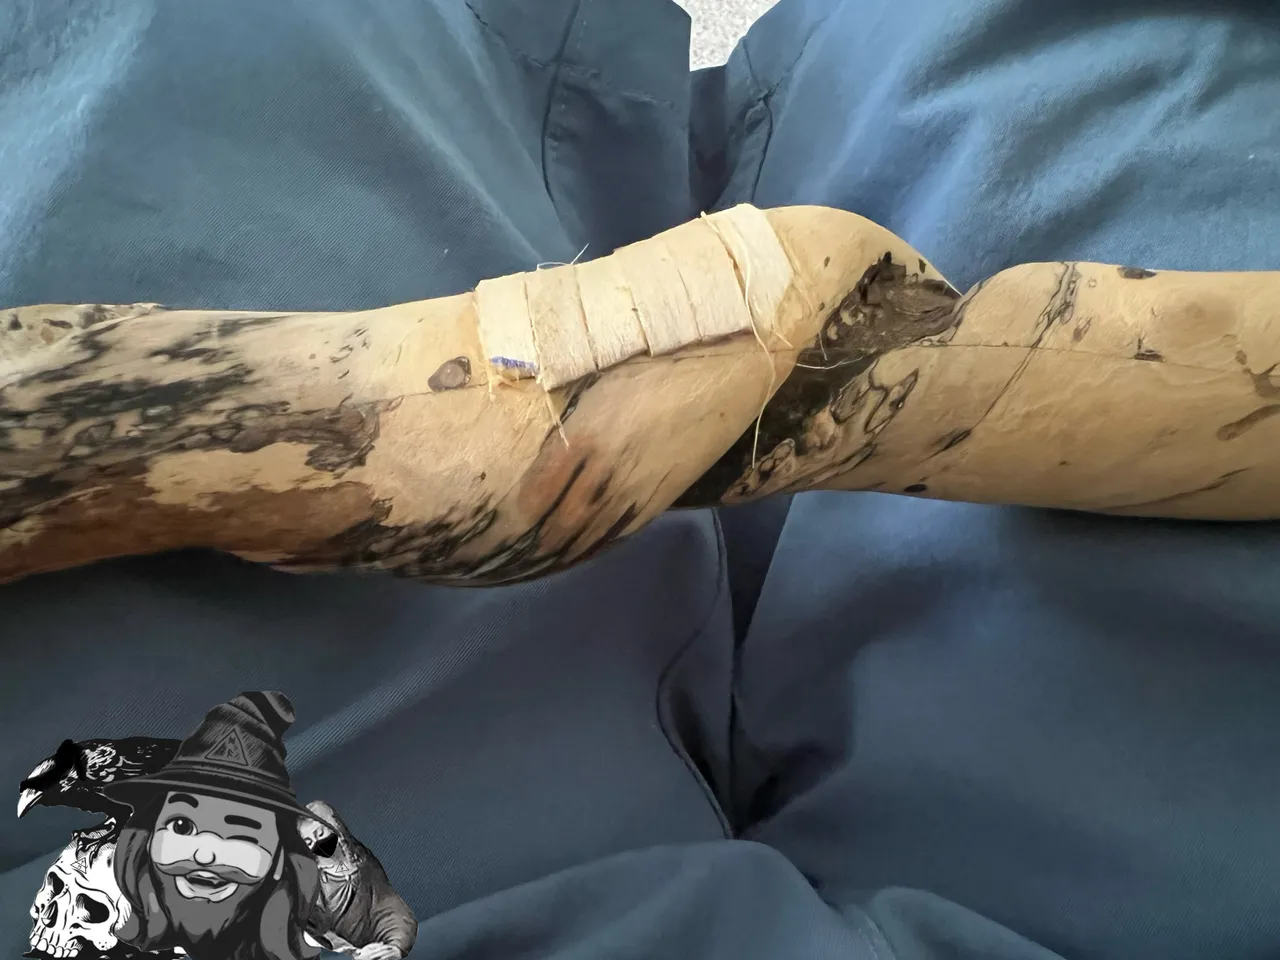
I didn’t like the little gap before the far-right band, so before I called it a night, I filled that area with wood filler. We’ll let this dry tonight, and tomorrow should be able to sand it back down.
DAY 5
Today I started out with my focus on smoothing the edges of the patch. In theory, I could do this really fast with a power sander, but tools that work fast make more pronounced mistakes - so I decided to take the slow road and work the edges down by hand with sandpaper.
There isn’t much to say about this, there weren’t multiple complicated steps or anything, just slow and steady sanding with light pressure. I alternated directions periodically to increase the efficacy of my work, sanded down one side at a time, and finished each side by doing a few minutes of light sanding parallel to the grain. That last part helps minimize surface scoring - although it doesn’t particularly matter because once the whole exterior is sanded I’ll go over everything with fine grit sandpaper to smooth and polish before I stain it.
There are still edges where the glue shows. I kept trying to get it down to a cleaner finish, but all it ends up doing is receding the glue line and removing more of the patch; so this is where I will leave it.
Tonight I finished up by sanding more of the dark weathered surface down to clean wood. It’s not quite ready for staining, but we’re getting pretty close now.
DAY 6
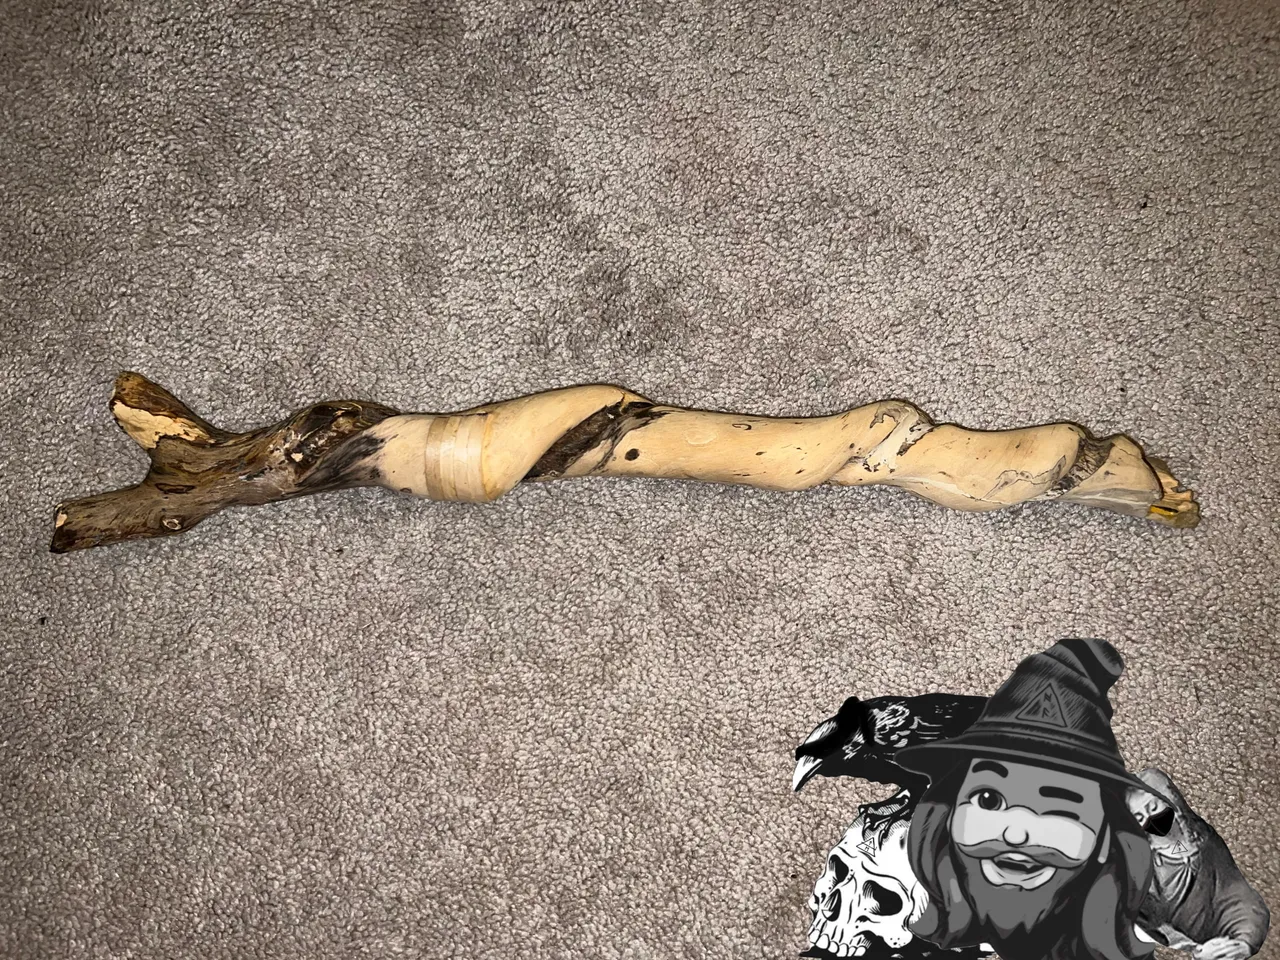
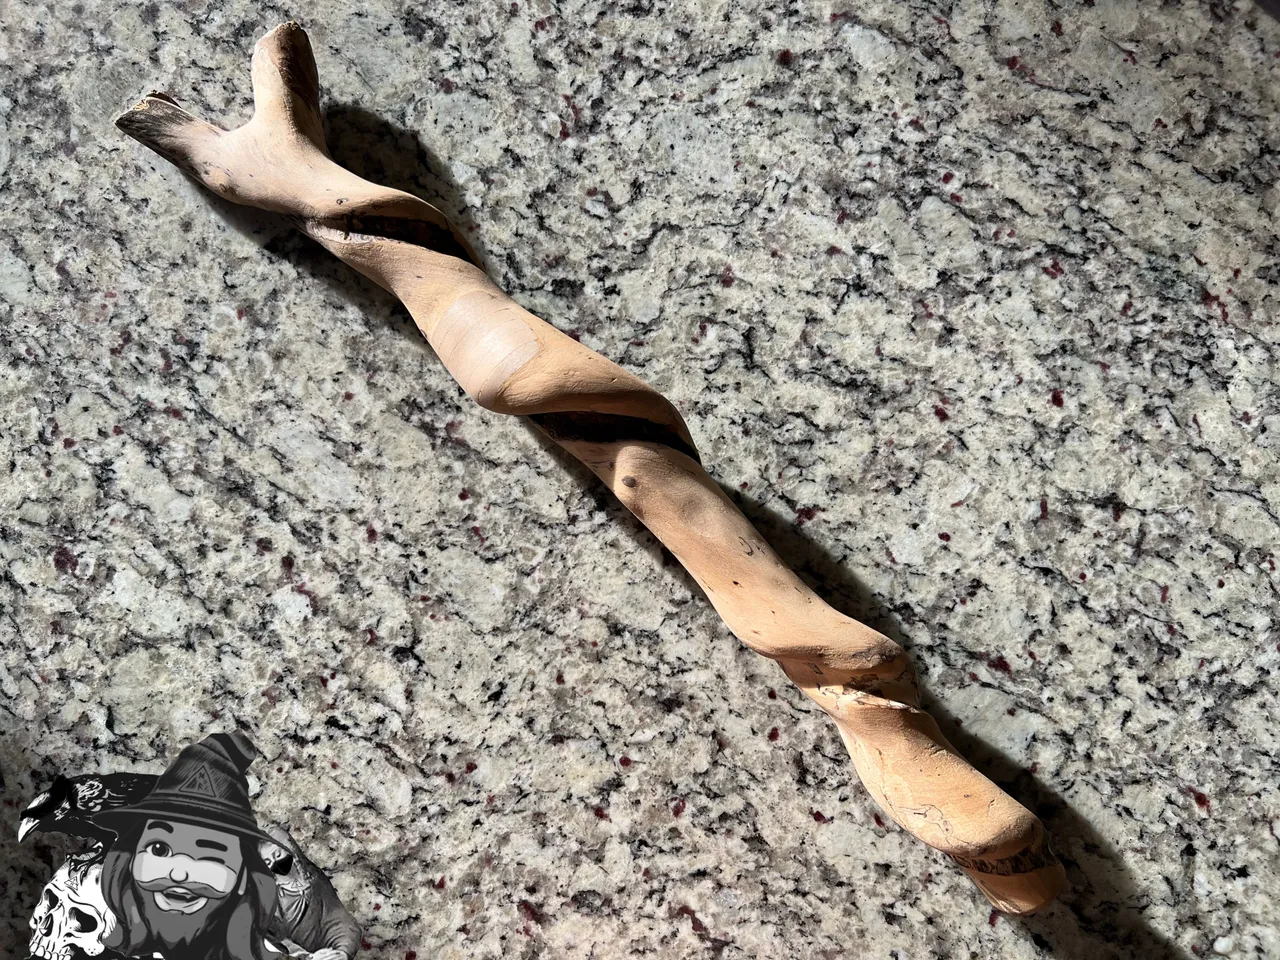
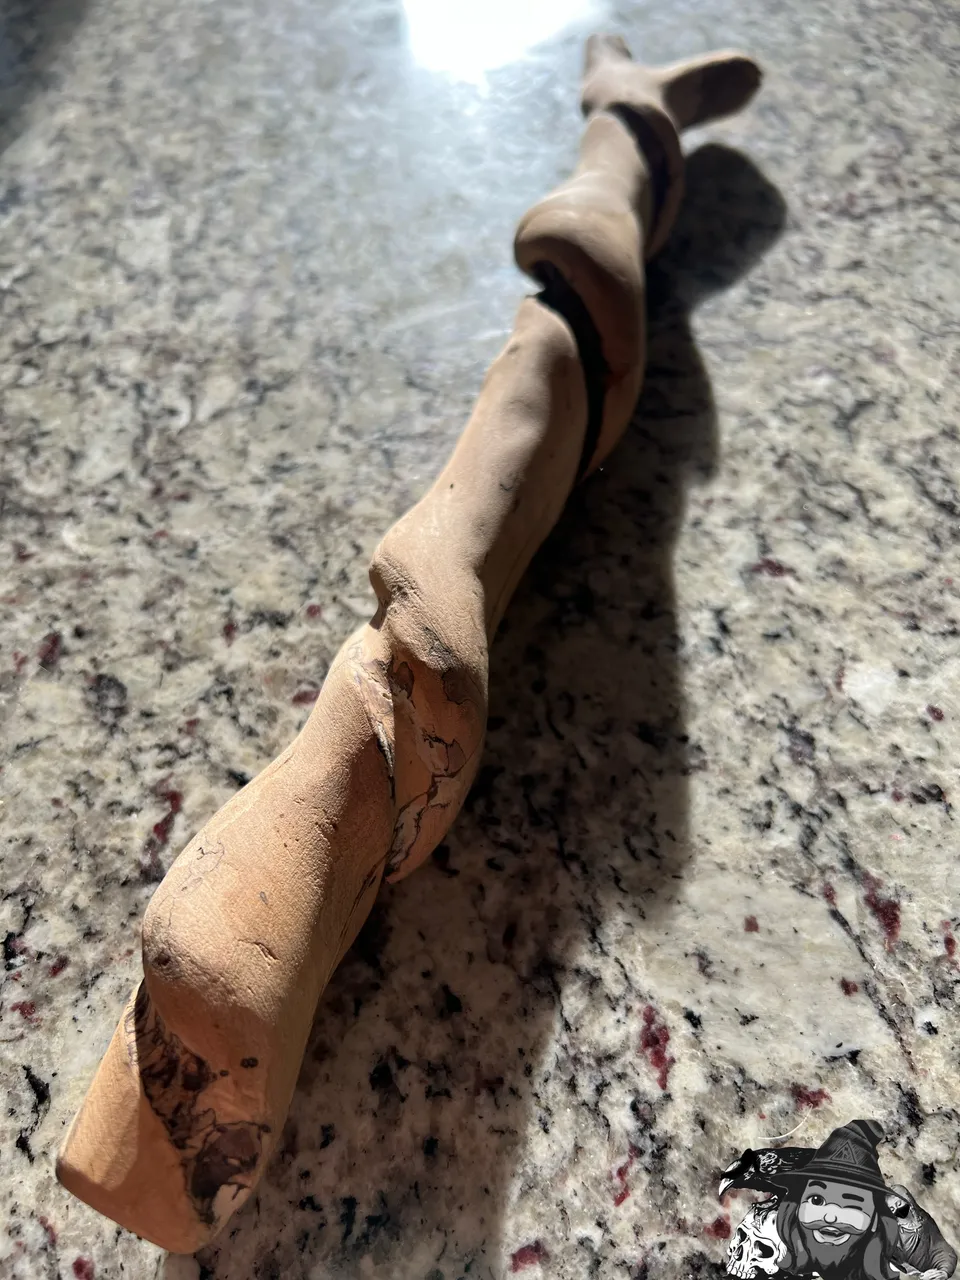
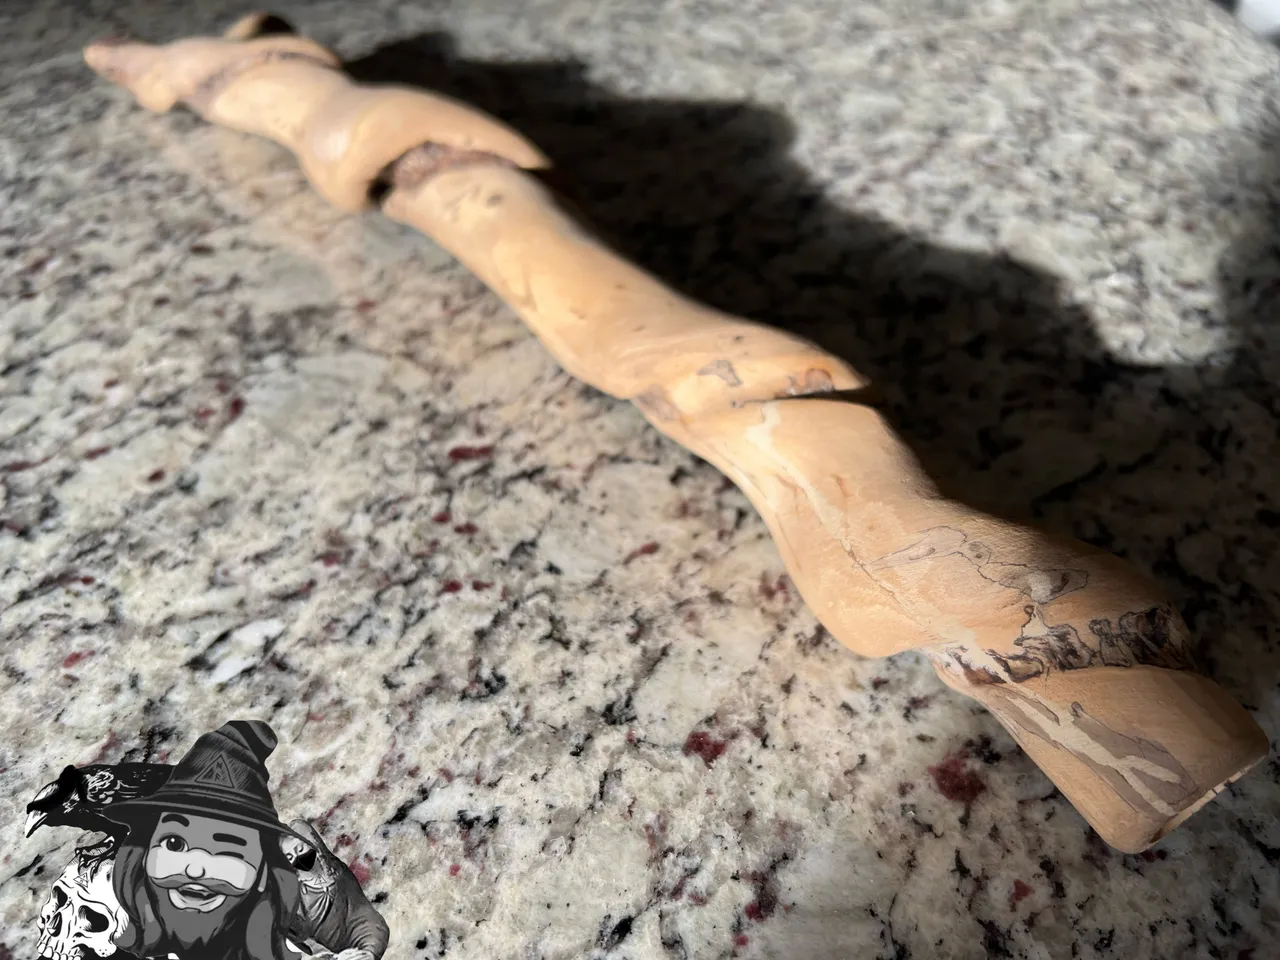
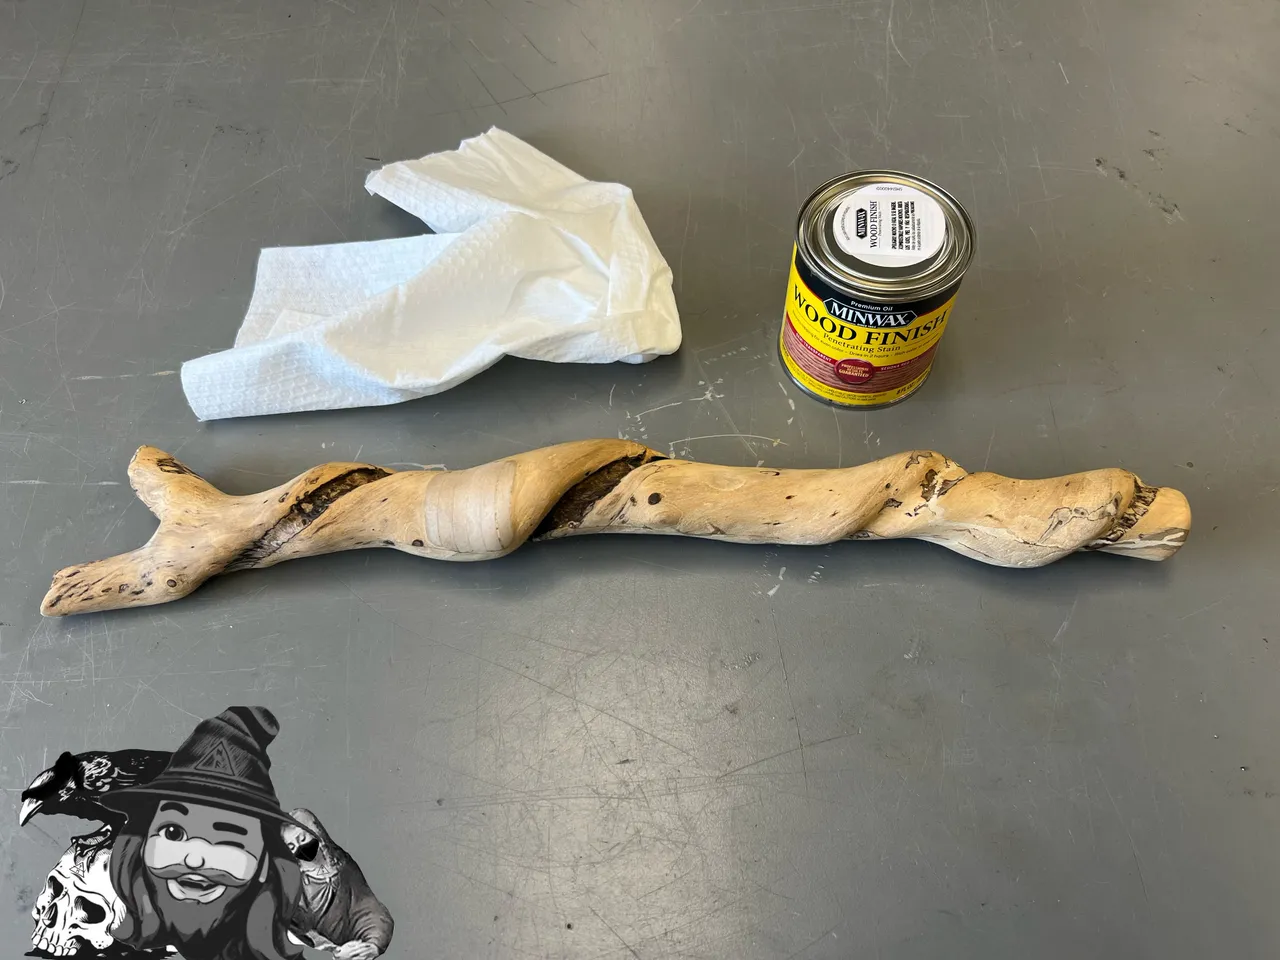
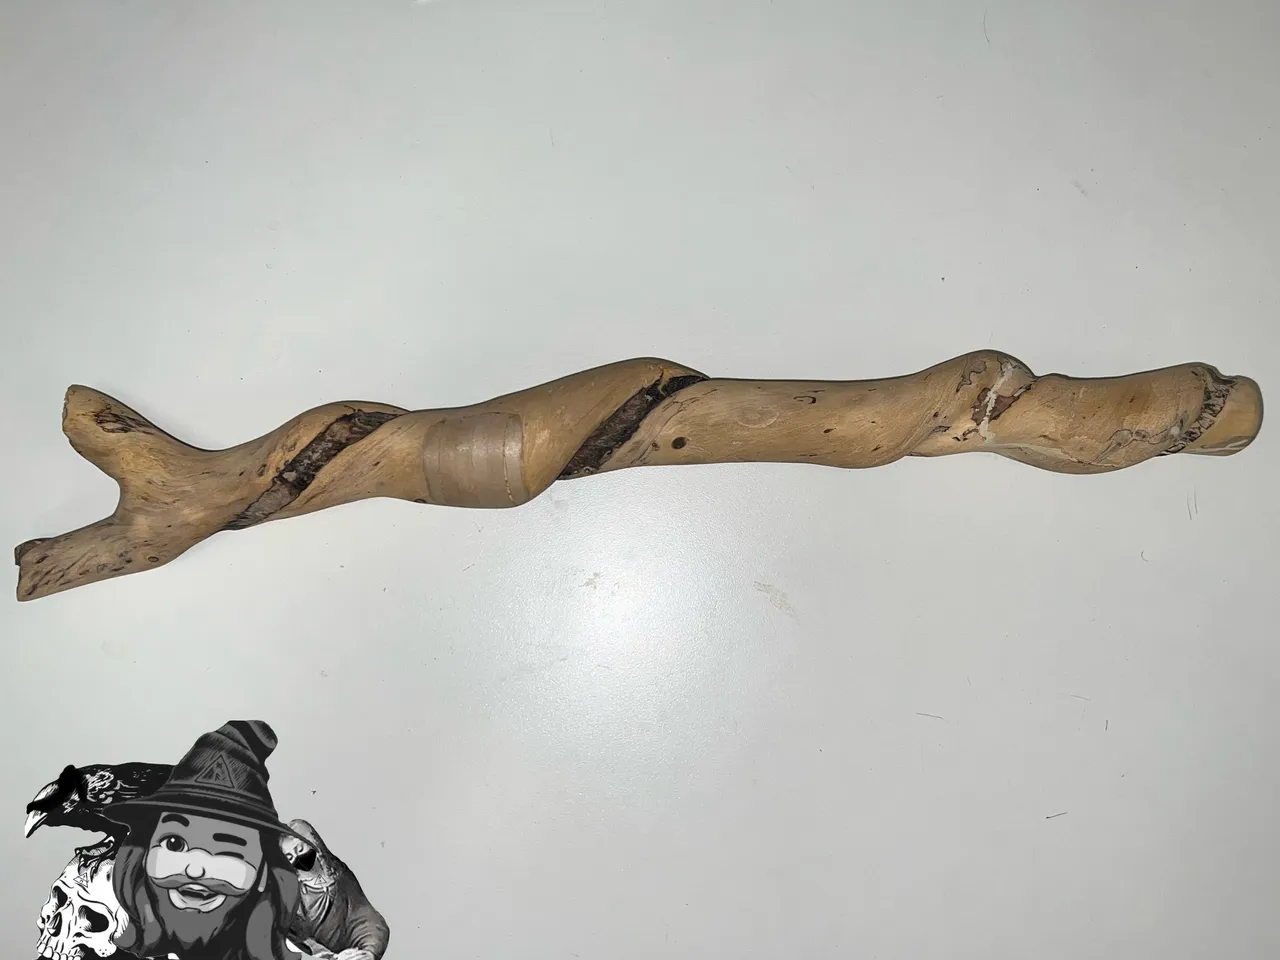
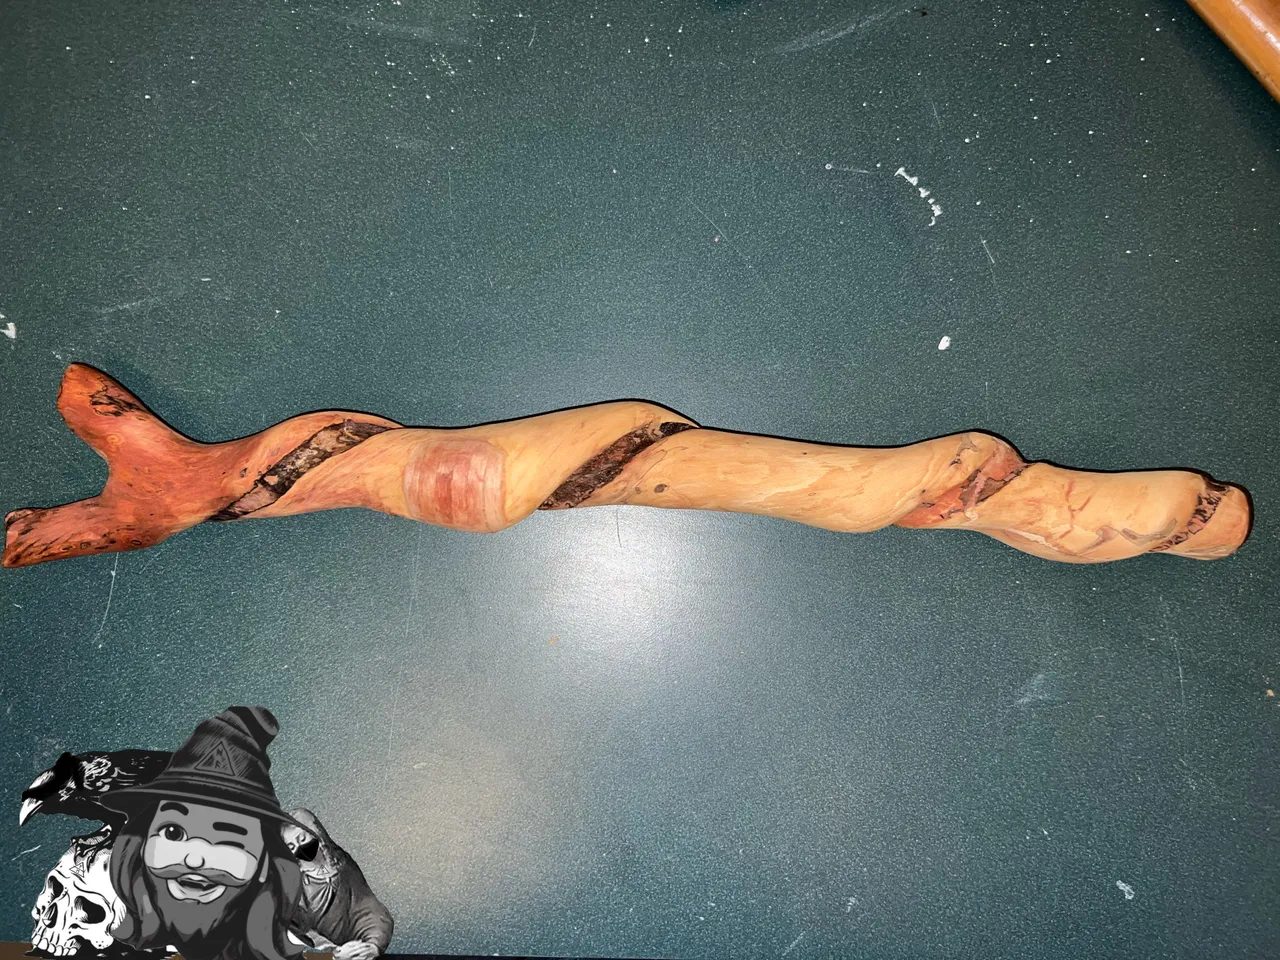
Started off today with a couple shots of the current state of the branch, on a stone counter in the morning sun. From the look of the progress I made last but (after several hours of sanding!), Part 3 is almost complete.
I sanded down the rough end to finish preparing for stain, and then got right into it.
| Column1 | Column2 |
|---|---|
 |  |
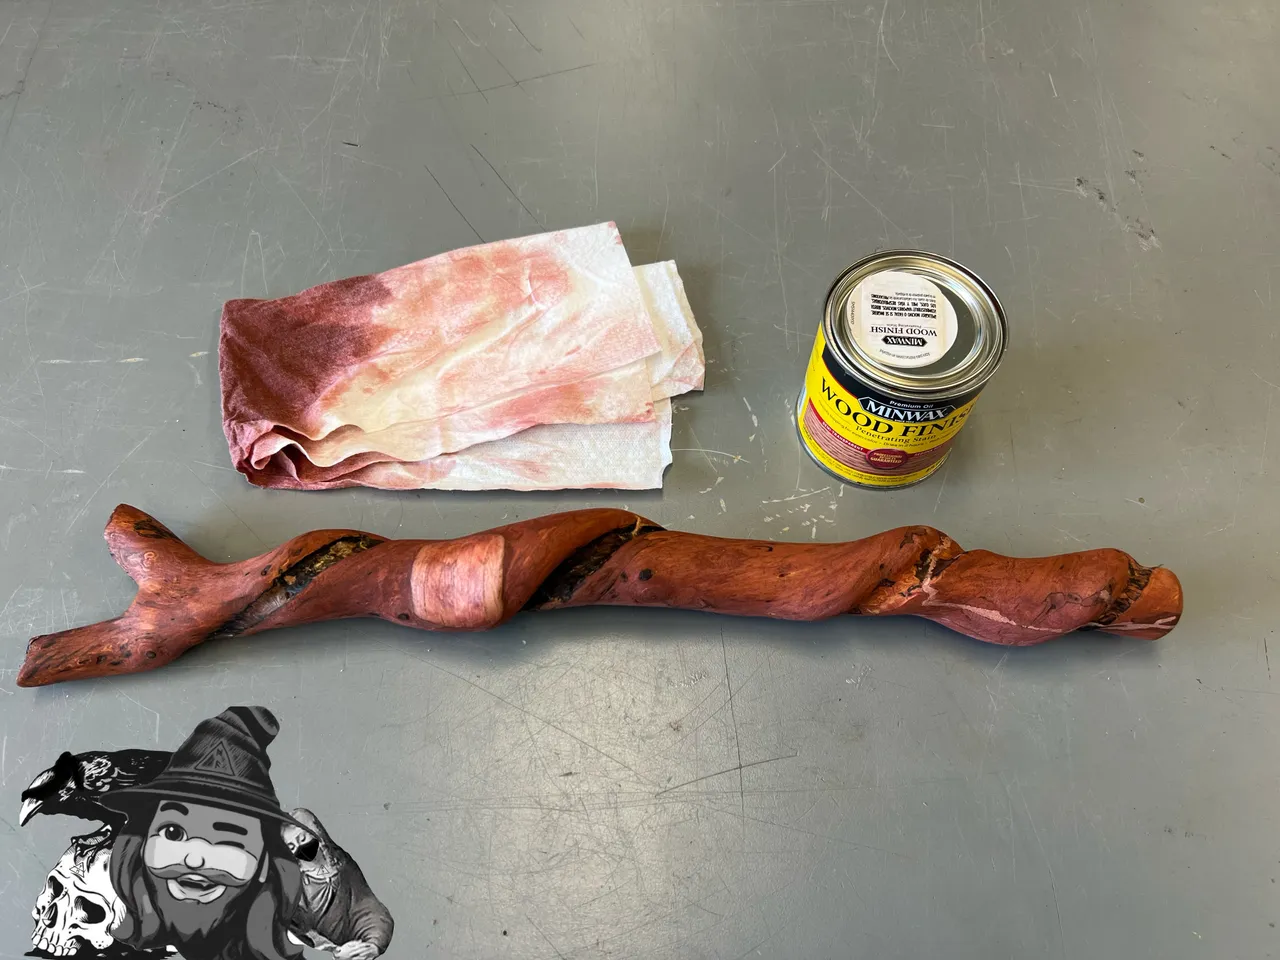 |  |
…I hate to say it, but I don’t like this Sedona Red stain one bit. I’m going to have to sand it back down and try something different. I even told myself I wouldn’t like it - and that I should at least try a test coat on the piece I cut off - but then I plunged impatiently into the full job and now must pay for my haste.
After basically a full day of sanding, I still hadn’t gotten it back to its original state, but it’s close. I’ll finish it up next time I get to it, and when I do, I’m thinking I’ll just finish it with oil. This poor choice definitely caused a setback, but it’s good for me to learn from these things.
DAY 7
…and on the seventh day, I did rest - albeit, not until I was done with the branch cleanup.
Today I lightly sanded the remaining end, but I liked keeping it a little darker on the rough end. I had wanted to do that originally, but the dark rotted surface was unappealing, and the subdued red stain I felt was a little nicer - so this all worked out!
I didn’t have any cool wood oils or varnishes on hand, so I just dumped some of this floor polish on a towel gave it the ol’ rub down.
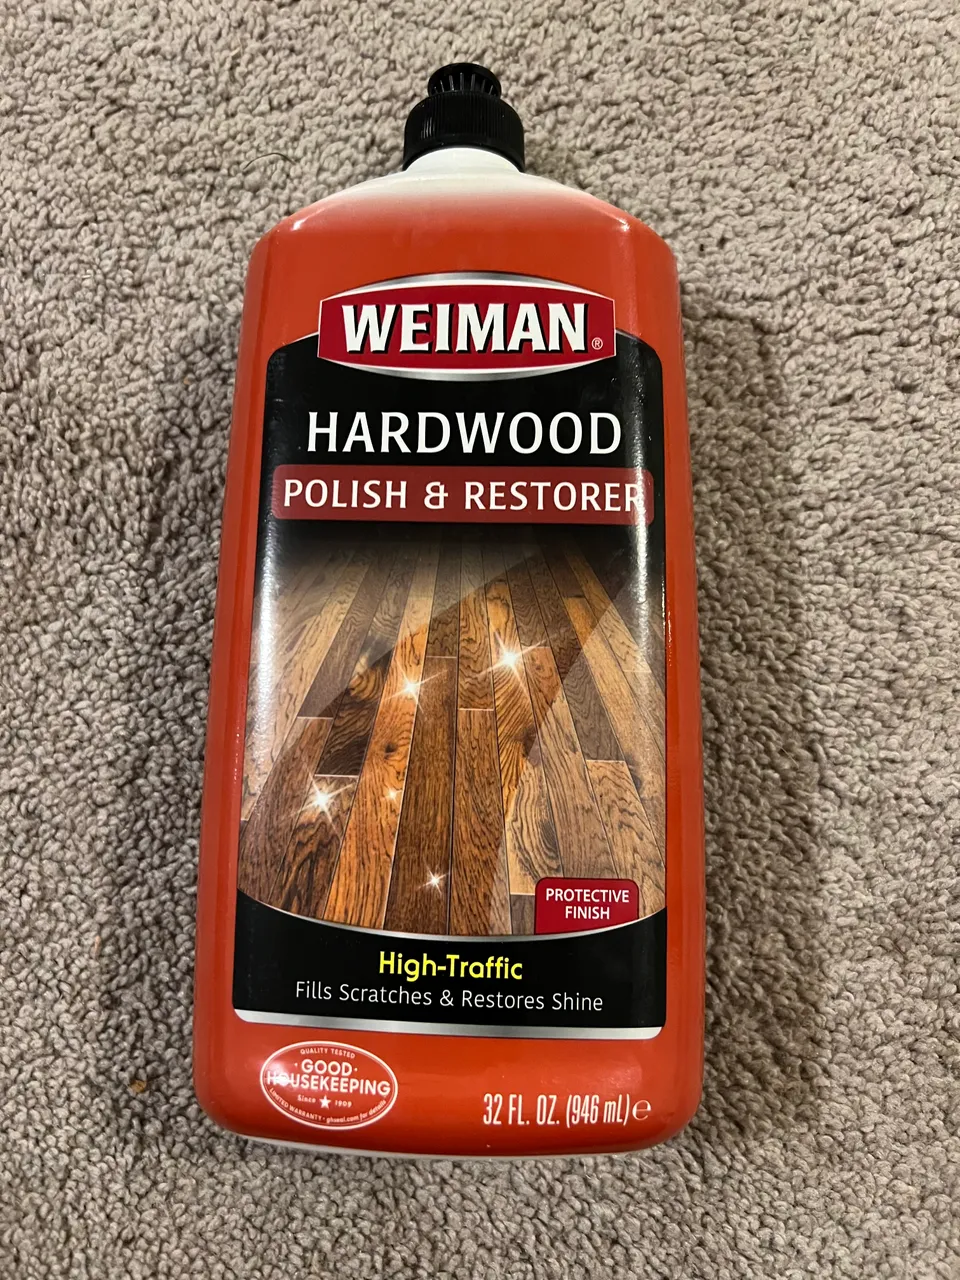
After it had dried, you really couldn’t even tell I had done anything. I may add some white mineral oil to the mix at some point, but for now, I’m saying it’s been a long seven days, and this looks good enough for me…I’m ready to find out if it was all worth it.
Next time, we will find out!
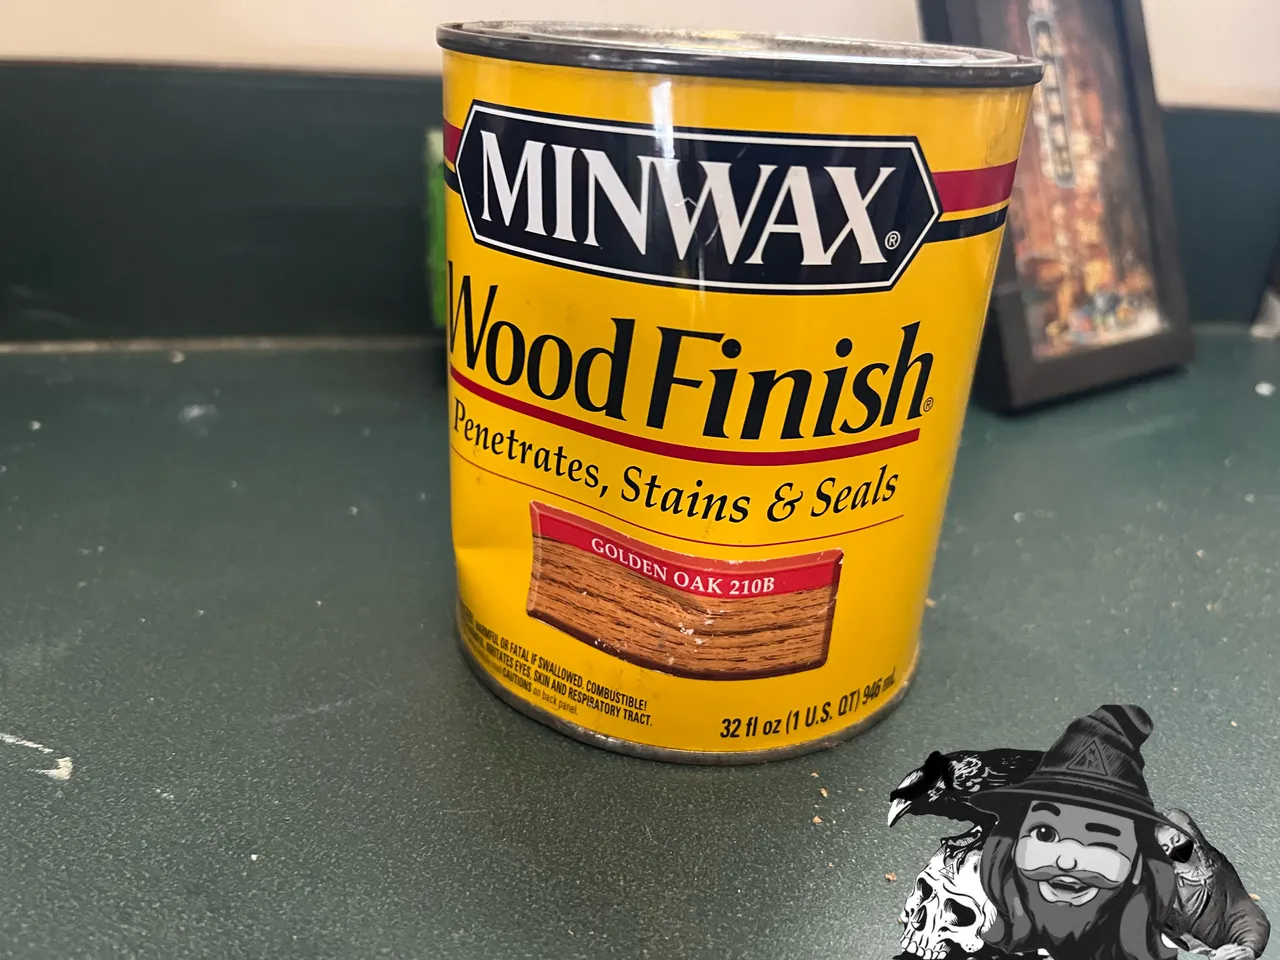
EDIT 1:
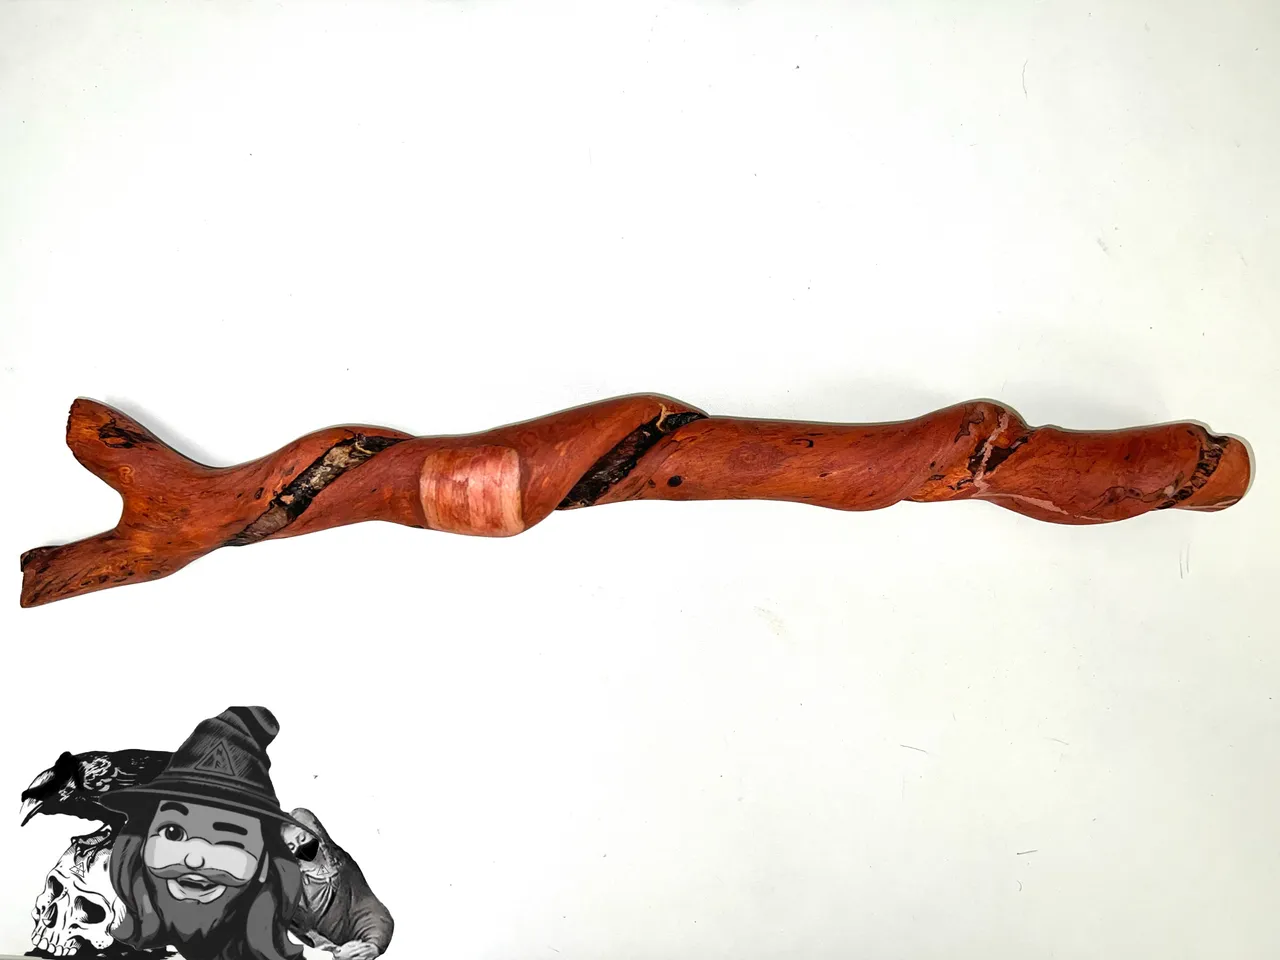
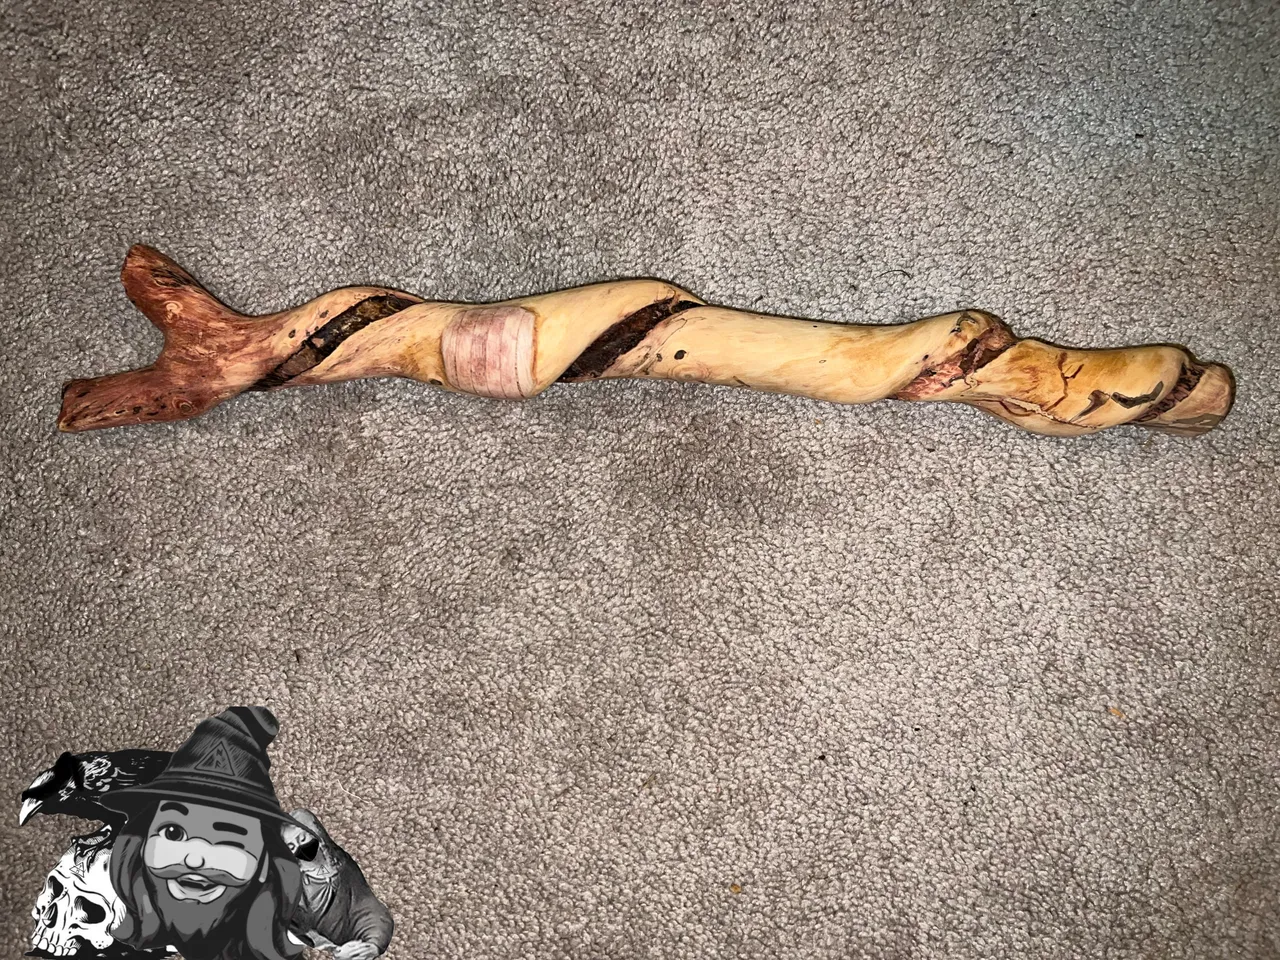
I found this stain as I was cleaning, only a few minutes after posting. This was a color more aligned with what I thought might be a good fit for this branch, so I took the same sort of risk as yesterday, and just stained the whole thing…but the results were much more to my liking, and I think it blended the areas I left darker very well.

Later I’ll probably do one more edit, to add mineral oil, and then we’ll get started into making (or trying to make) a flute!
Thanks for checking out some more of my work! As always, I hope you enjoyed witnessing as much as I enjoyed creating!
© Photos and words by @albuslucimus, except where otherwise indicated.


If you enjoy my content, check out the Albus Index!
Here you’ll find links to various post-groupings, so you can find all posts related to a specific topic quickly. Topics include lists of brewing recipes, flutes, crypto talks, rucking posts and an index of all acoustic covers. The lists are updated as new content is added, so they can always be used to quickly navigate my content.