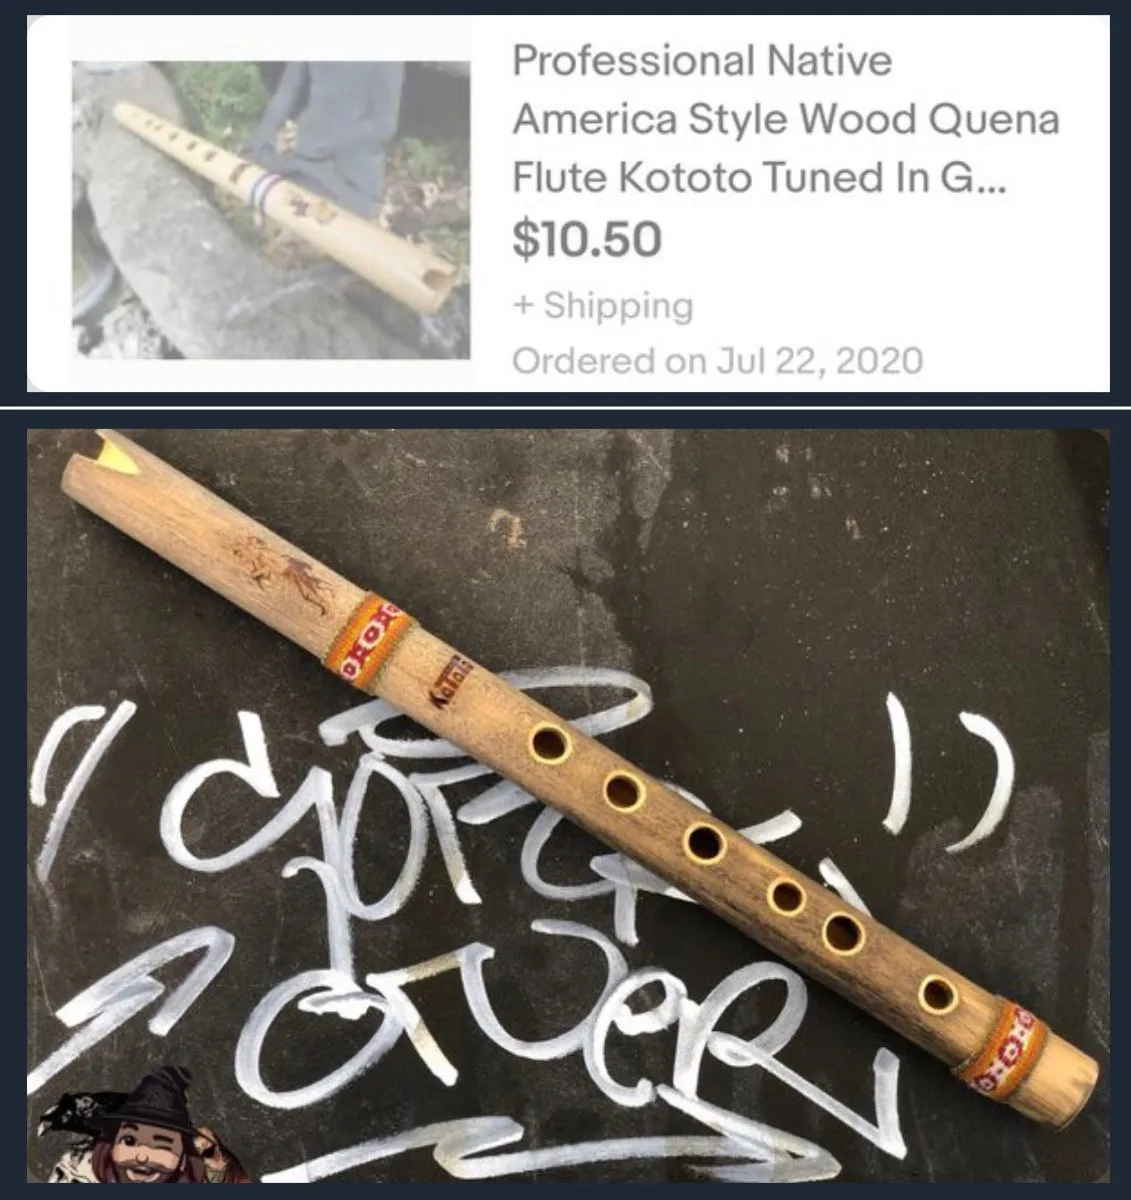
For $10, this flute was an awesome find. Since I liked others better when this came in, it didn’t get much attention - but before I put it on a shelf and left it for dead I made sure to give it a shitty refinishing job.
I don’t like the feel of polyurethane surfaces, I like wood feeling like wood. So I sanded the bottom part of the flute where my hands would go. I left the top part coated. It was like when they shaved Azlan’s main or whatever, this flute just lost all its confidence and sat quietly in the shed, sad and embarrassed.
For the history of this flute and how it came to me, stay tuned into the Instrument Porn community, I’ll be posting all that stuff when this flute takes the FotM stage (probably I don’t know…maybe June? ;)
Anyway, I decided to give this baby a makeover.
I wasn’t wild about the fully lacquered surface and the old listing seems to have expired, so I don’t really have a “before” picture, just a screen shot of the grayed and locked old listing.
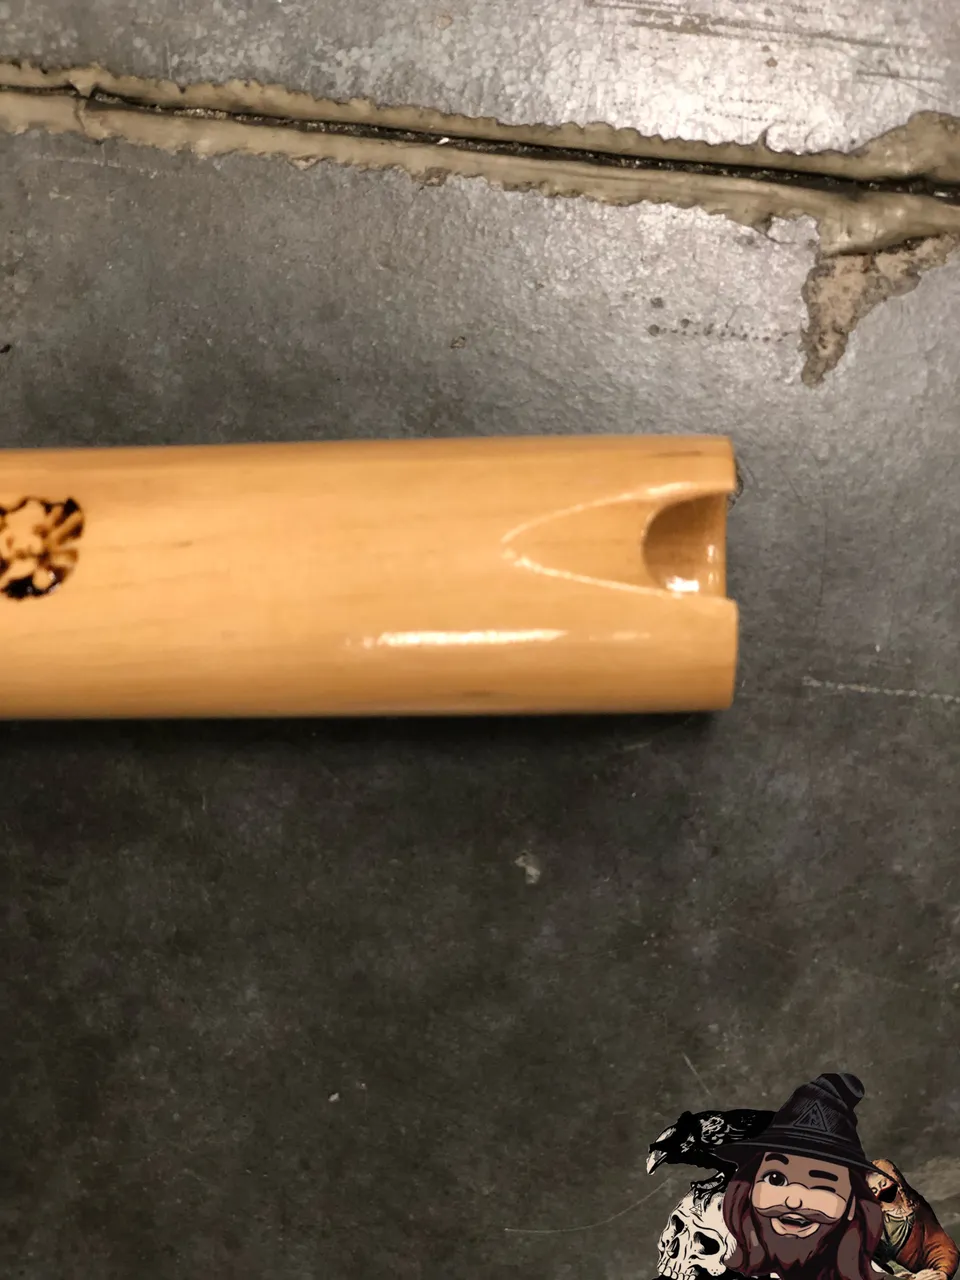
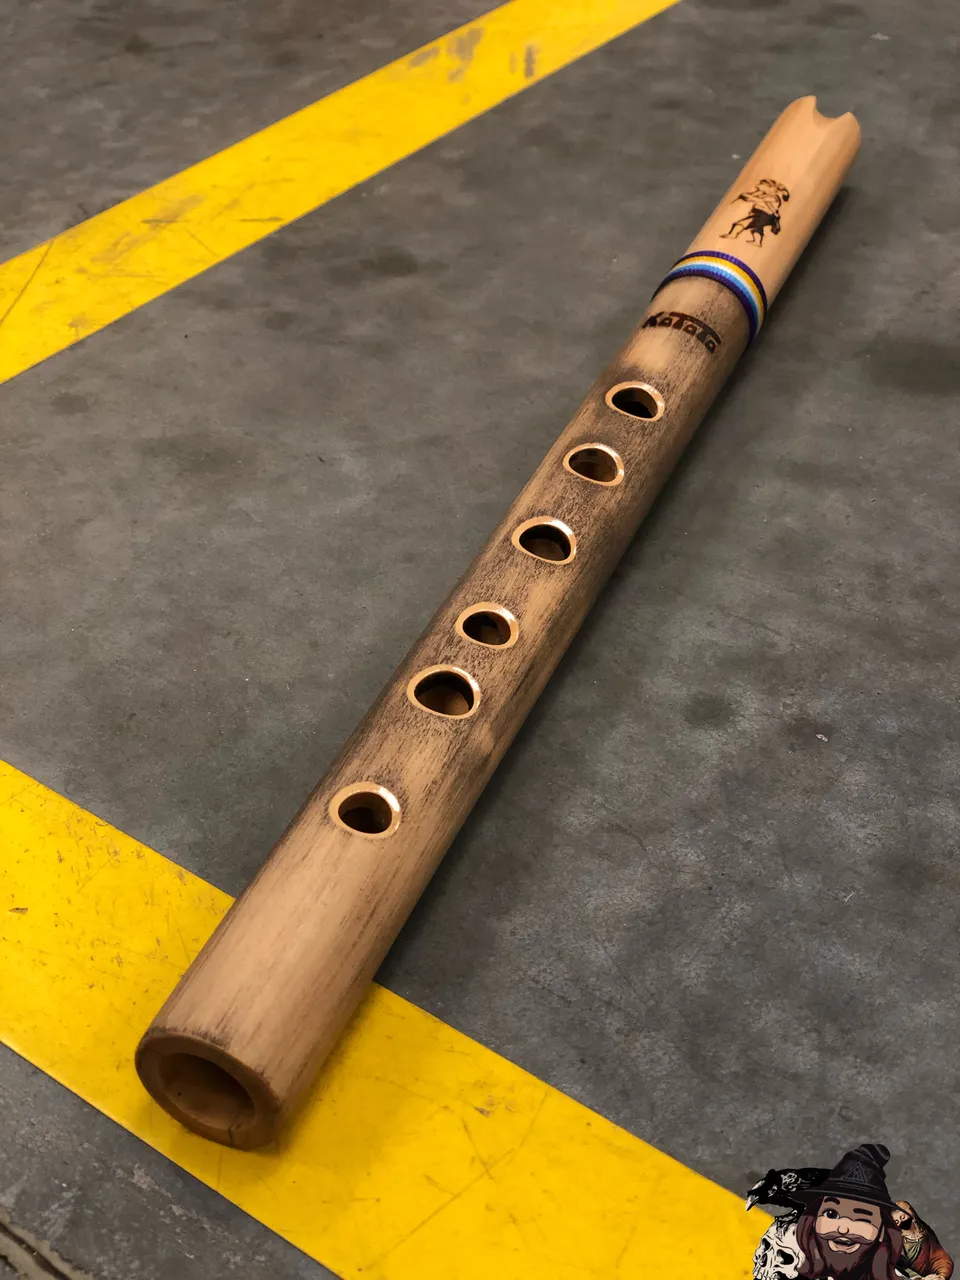
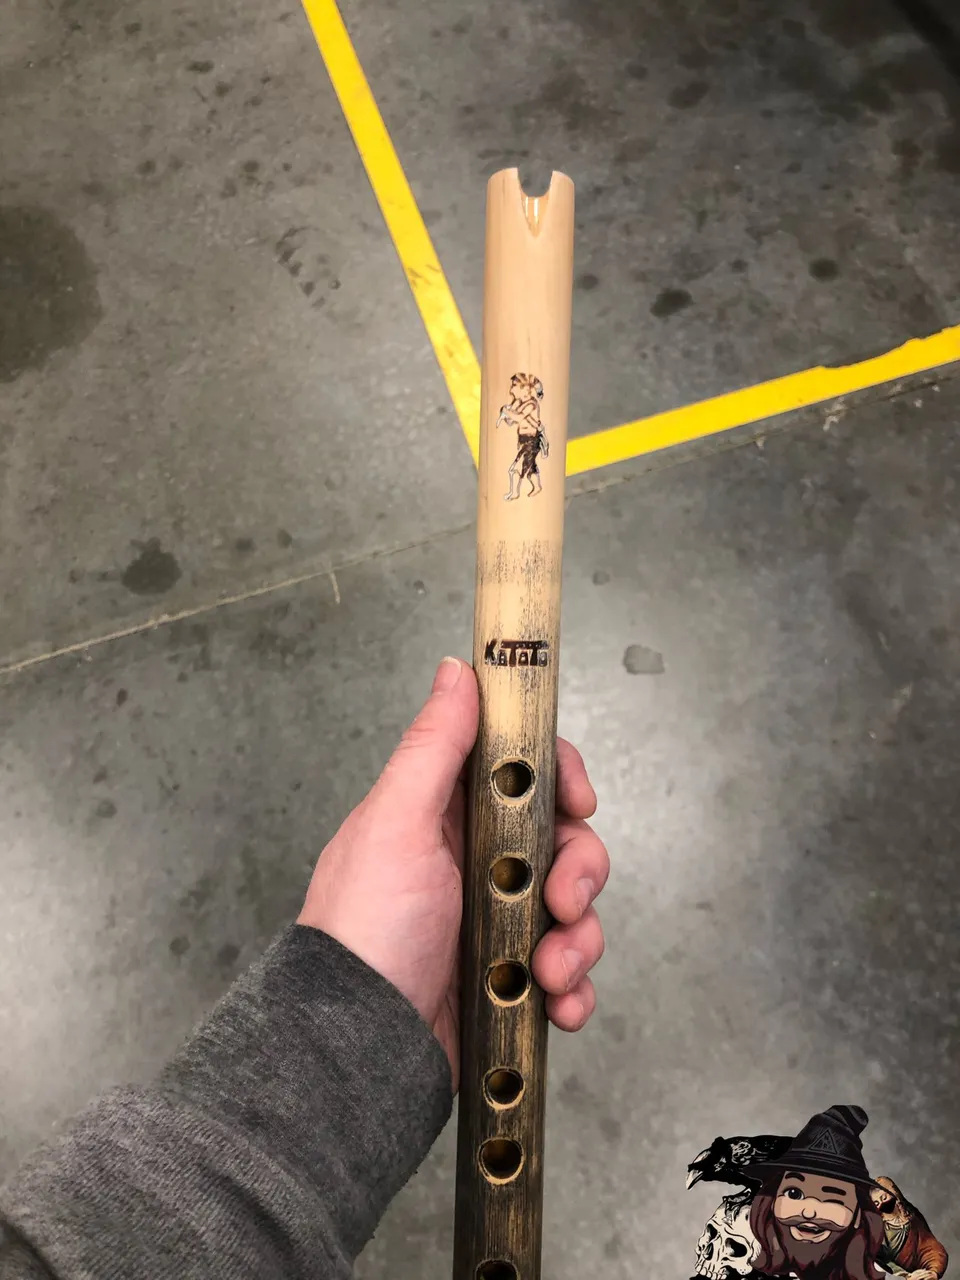
In the picture above, if you look through the notch you can kind of see how the interior wall of the mouthpiece is rounded. I tried a few other angles to capture this but they all came out blurry and I didn’t want to work too hard for it.
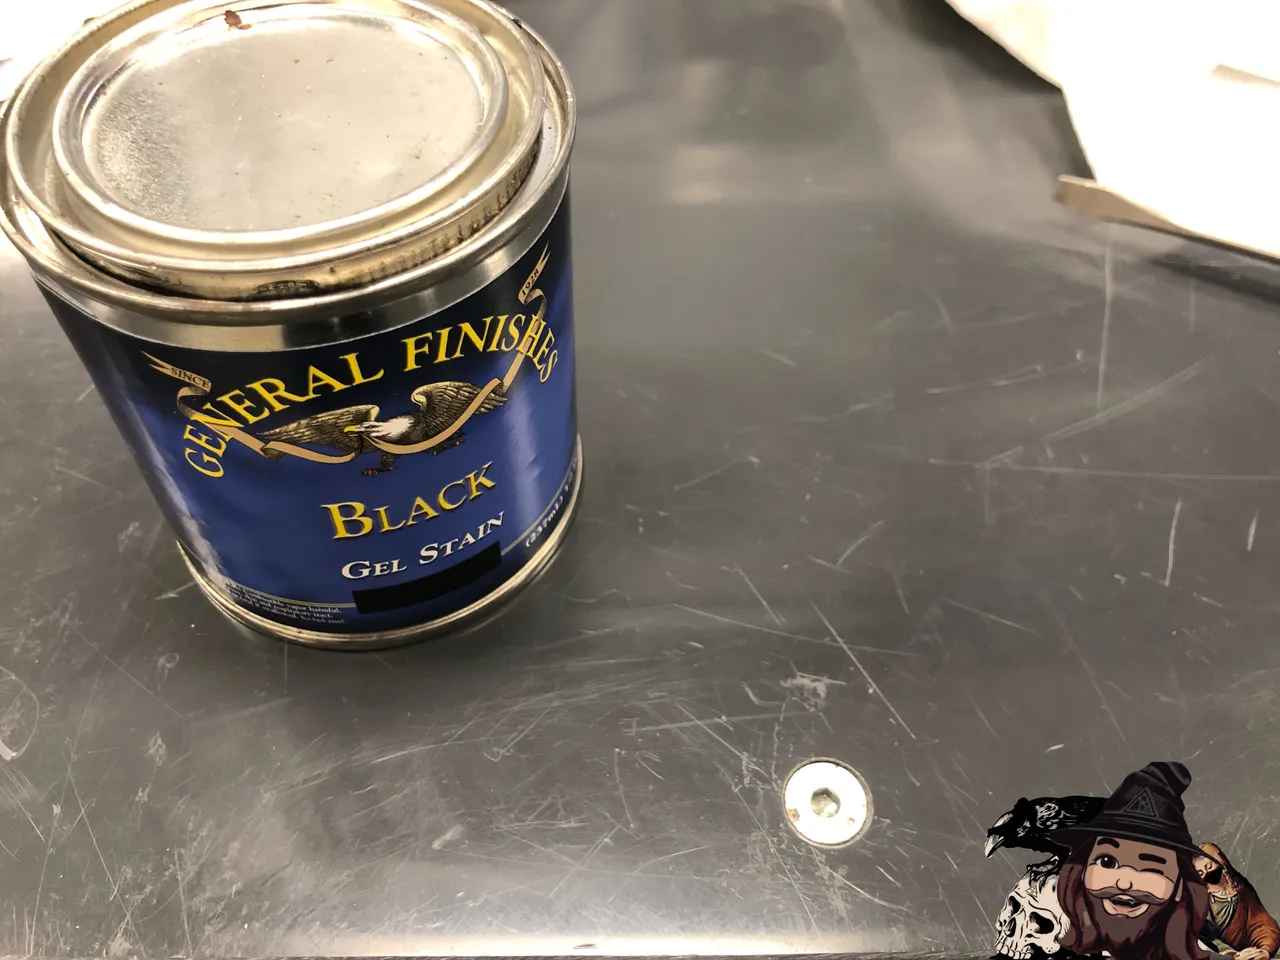
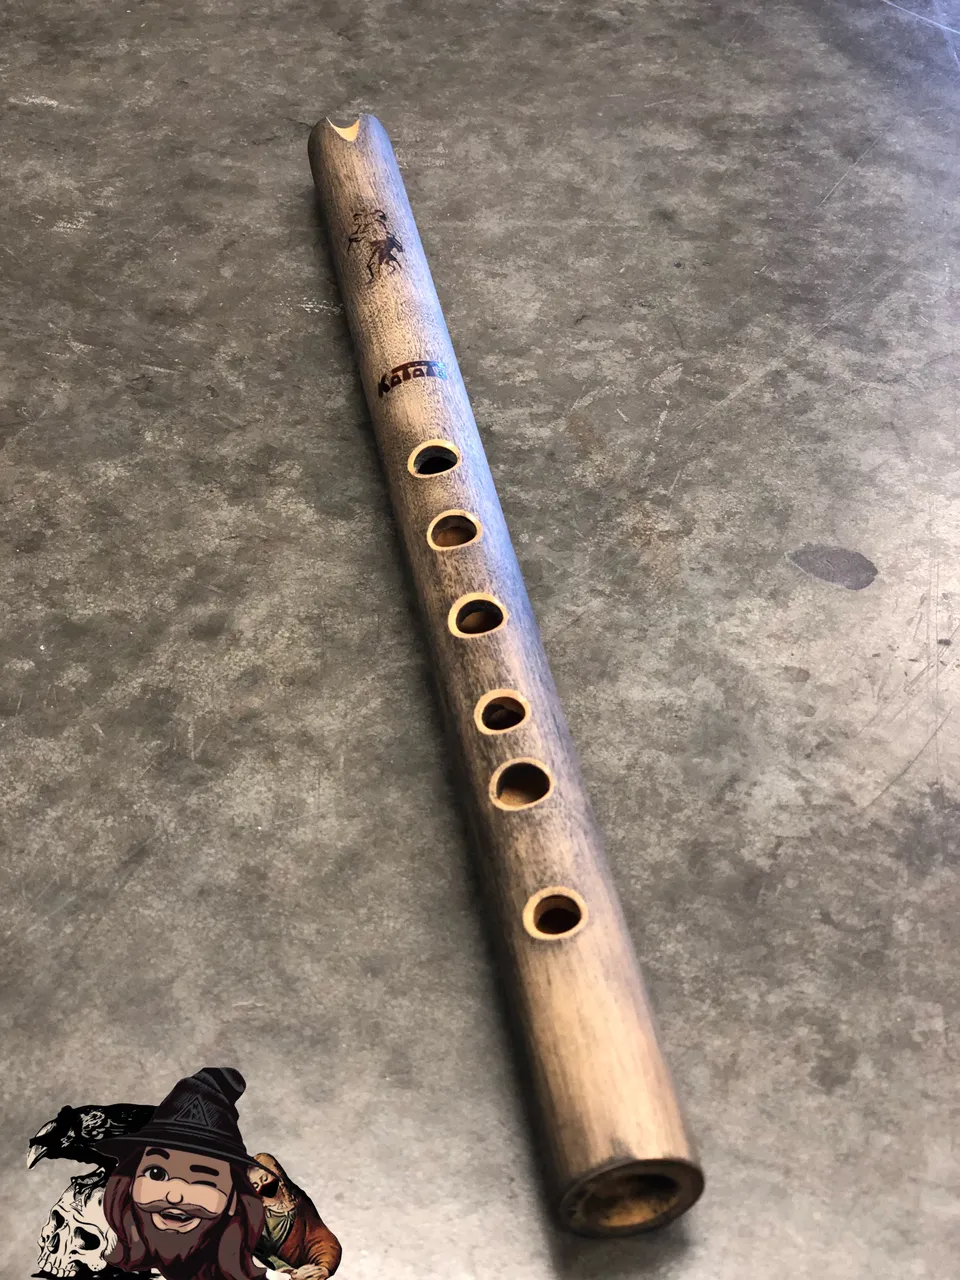
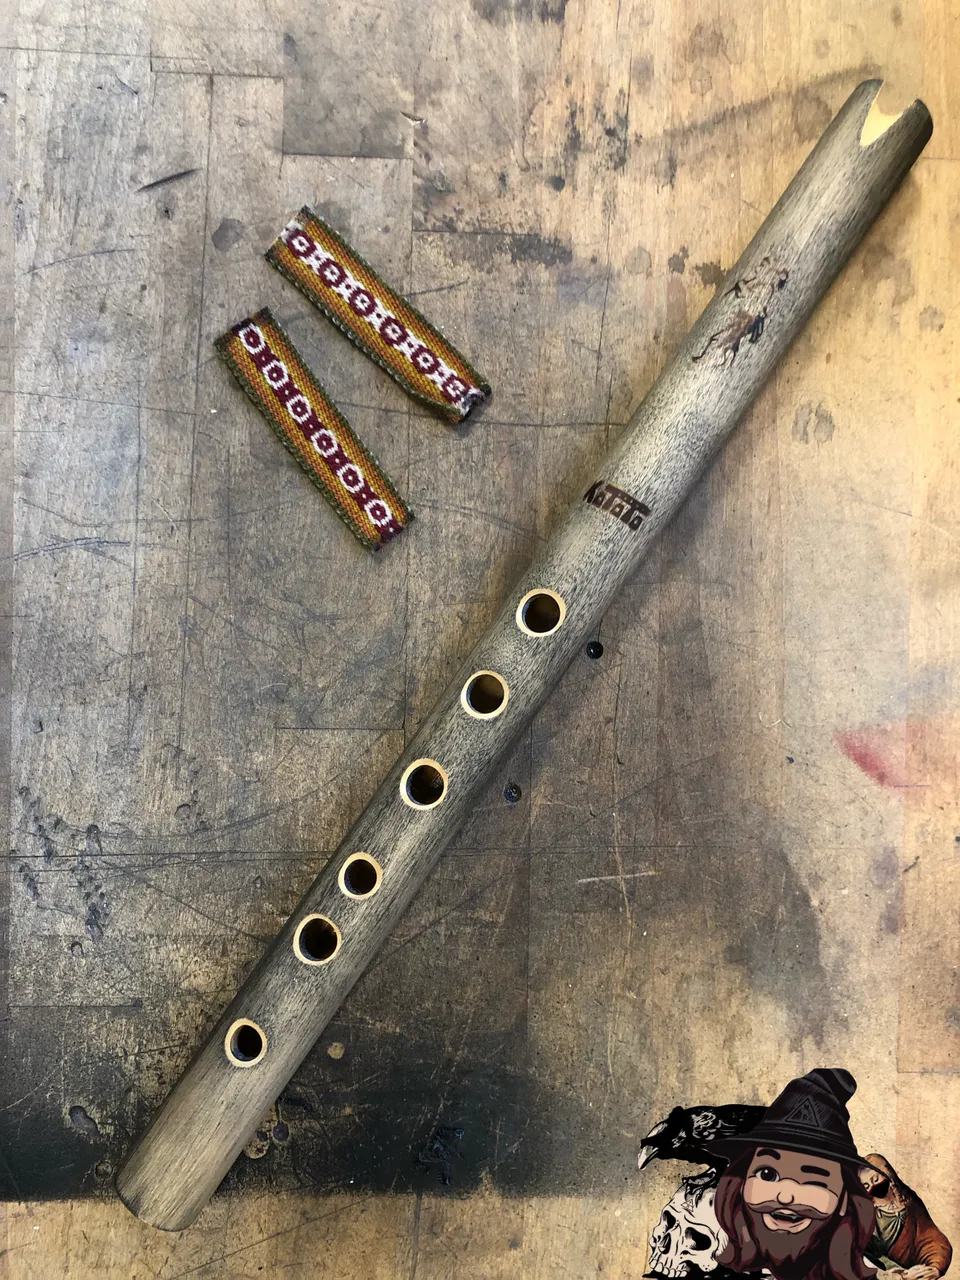
So first I just tried making the lower part darker. I just slid the binding out of the way and rubbed a few more layers of stain into the surface, but I wasn’t much happier with it this way than I had been before…a little maybe, but it still wasn’t right.
When that didn’t satisfy me, I knew I had to get rid of the poly-coat. I sanded the whole flute, but focused on the top part since I’ve never sanded there before.
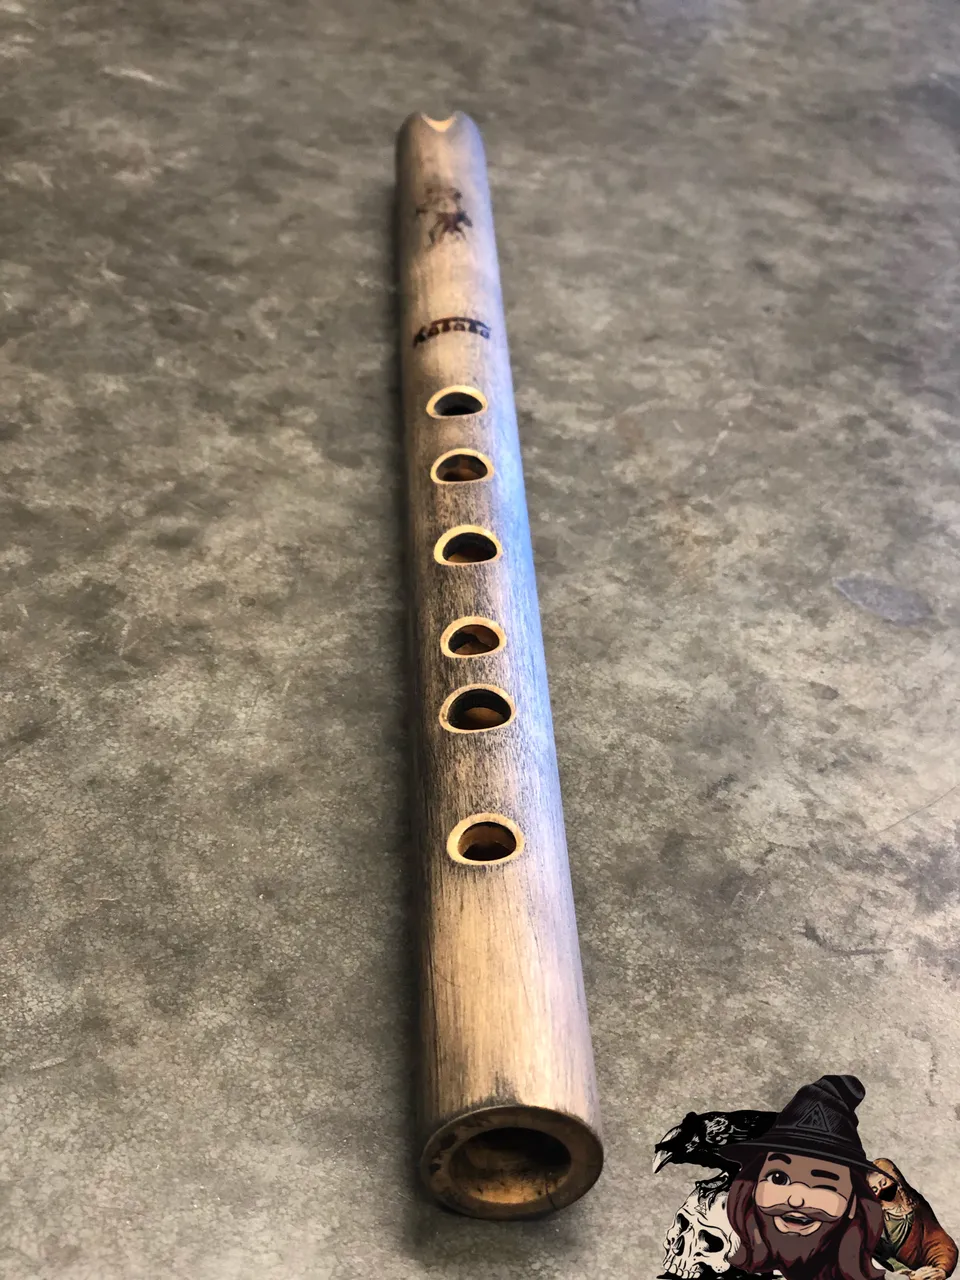
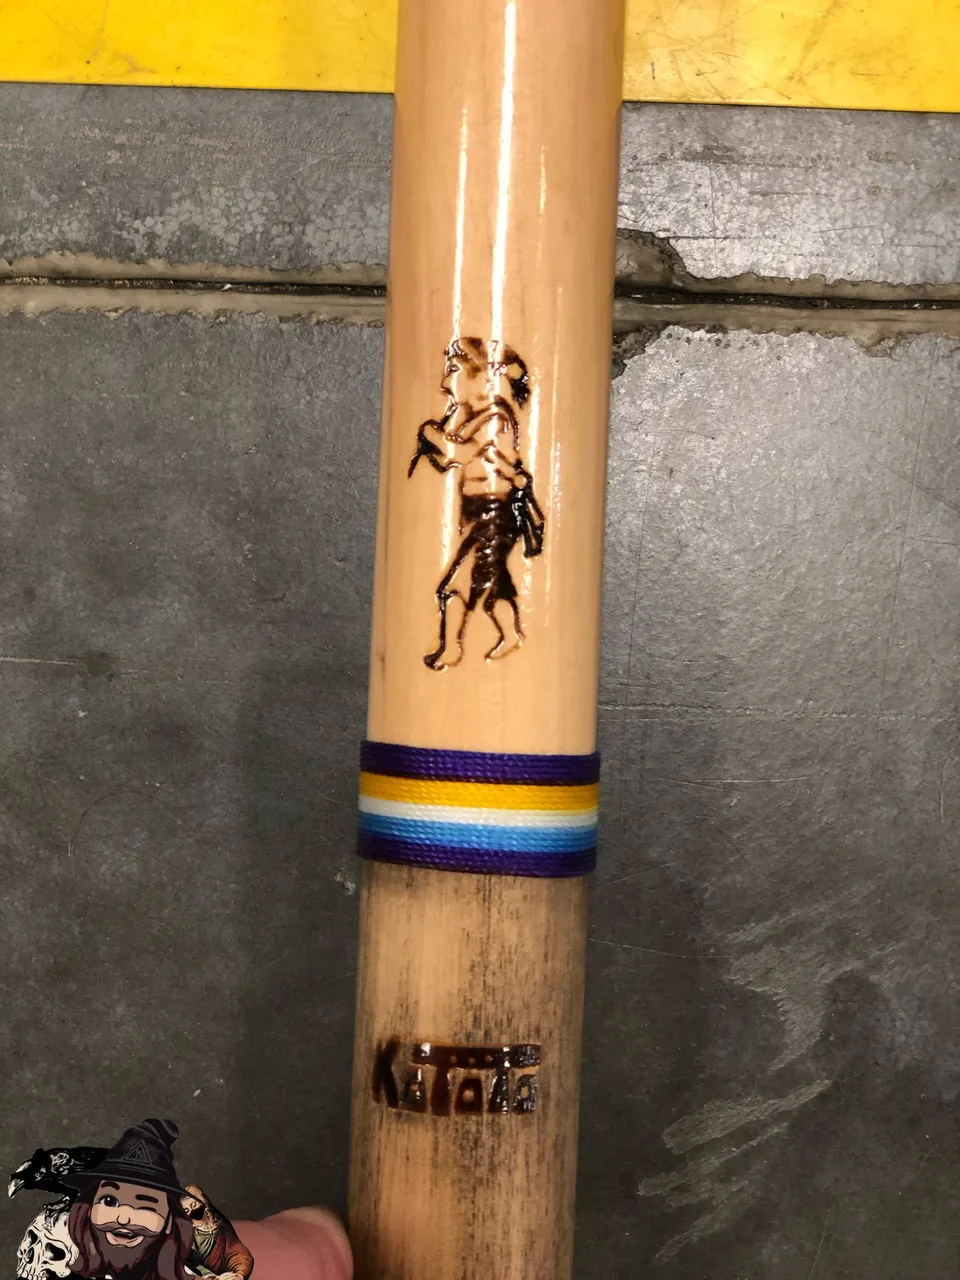
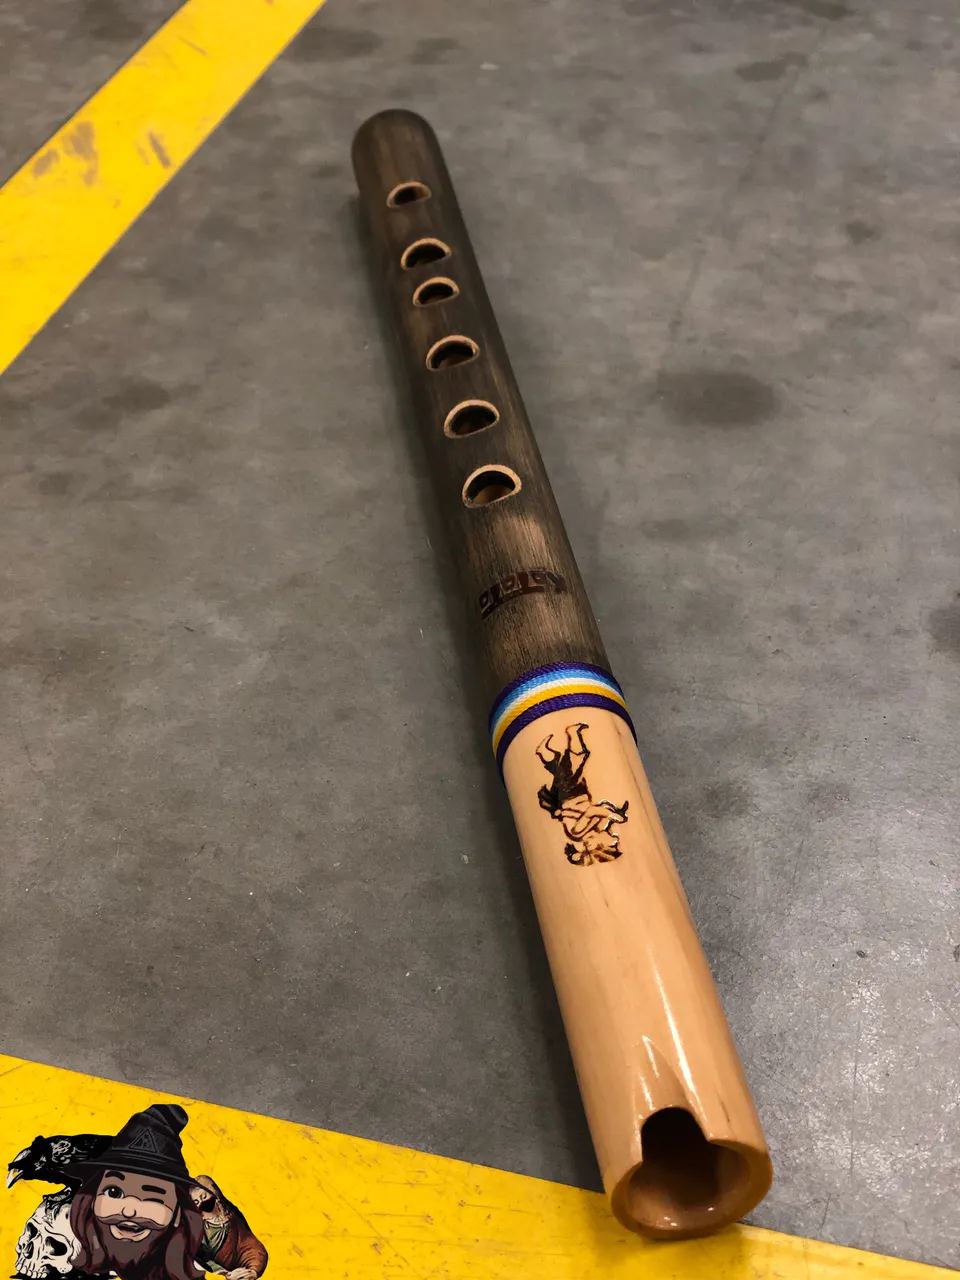
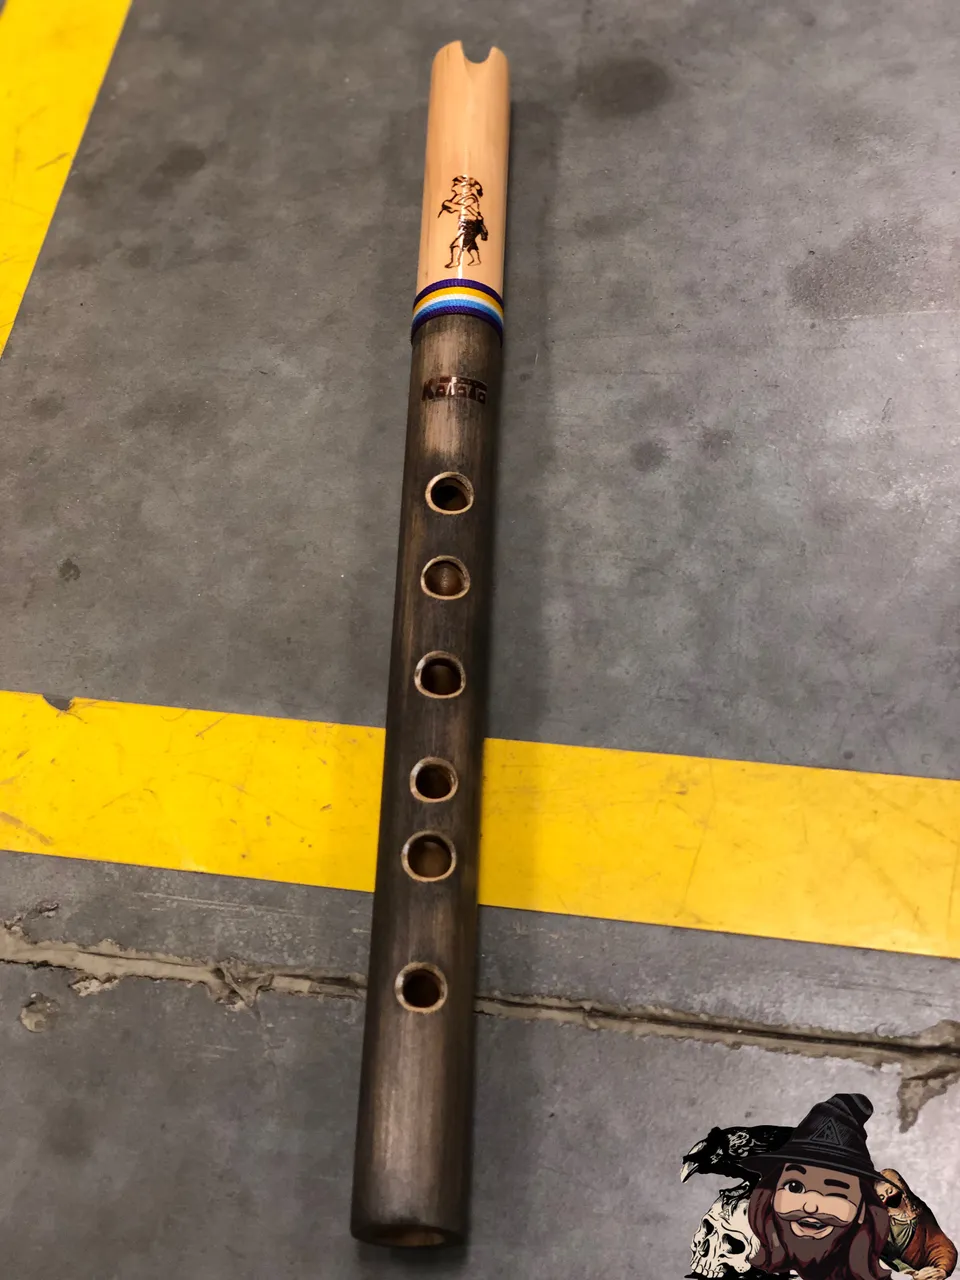
Once I’d gotten the whole flute to take a somewhat uniform stain, I began to feel much better about it. I intentionally left the poly-coat behind in the recessed areas around the positions and the notch. This created exactly the contrast I wanted to give the flute’s appearance some more depth and accent the quality workmanship in these detail-oriented areas.
Wayra Spirit of Wind sent me this sweet bracelet with my KJ quena. I wore it non-stop for over a year. Since it came off, it’s been in my backpack awaiting some special purpose. Today I knew this was that purpose. After determining the length it would need to be cut to to fit as a binding, I ran a bead of super glue across the three areas where I would need to cut. This I hoped would keep it from fraying and give me something a little more structural for sewing.
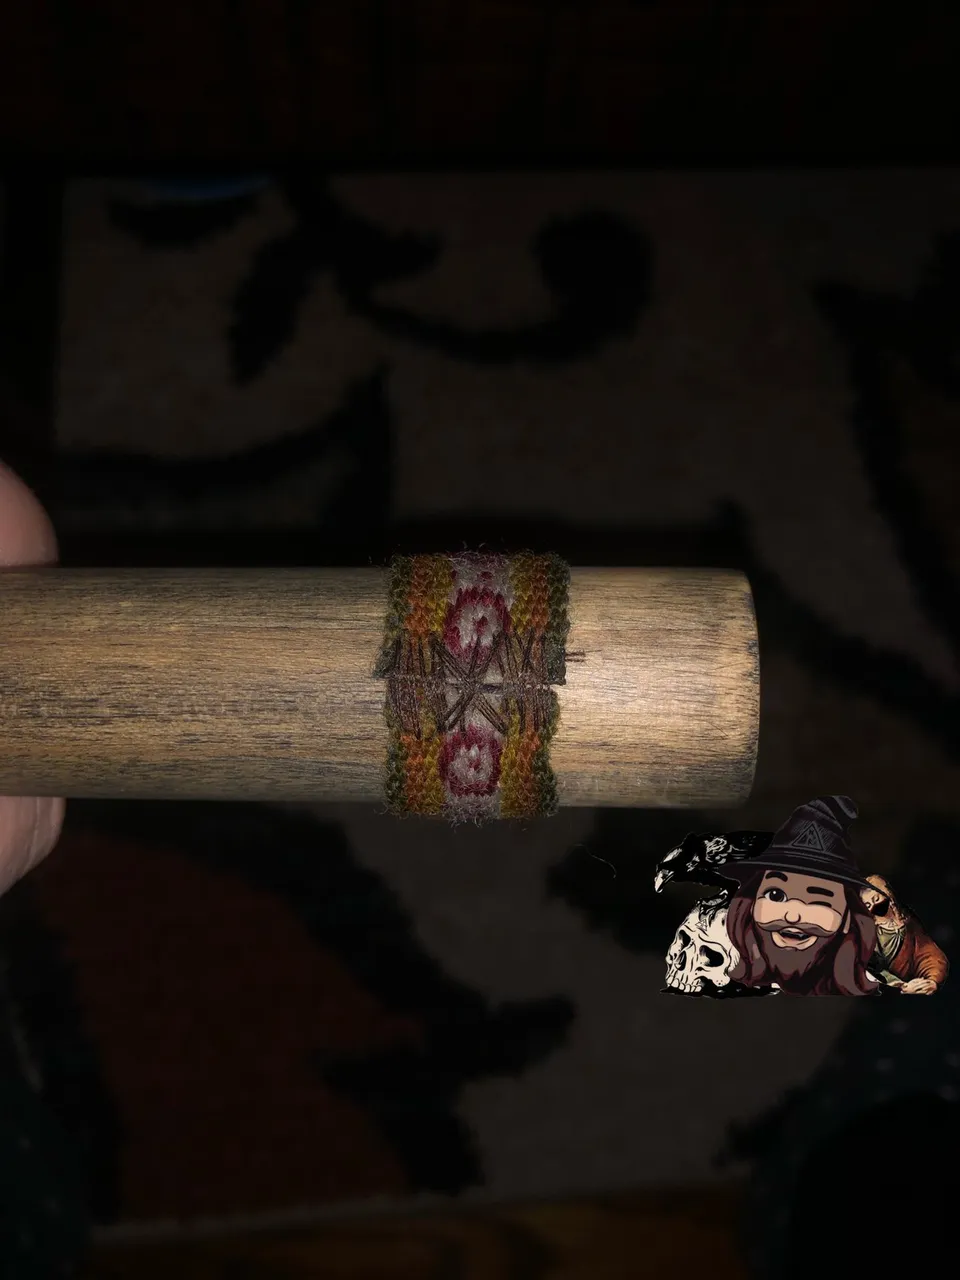
Penetrating the superglued areas was difficult, so I had to run a wider stitch that went around the glued areas.
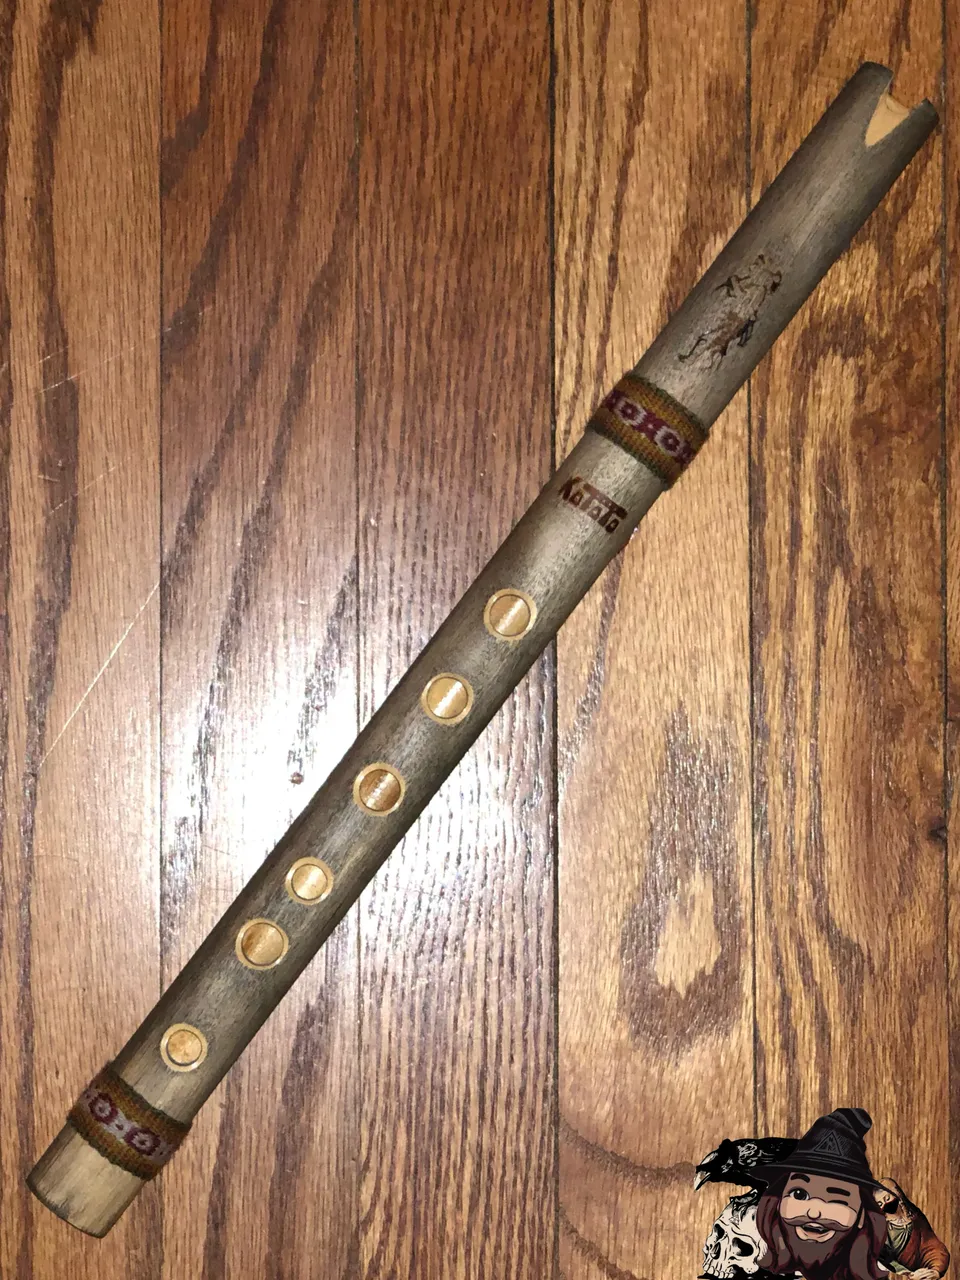
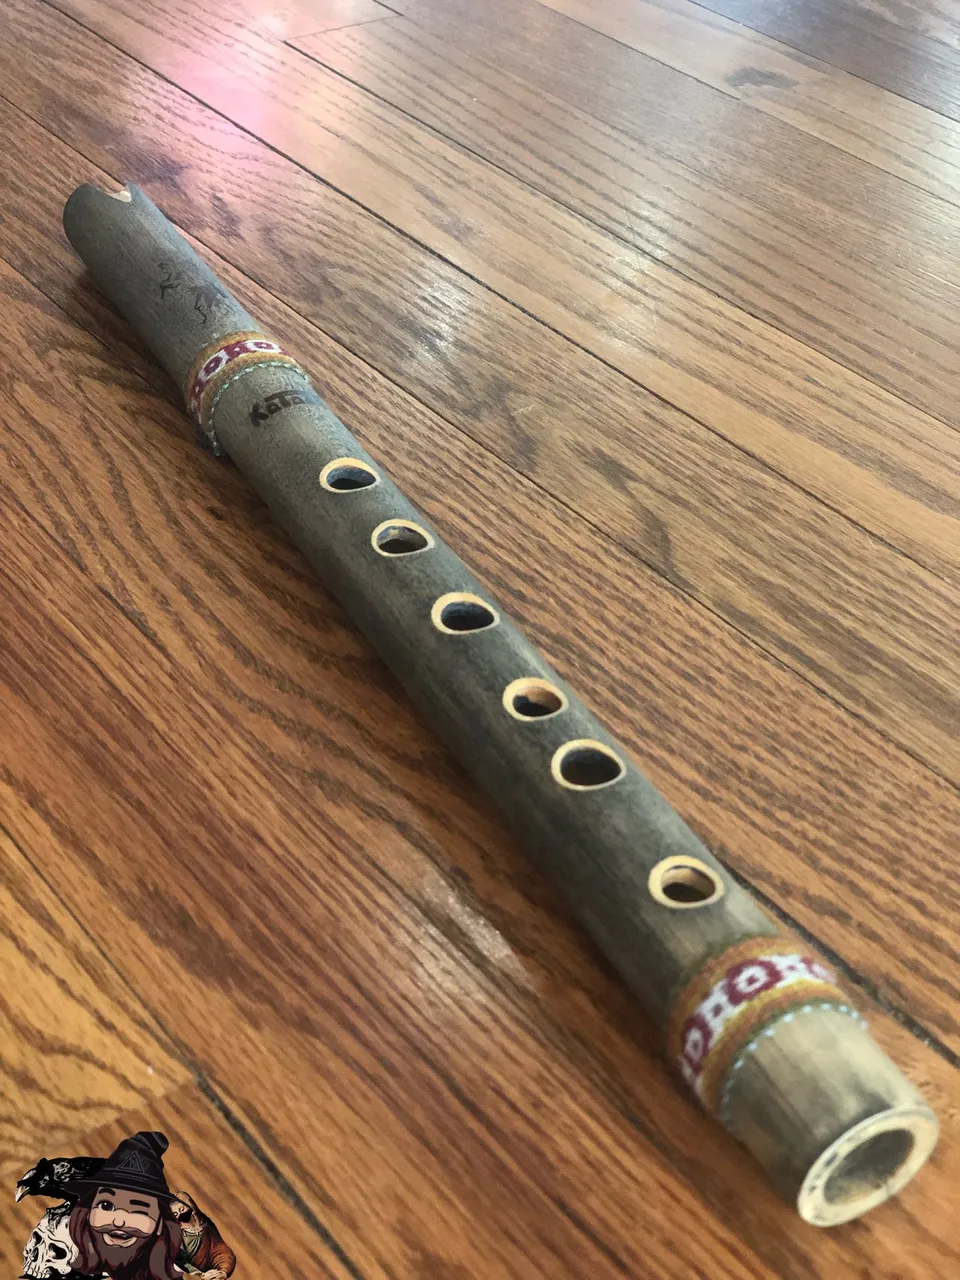
Although I’ll miss my old bracelet (or whatever this would be called), it’s worth the sacrifice to turn it into something far more timeless. As for the changing of the flute’s cosmetics, I am 100% satisfied with my results.
Thanks for checking out some more of my work! As always, I hope you enjoyed witnessing as much as I enjoyed creating!
© Photos and words by @albuslucimus
If you enjoy my content, check out the Albus Index!
Here you’ll find links to various post-groupings, so you can find all posts related to a specific topic quickly. Topics include lists of brewing recipes, different flutes, rucking posts and an index of all acoustic covers. The lists are updated as new content is added, so they can always be used to quickly navigate my content.
- - : GO TO THE ALBUS INDEX : - -

Use my Coinbase referral link to get started with Coinbase! I’ll get $10 in Bitcoin but, more importantly, you will get $10 in Bitcoin too!
Here is a post I did recently about using Coinbase with HiveWallet to get Hive in the US. If you’re wanting to buy Hive and are having difficulties, this may be helpful for you!