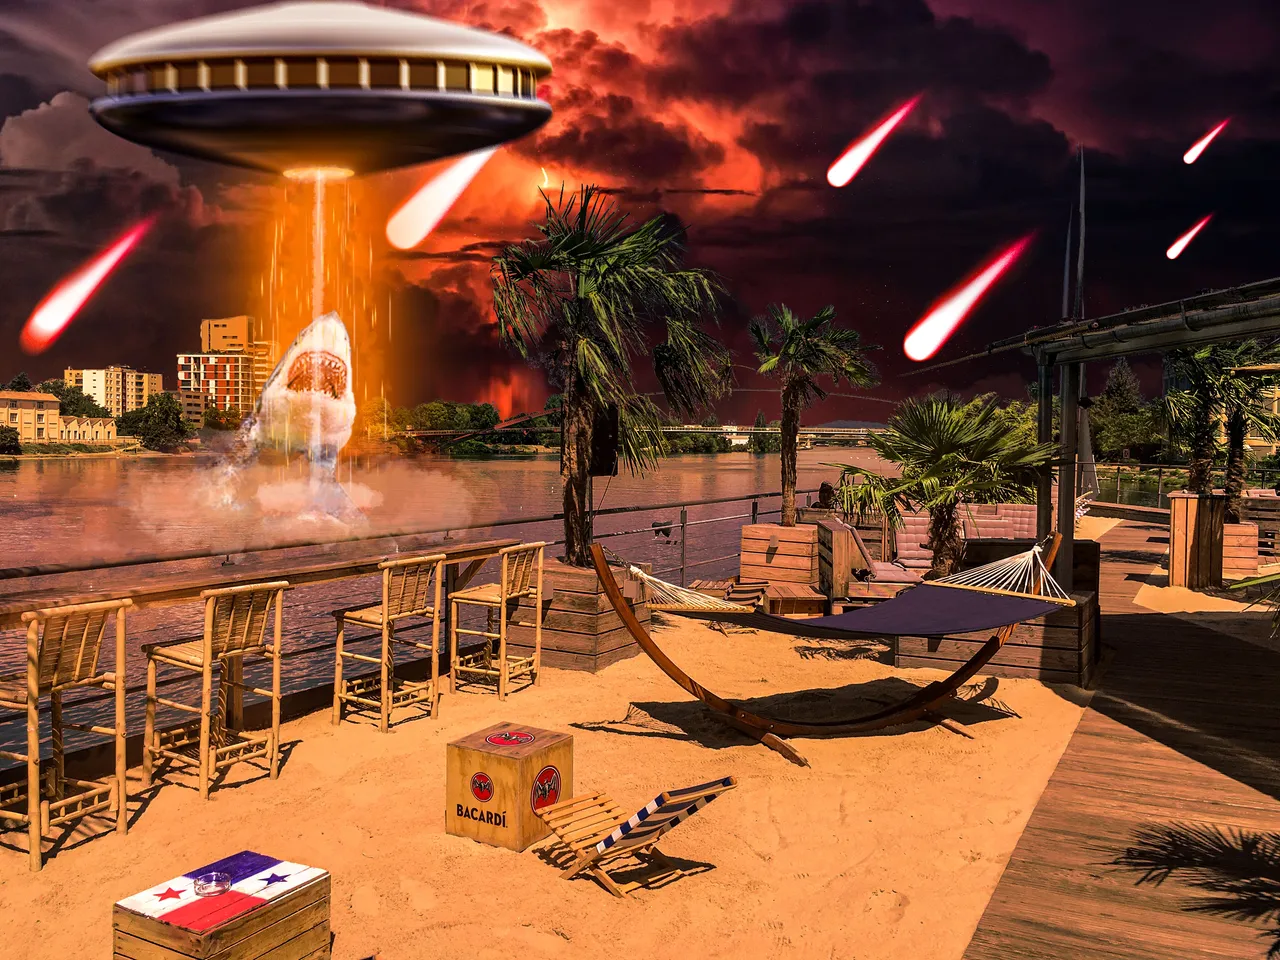

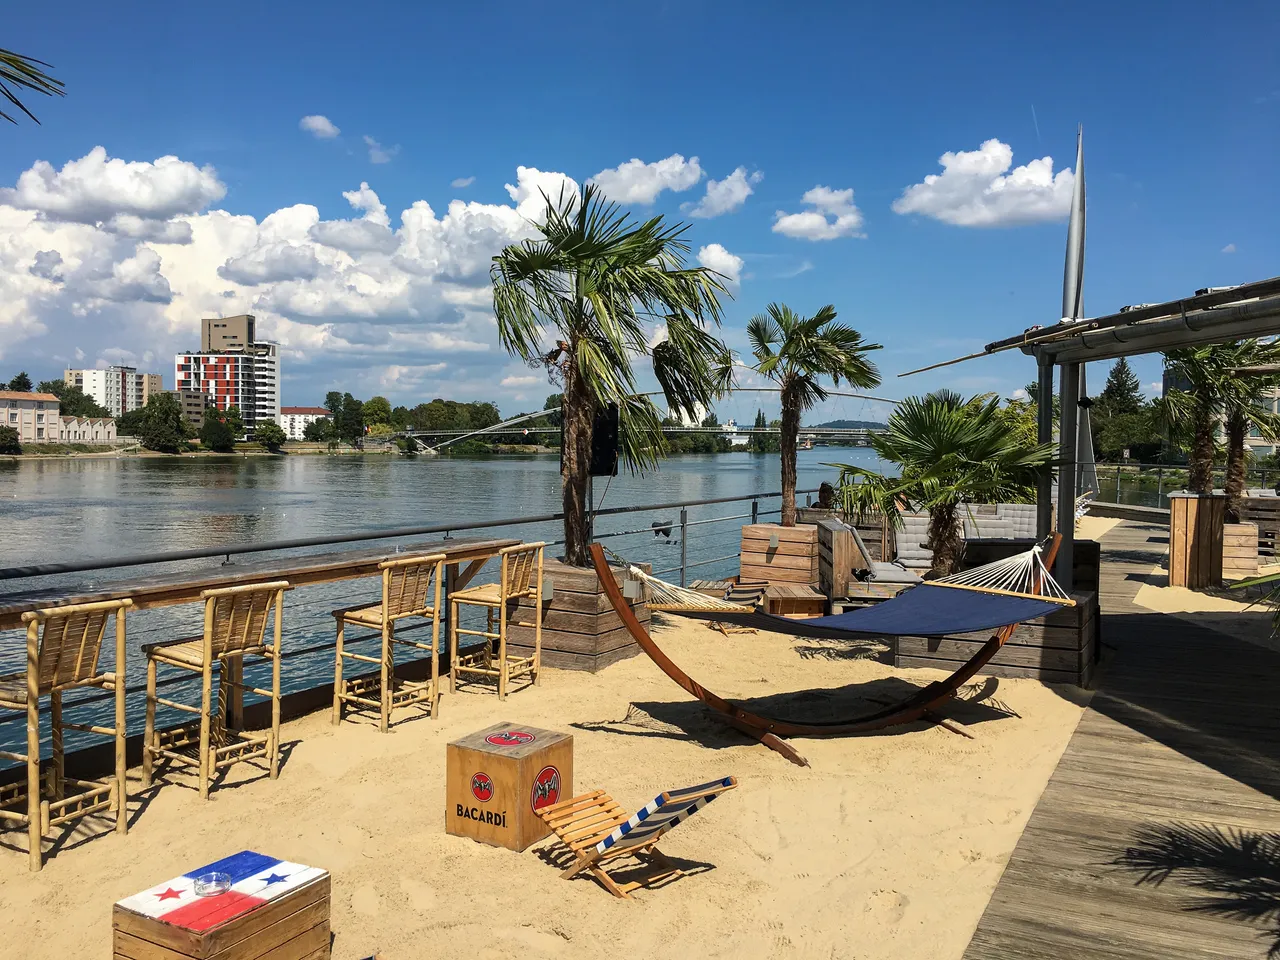
In today's series, the main focus was on creating the chaotic atmosphere with touch of a sci-fi. I was always a fan of sci-fi themes in my work, no matter I'm not, for comparison, a fan of sci-fi movies.
Material Collection
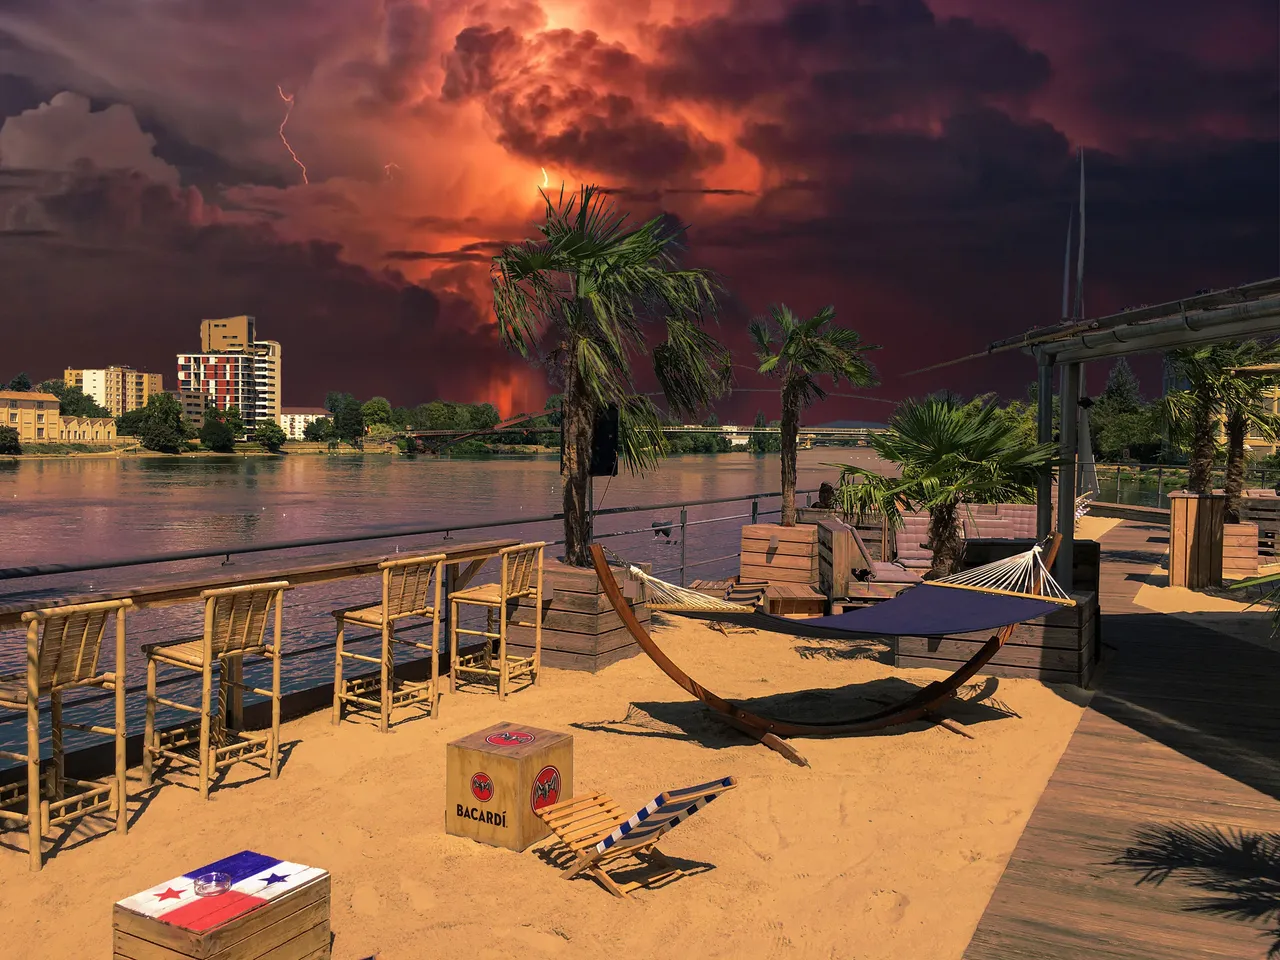
The first step I was willing to do, was finding a right chaotic thunderstorm as I decided my main focus is on creating a chaos as I've already mentioned. Anything with strong contrast, and saturated orange/pink/red color was good for me. It wasn't really hard to find the right one, because internet is full of thunderstorm photos. The only dilemma was picking 1 of 2 I've found on Pixabay.

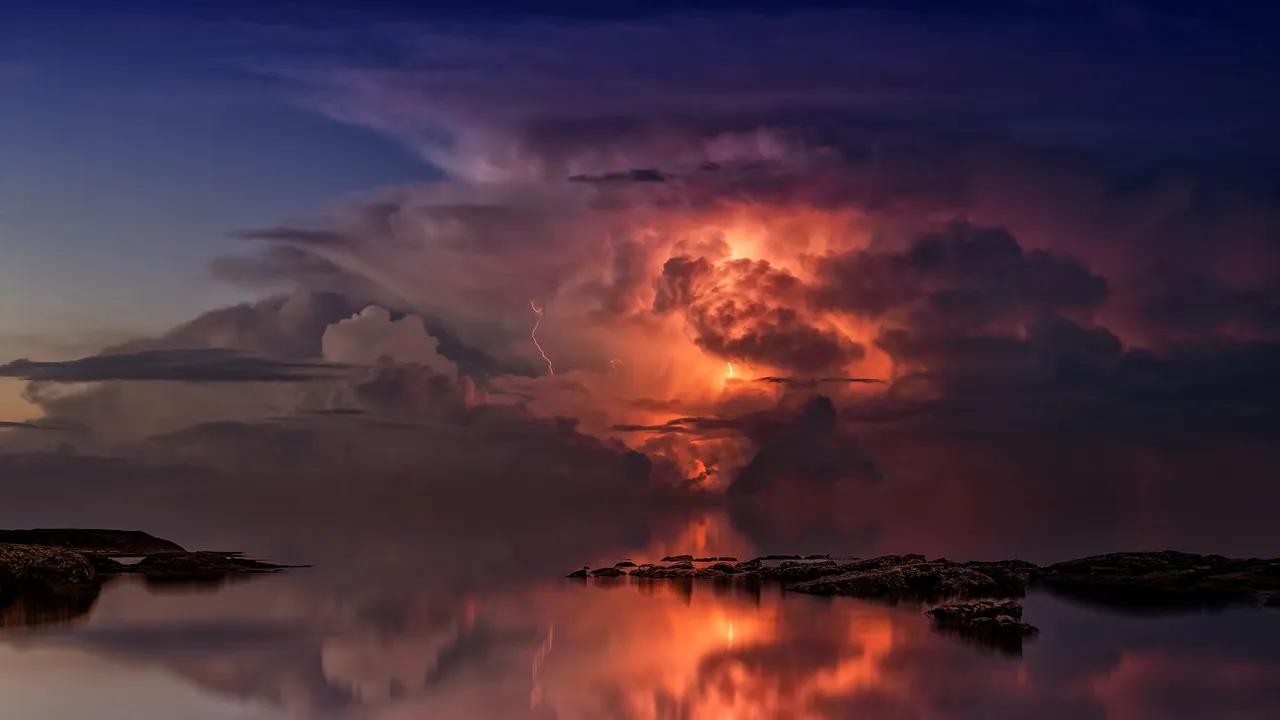
- The first one was my favorite, and if we're looking at them separately, it still is. But in matter of overall composition, those thunders were stealing the focus. It was too pointed out in my opinion, so I picked the second one.
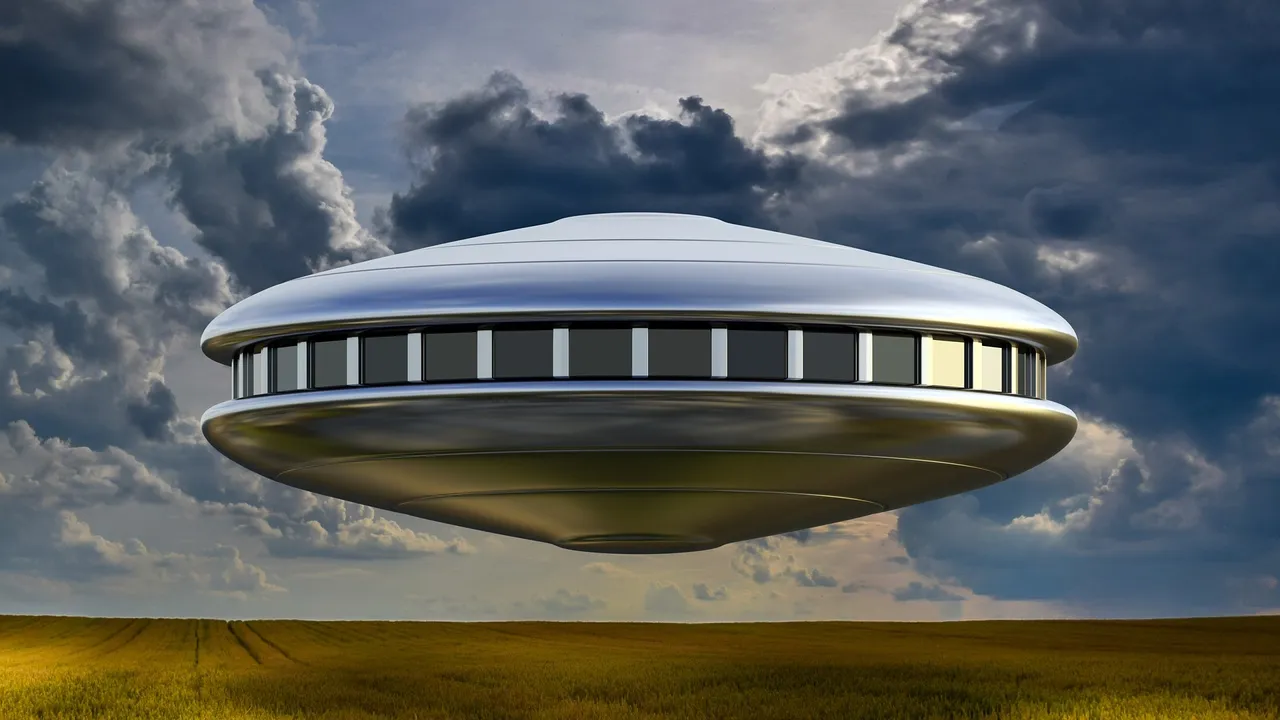
- One of the main elements were masked out from the photo. Firstly I've masked out the element, put it in my scene, did some color correction to match it with the skies behind and voilla. The work is going on!
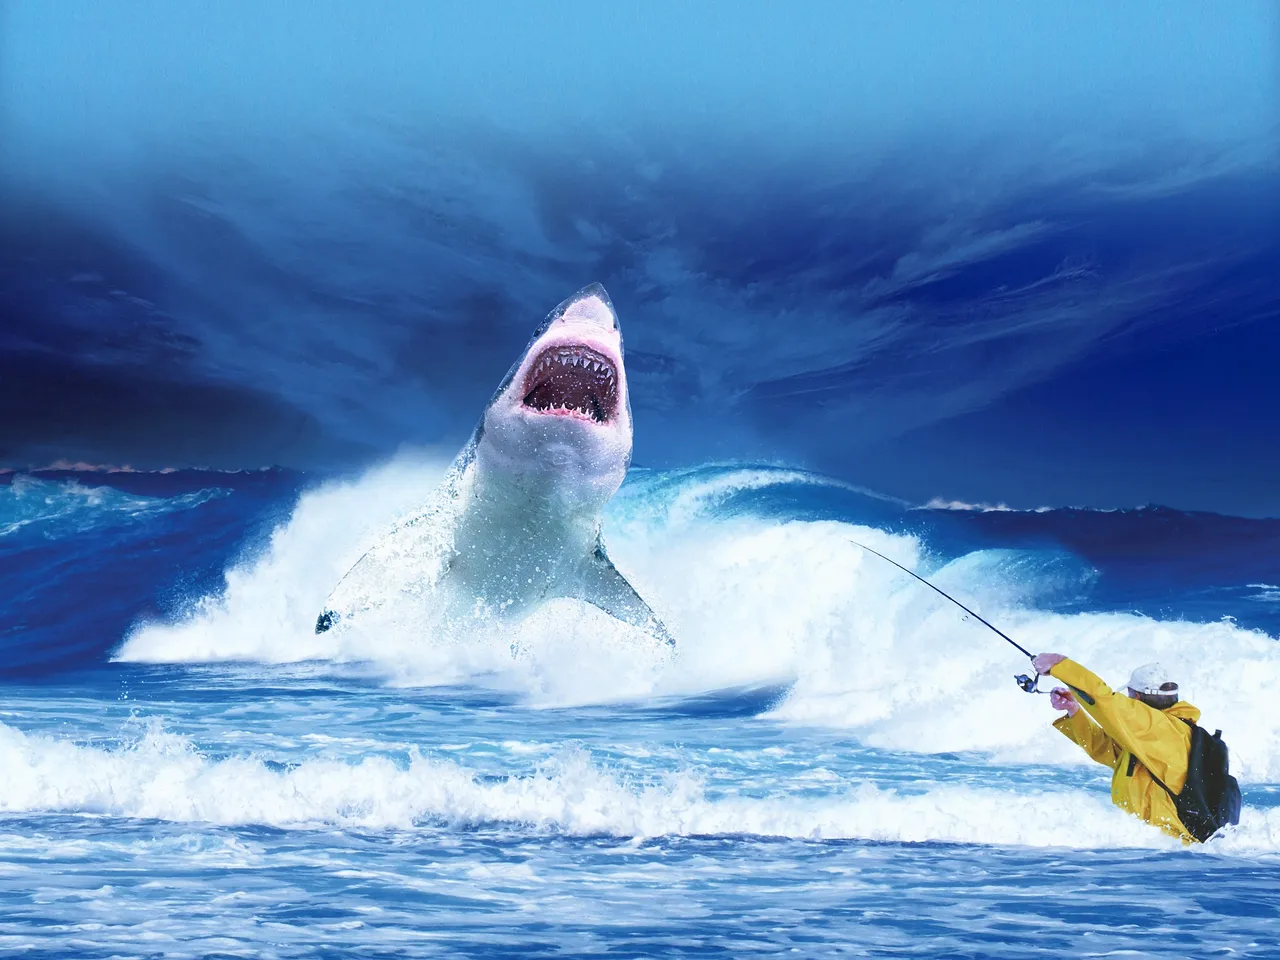
- This one was a bit hard to decide, cause honestly, I didn't like any of the photos. It was pretty hard to find a shark in a position I wanted (to be pulled up by UFO) so I've picked the second one as it was more realistic than the first one.
Workflow
- Changing of the skies (maybe the most advanced technique and most time-consuming)
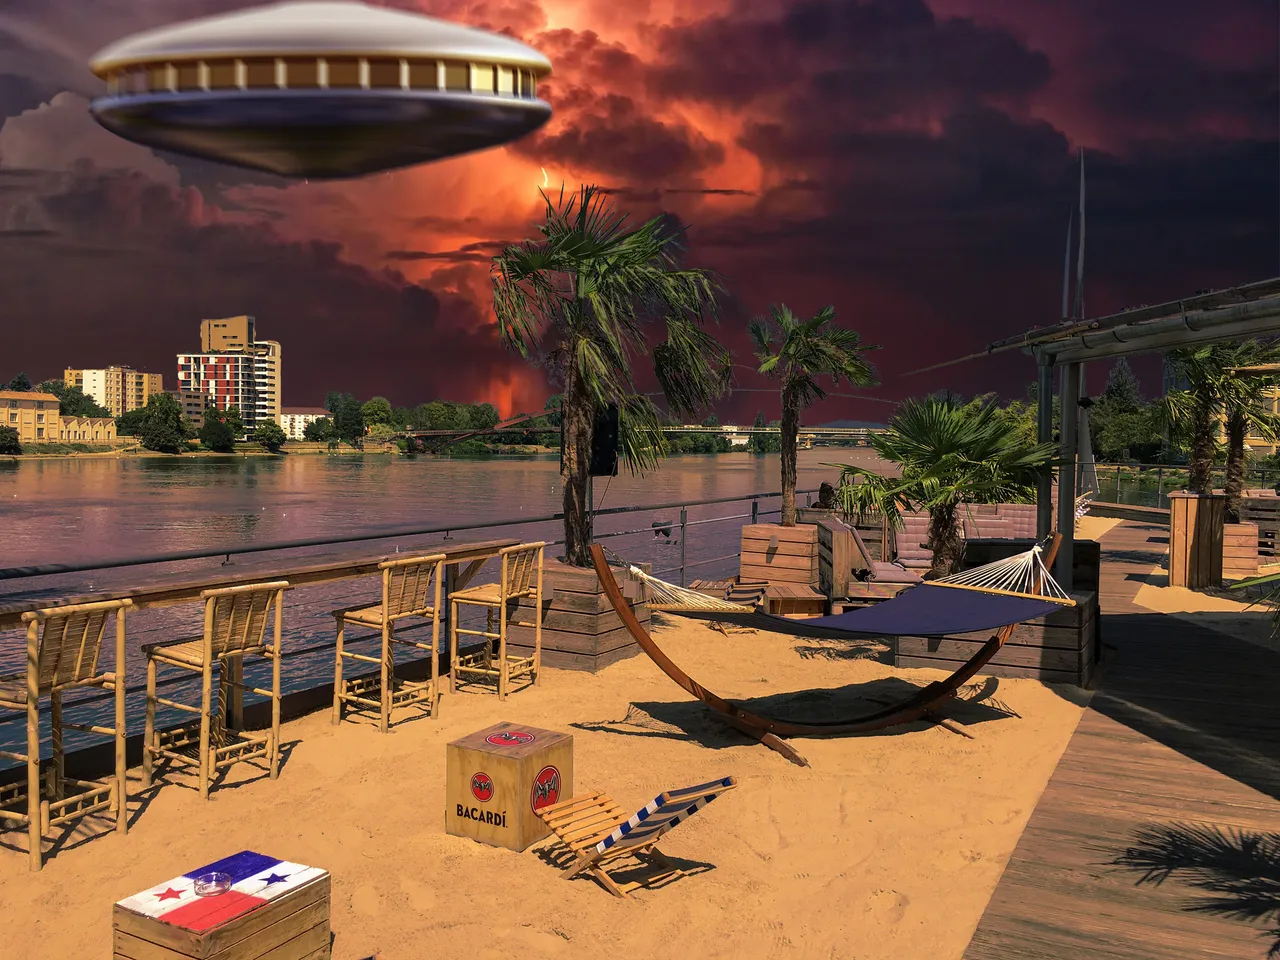
- Placing the UFO element in the composition + little bit of radial blur (to show the movement in the image)

- Creating the light beams with Custom Made Brush.
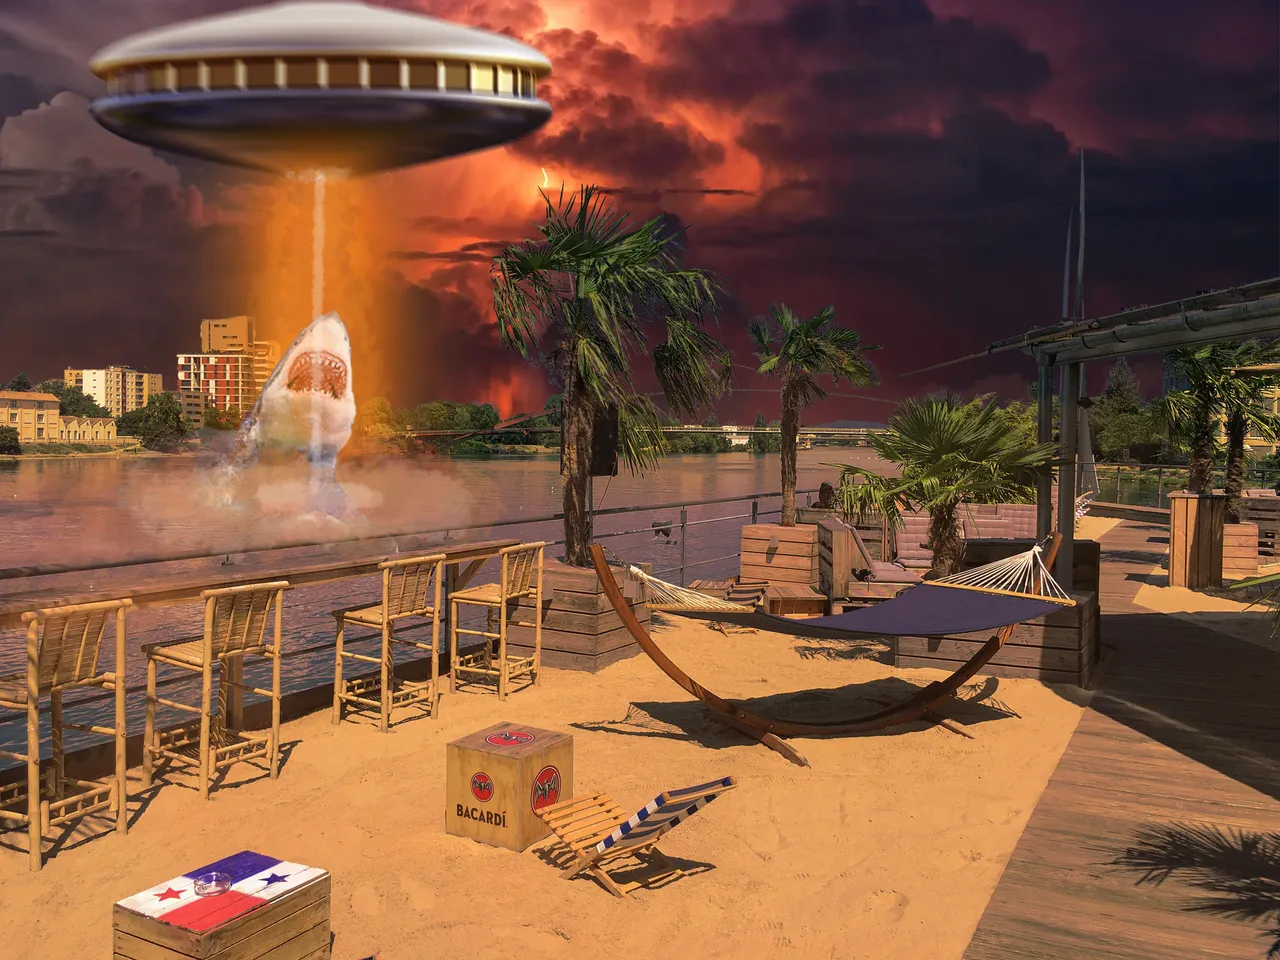
- Placing the shark element + tweaking color, opacity and size to fill the composition.

- The last part: Adding the comets into the scene to create the atmosphere even more chaotic.
Bonus
If you look closely to the beam getting out from the UFO, you can notice there are particles that reminiscent of rain. It was manually created by me with the custom brush I've made in separate Photoshop file. I've created a shape of a droplet then played with some attributes of Brush presets. Examples showed in photos below.

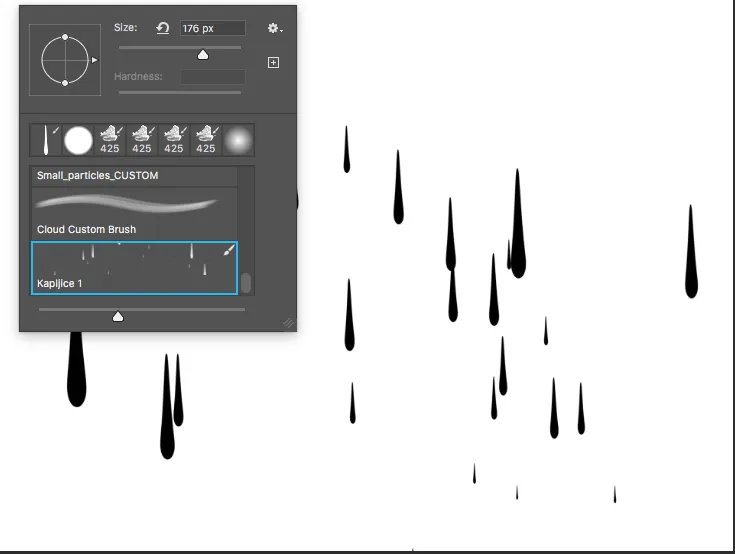
- If you know the technique, this is a really simple trick to do. Firstly I've painted 1 dot with regular hard brush, then with liquify filter I've made a shape of a droplet. Then in Edit-->Define Brush Preset I've played with the attributes of Shape Dynamics & Scattering mostly to get wished results. With a new brush, I've painted a way within the light beam coming from the UFO in some orange and yellow tone. It turned out really great!
- Give a shot to my first VFX Video Production on Hive community aswell. Wireframe Transition + VFX [Video Production]
© This content is originally made by @tonac