I hinted yesterday that I wanted to do a new edit of the 2-spot Ladybug picture I posted yesterday. Then... @beeyou mentioned that she wouldn't know where to start... so I went ahead and did my new edit and will share it now.
This is the step-by-step process of how I produced this image...
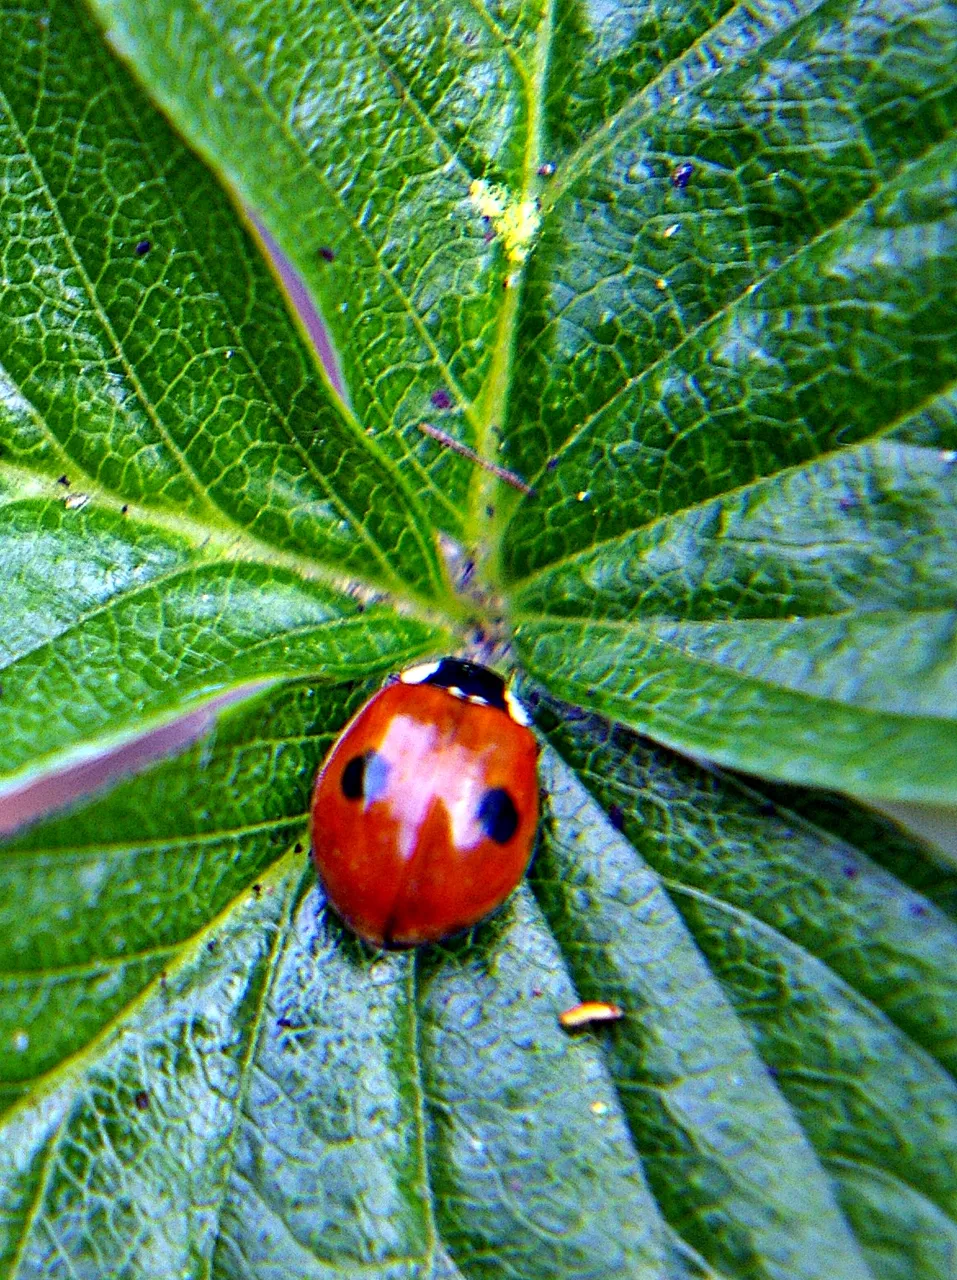
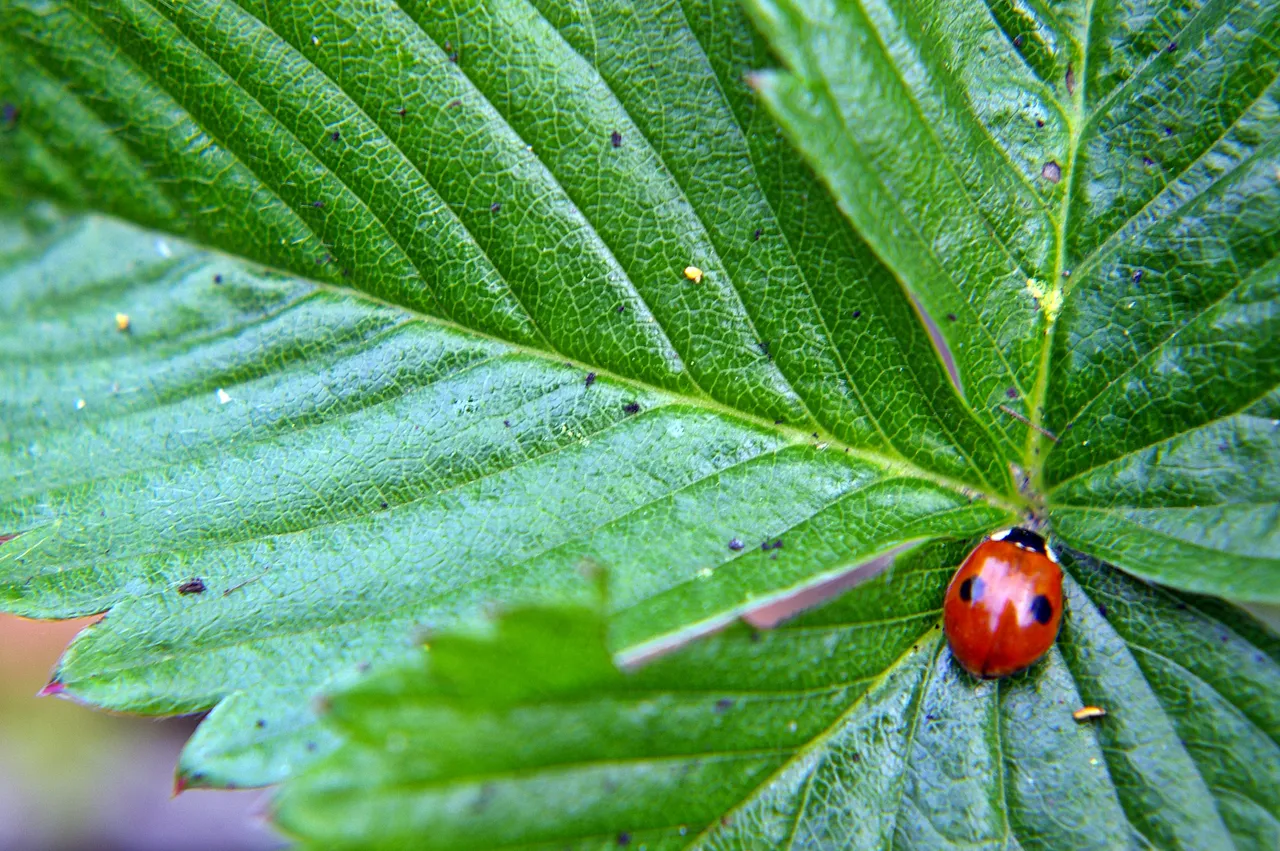
First thing I did was crop the original (yesterday's post) to:

As you can see, we still have major sharpness issues and some parts of the leaf at blurry. I cropped out the worst of it, but the image is already comparatively small - which is a problem when working with people like RedBubble and CafePress, you need a certain size in order to make it work on larger products!
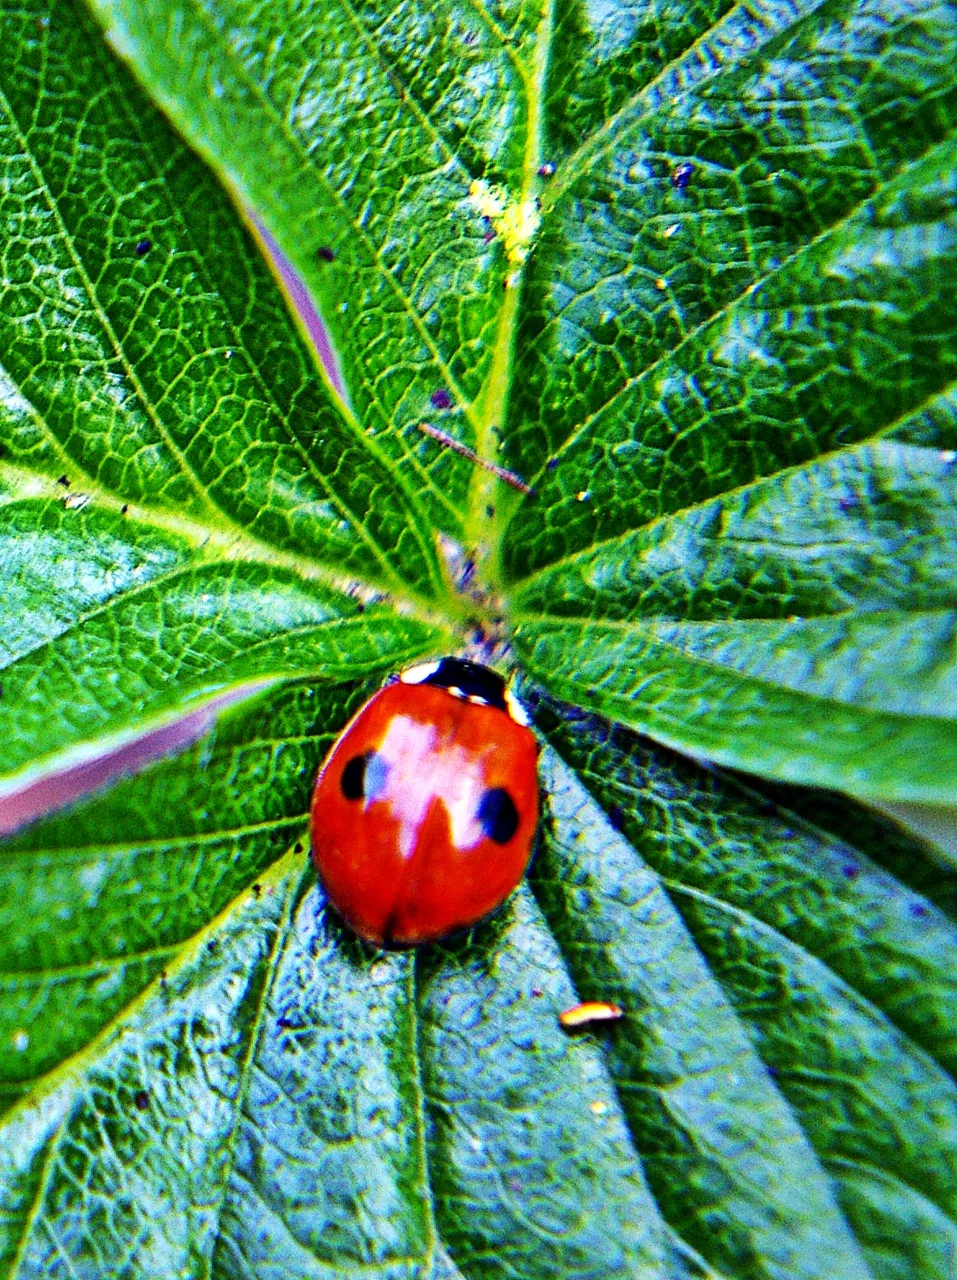
So, the next thing I did was my standard edits that I do on most pictures that I throw through Photoscape (FREE! and my editor of choice.) All I have done here is hit the "auto-level" button and the "sharpen" button. Improvement appears to be minor, but it will help for later.

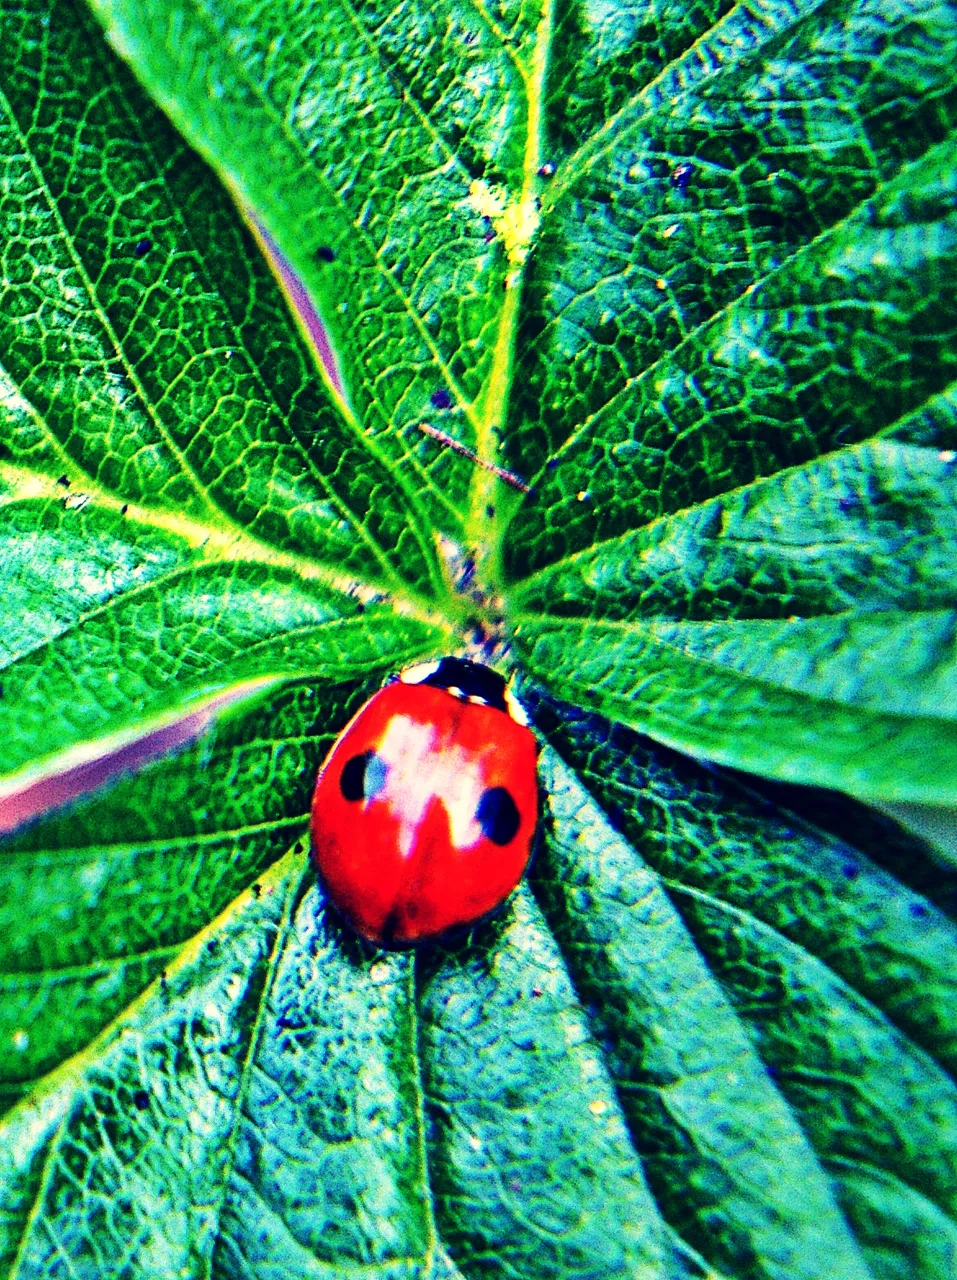
Next, I click the "bright/color" button, on the carat in order to get the drop-down menu. I hit "color enhance" first (watch closely, this tool is often too harsh!), then I go back to the same menu and use the "contrast enhancement" tool - normally I start with the "middle" setting and go from there. Here's the result of that: you see that the colors are richer.
My next step this time was to choose the "deepen" tool, again behind the "bright/color" button. Then I touched the "backlight" button (which seems to help the vast majority of images, but watch those edges!) Again, we've added another layer of richness to this photo.
Finally, it was time to get rid of the little thing (larva?) on the leaf next to the ladybug. Under the "tools" tab of Photoscape, I chose the clone stamp to copy another similar section of the leaf. Note, it's not perfect - If I were more artistic, I'd replicate the vein of the leaf better, but main thing was to get rid of the unsightly thing. Then I applied one of the "film effect" tools that I've come to like - use the carat again. I prefer the "cross process" setting, middle or high depending on the image. I think I did "high" on this one. It's deepened it again and added a little je ne sais quoi to the image.
Now it's time to paint out the sharpness issues a bit more. I clicked on "filter" (the carat), then "texture" and chose "line_diagonal" - then I did a horizontal flip and repeated the step. Here is what it looks like immediately afterwards. It sort of "distracts" from the defects of the image.

Next, I went over to GIMP, because the tool I wanted to use this time was there, besides, I'm not aware of a select tool in Photoscape that will allow me to add a filter to only part of the image, or especially the border area like I've done with this next step. In GIMP, I've done a rectangular select, then hit the "reverse" selection tool. Then, I grabbed a filter, the "Gaussian blur" - I think I used 10 x 10 on that, but then redid it a couple of times until I was happy with the level of blur. Again, this brings more focus onto the ladybug and disguises the worst of the sharpness issue.
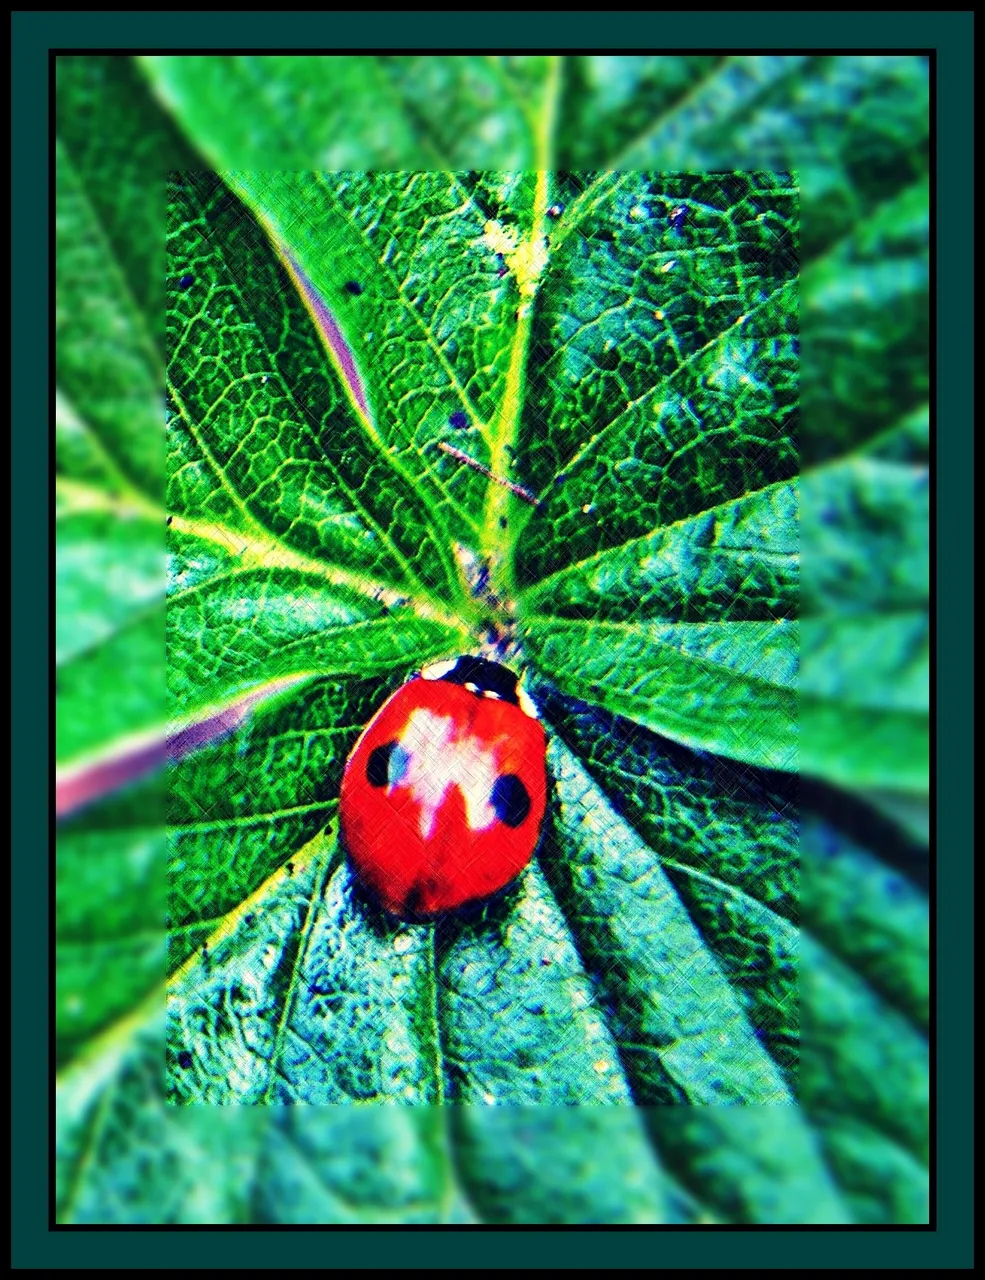
Finally, I remembered that I wanted to repeat the horizontal flip of the image to get back to the original orientation and add margins. I find that much easier in Photoscape where the "margin" tool is very simple to use. I used 10 pixels on the innermost black margin, then 50 on the colored margin and 15 on the outermost black margin. But, that's a preference I change regularly from time to time... depending on my current mood. Sometimes, I stick with black and white, other times, I grab a predominant color of the image, as I did this time. The color margin also gives a good opportunity to put a signature if that's what you want to do...
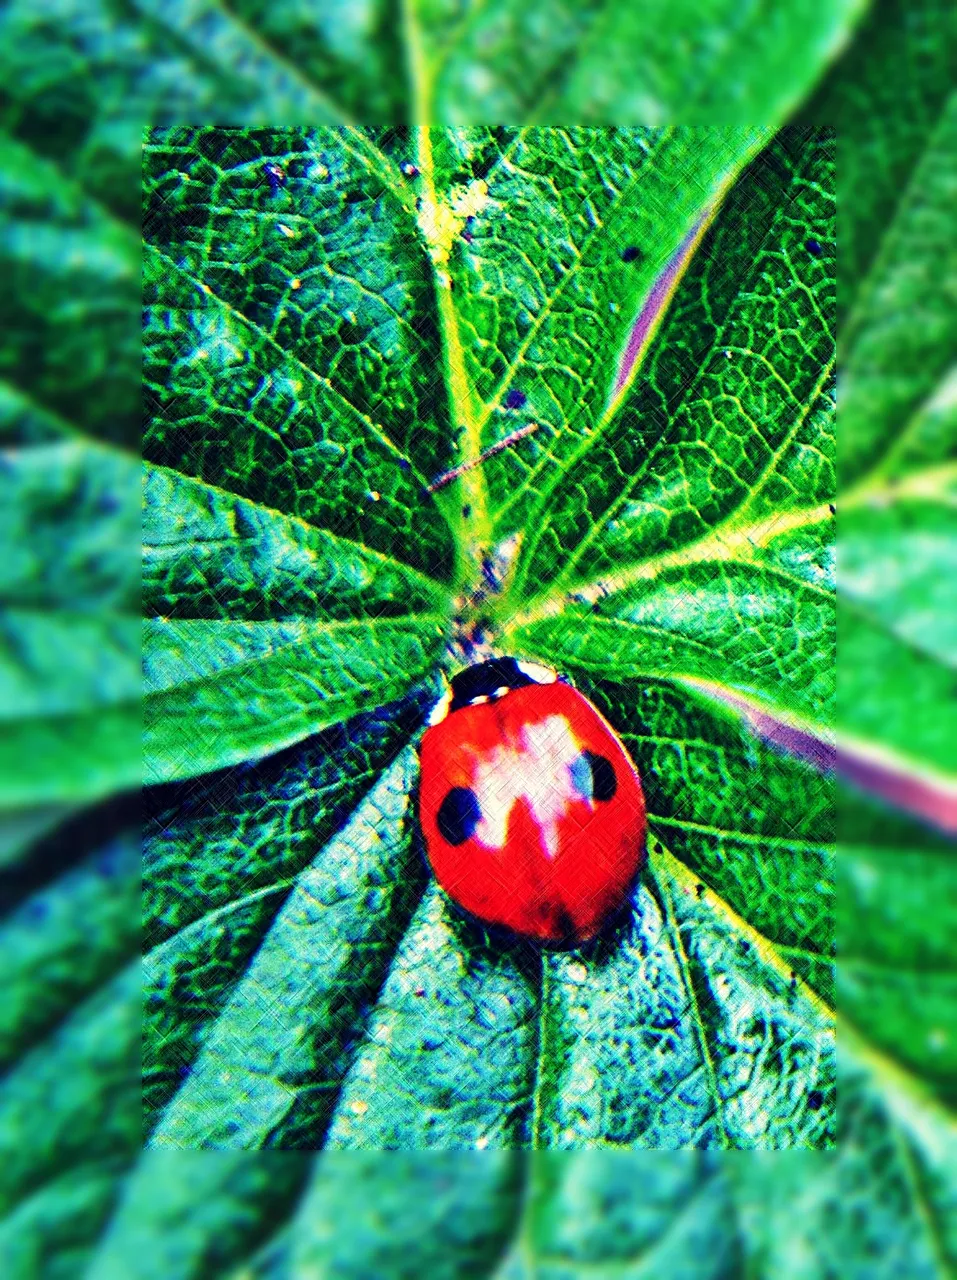
Anyway, the result:

If you haven't already, please check out my other photo posts from the past few days:
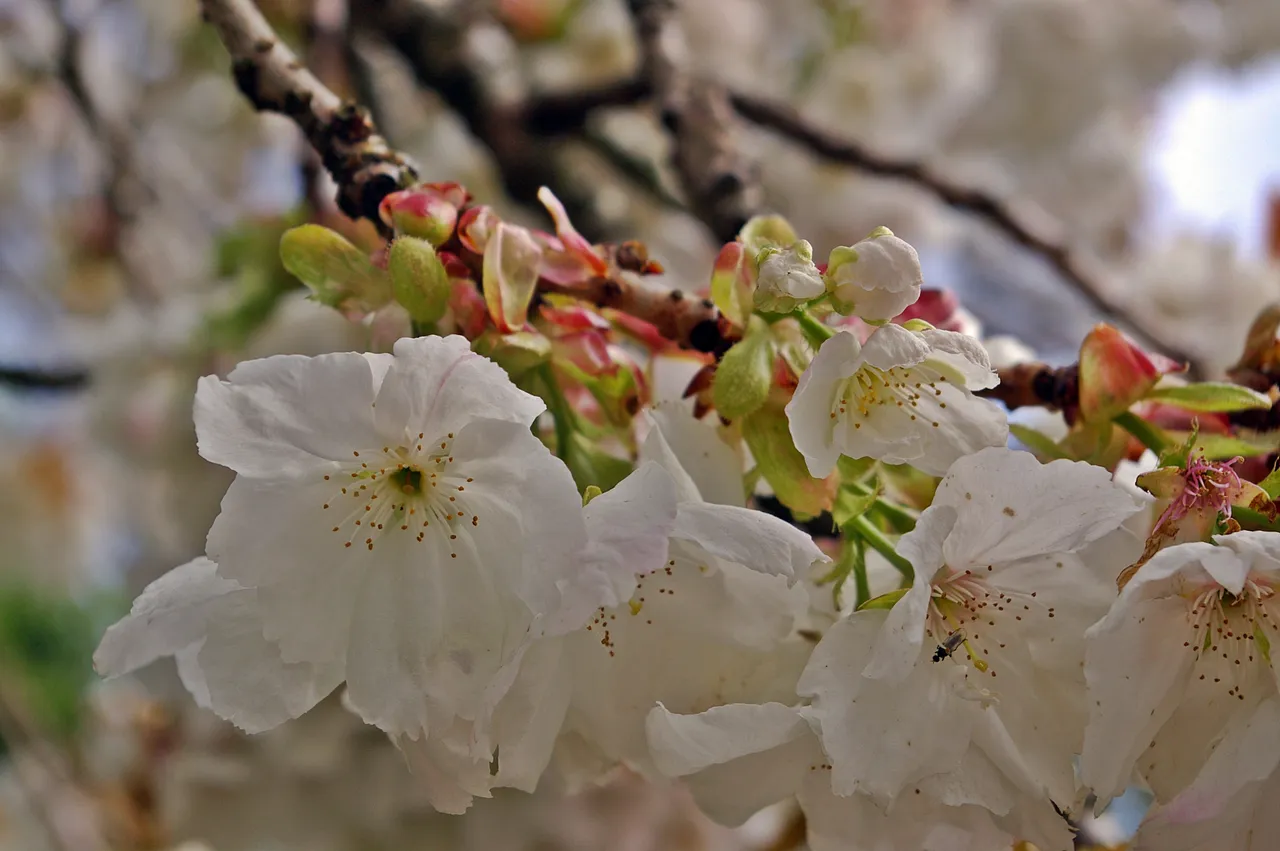
https://steemit.com/macrophotography/@viking-ventures/walnut-blossoms-a-floral-portrait
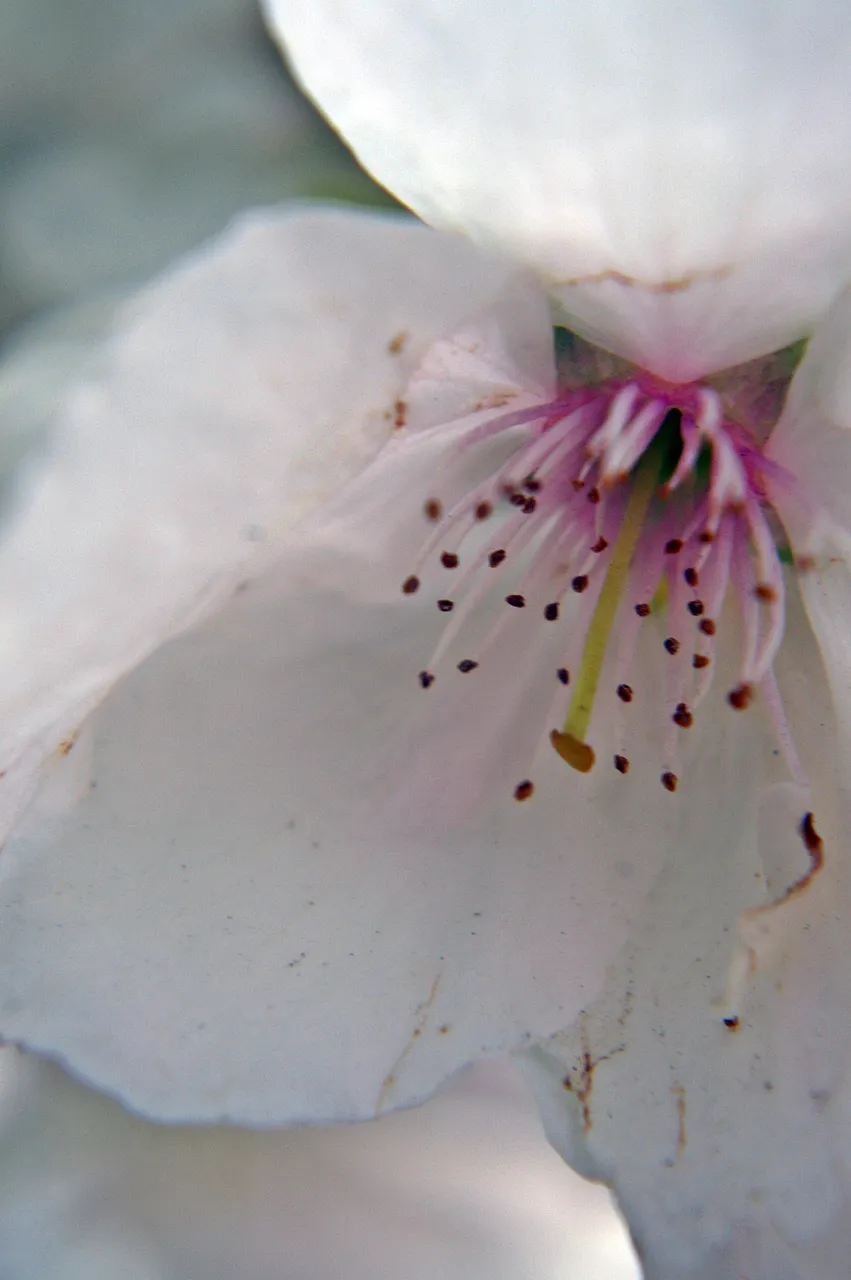
https://steemit.com/macrophotography/@viking-ventures/walnut-intimacy-a-floral-portrait
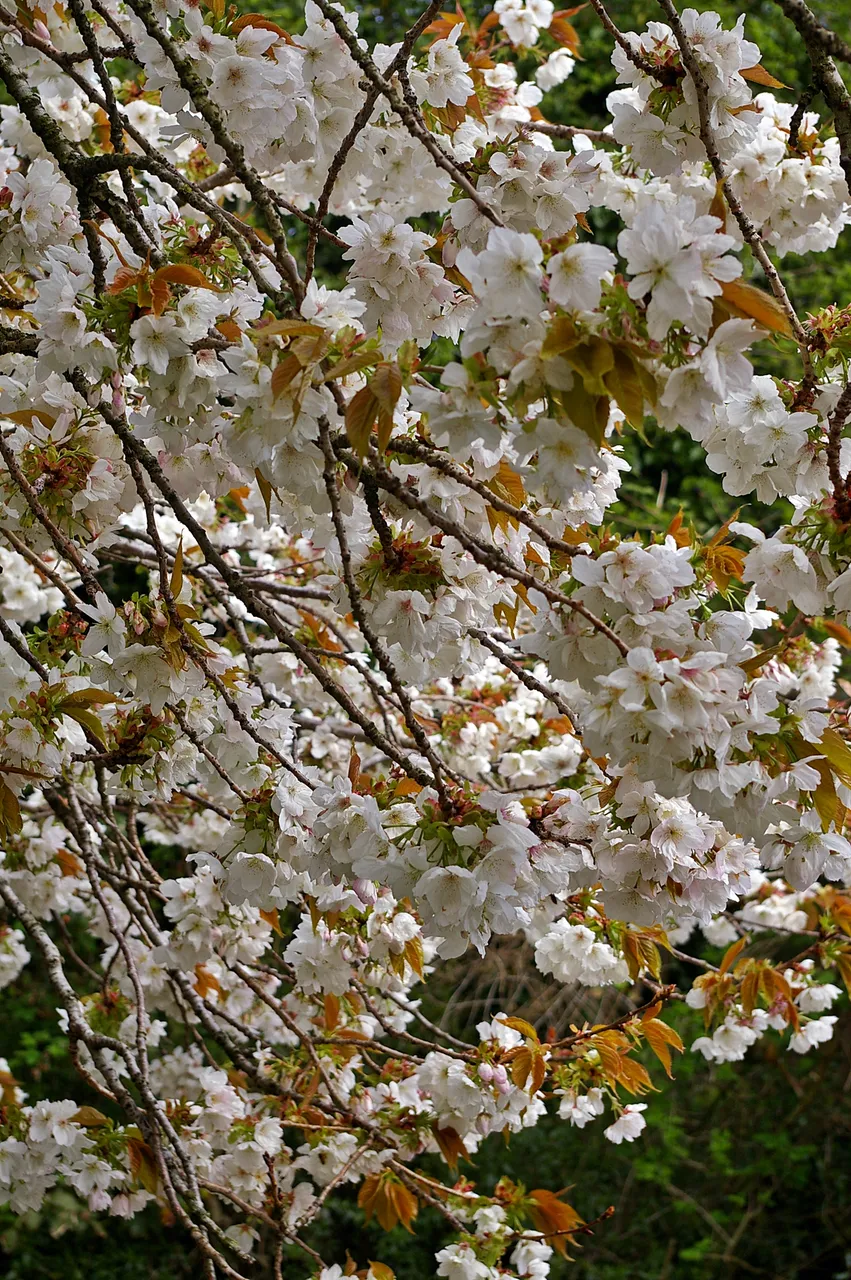
https://steemit.com/macrophotography/@viking-ventures/walnut-majesty-a-floral-portrait

https://steemit.com/macrophotography/@viking-ventures/walnut-spring-a-floral-portrait
https://steemit.com/art/@viking-ventures/salvaged-2-spot-ladybug-a-minibeast-artistic-portrait
Lori Aberle Hopkins – photographer at Viking Visual, author, student-of-the-world.
Follow, upvote and resteem me here and on Facebook
Check out my work at: RedBubble, ImageKind, and CafePress.
Camera has changed from time to time, the photographer has not. :-)
Unless otherwise stated, all photos are original to me and © 2008-2018.


(Banner by @shai-hulud) | Join here