Due to obligations I had in past weeks I couldn't participate in @shaka's great Let's make a collage contest which is, luckily, getting more and more attention.
I find LMAC contest pretty amusing and entertaining, because it kind of makes me polish my skill in graphic design + I get FREE photo to work on & have luck of seeing so many great imaginative works.

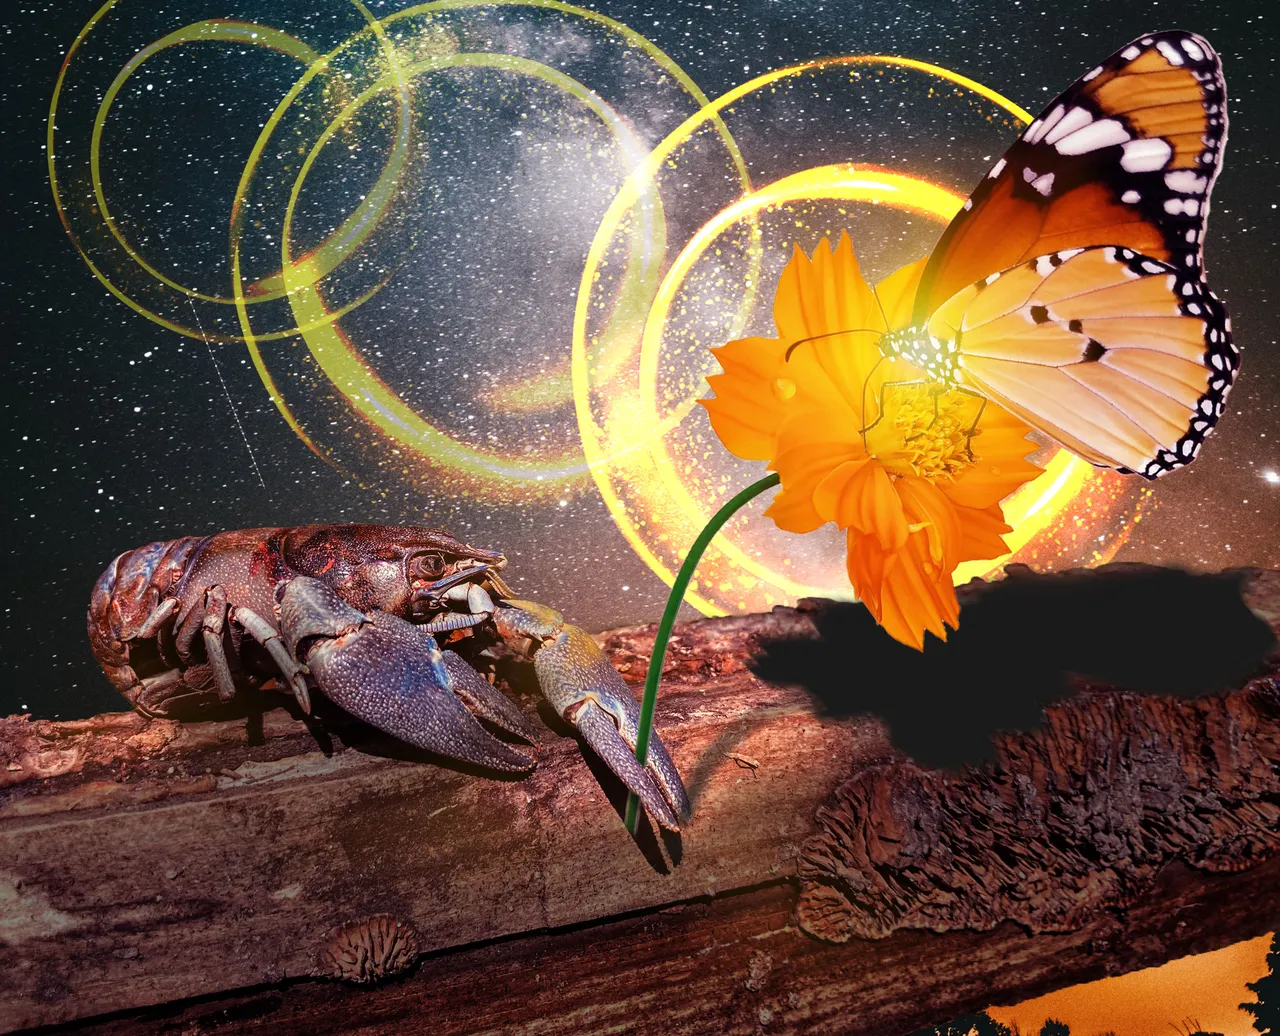
My Visualisation [Entry]
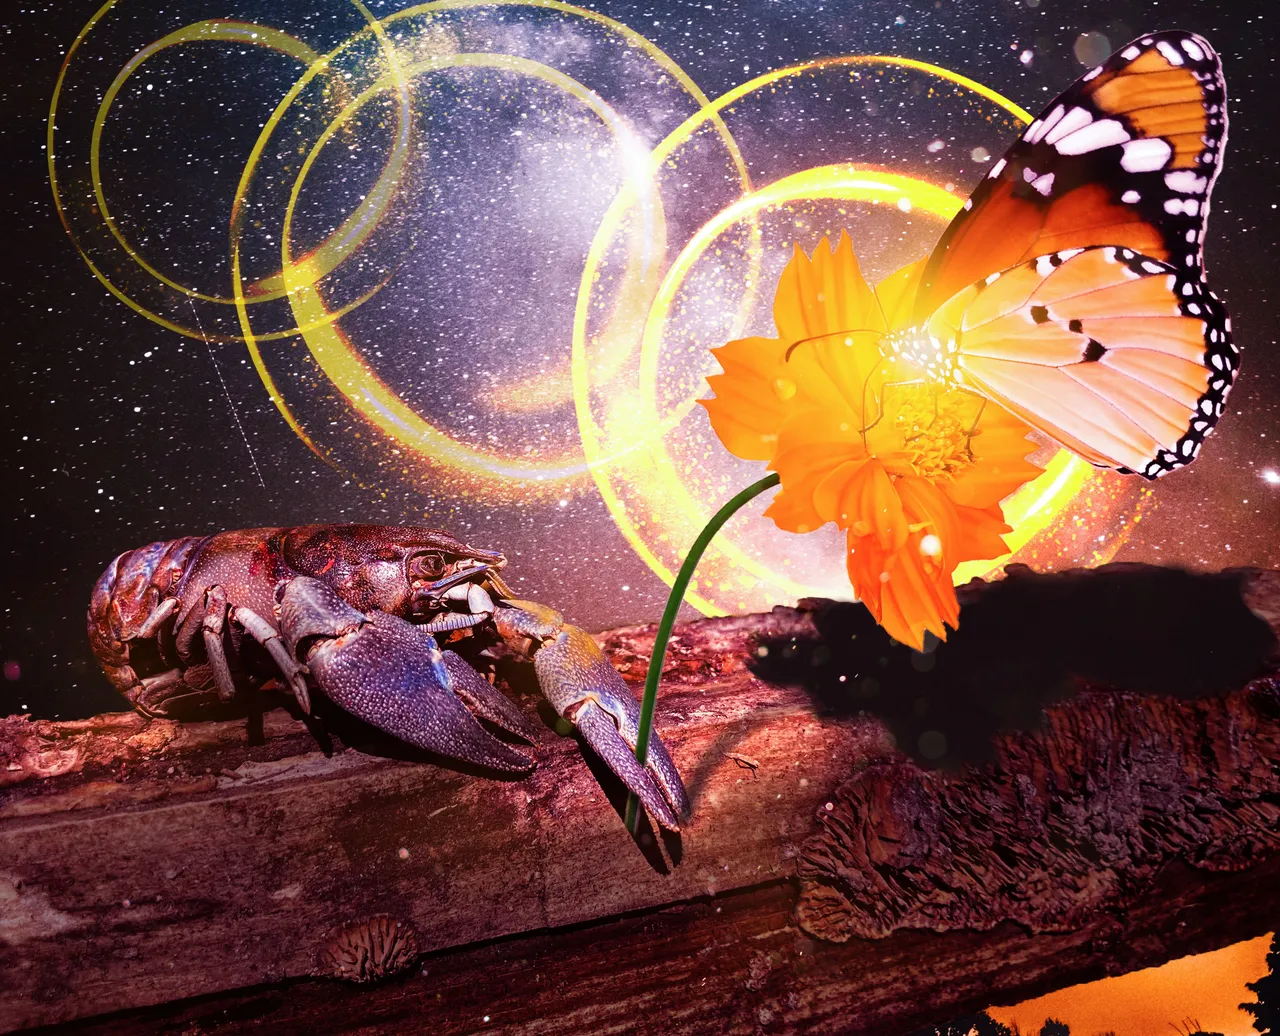
- Every art has its story behind and source of inspiration.
As I mentioned, every art has its story behind, so does this one. I tried to represent how people feel & behave in today's world. I like to say that everything isn't always as it seems at first sight. In my case, this armoured crab represents emotionally closed person (we're often like that because of our jobs, family, everyday life itself knows to be hard). But deep inside we all have nice feelings for others, and it's about doing little things for others - it makes us happy too.
- Briefly said, even tho it sometimes feels we're closed, and everything is so heavy, we should still be nice to each other and try to do best for them.
Design Workflow [Adobe Photoshop]
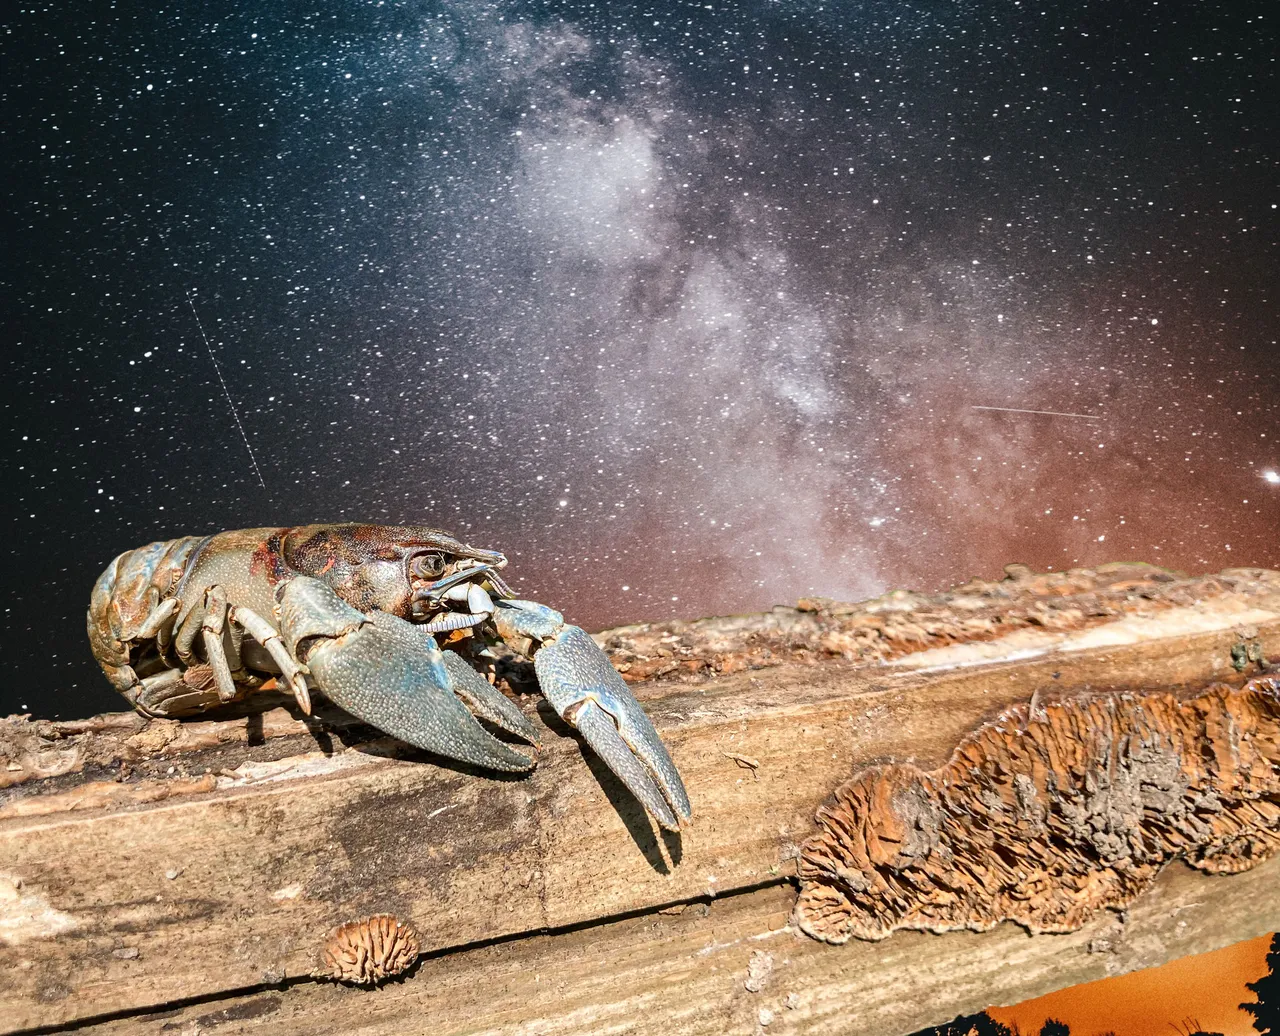
Masking Out the Crab
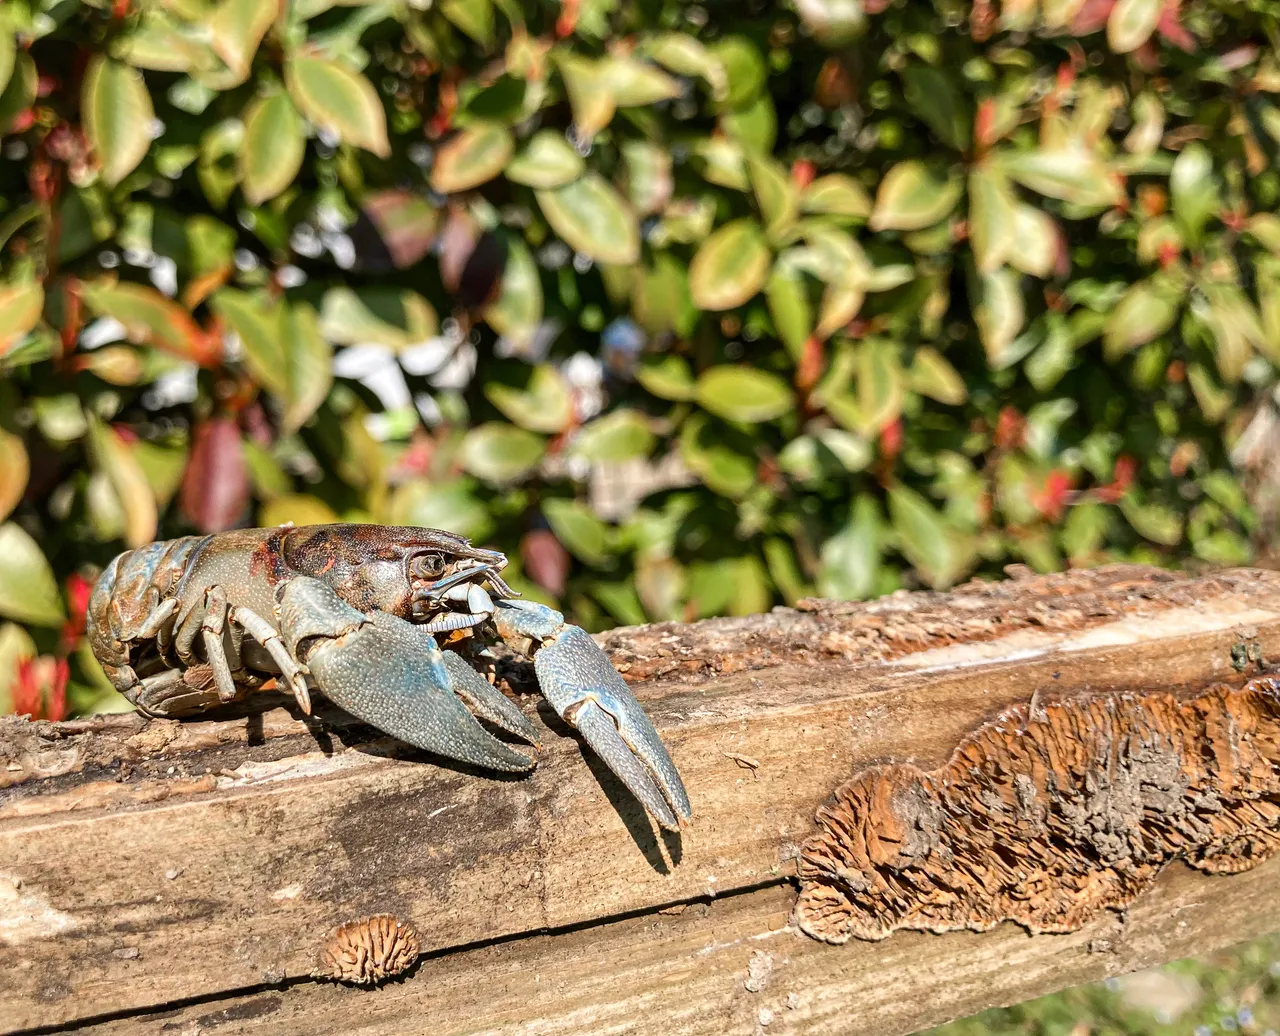
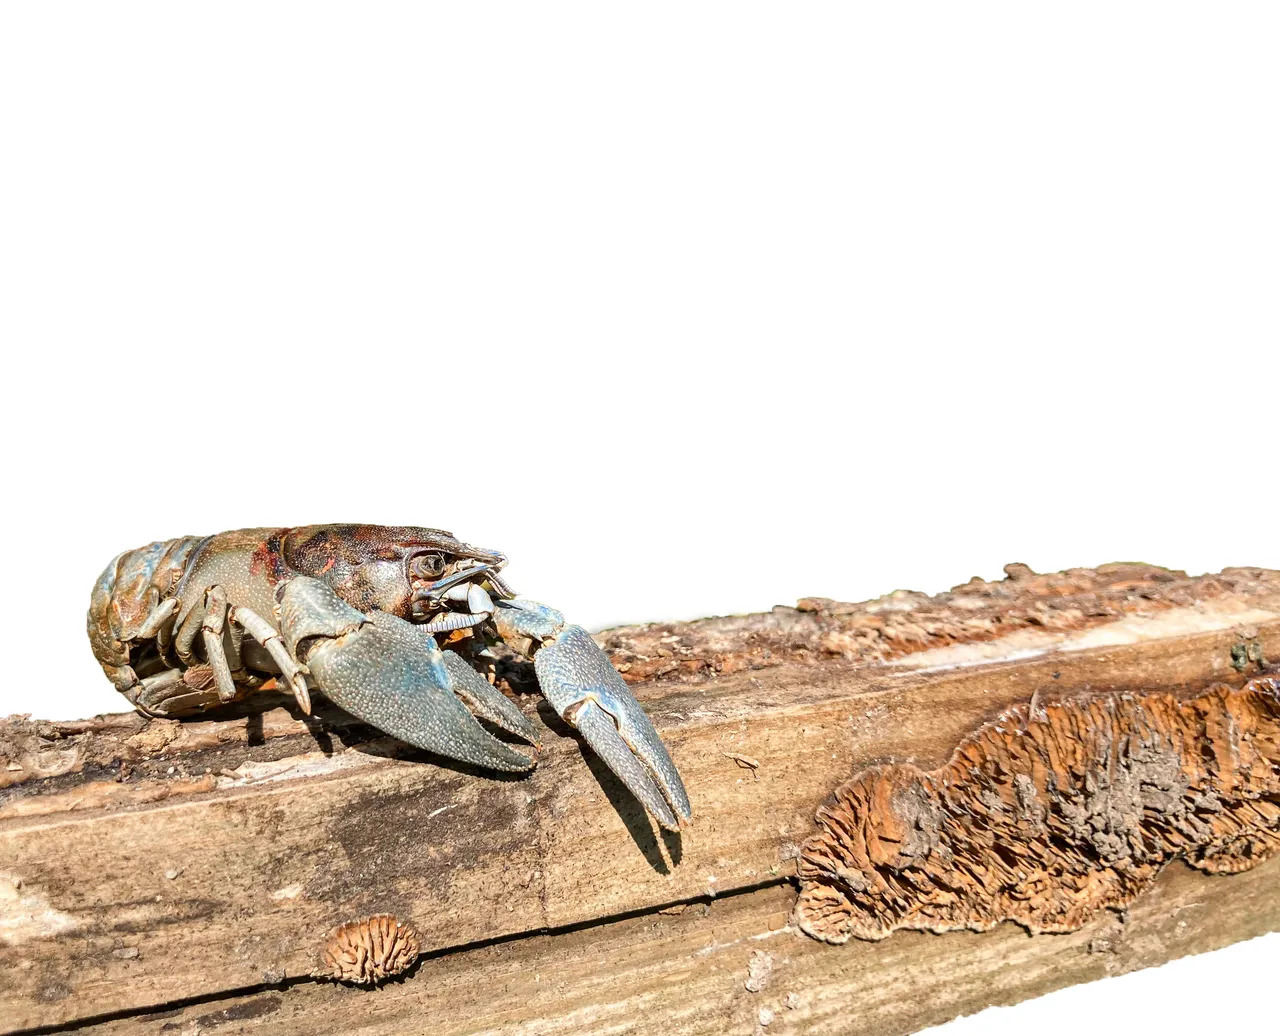
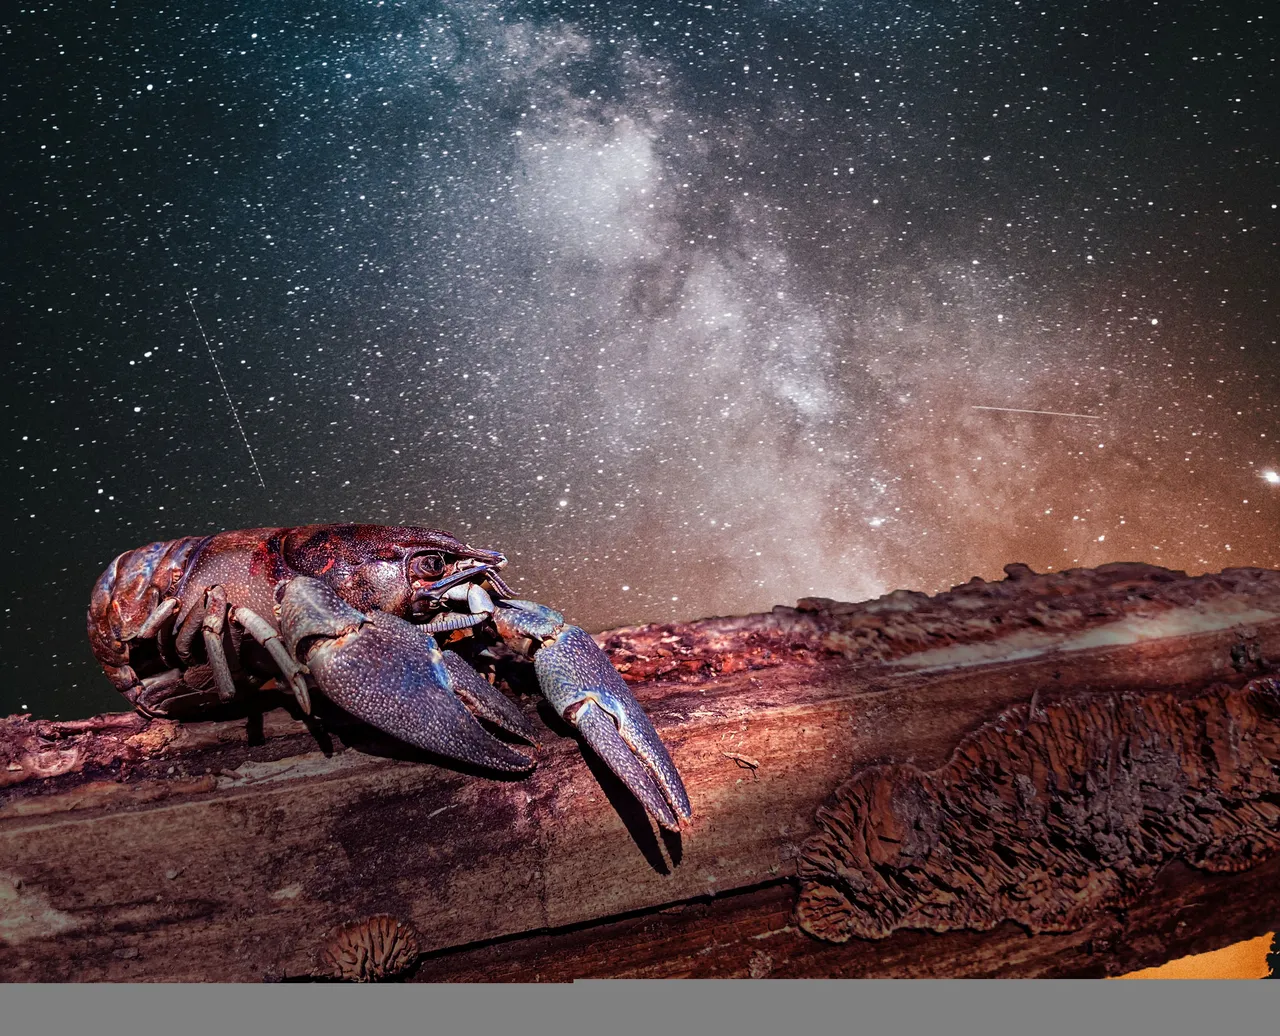
- Firstly, I've masked out the CRAB with the wood beneath. The idea in my head began to develop and I already knew 90% things I'm going to design and compose in here. With this mask I have my main character which is ready for digital manipulation and story is ready to be told.
Finding the Right Background
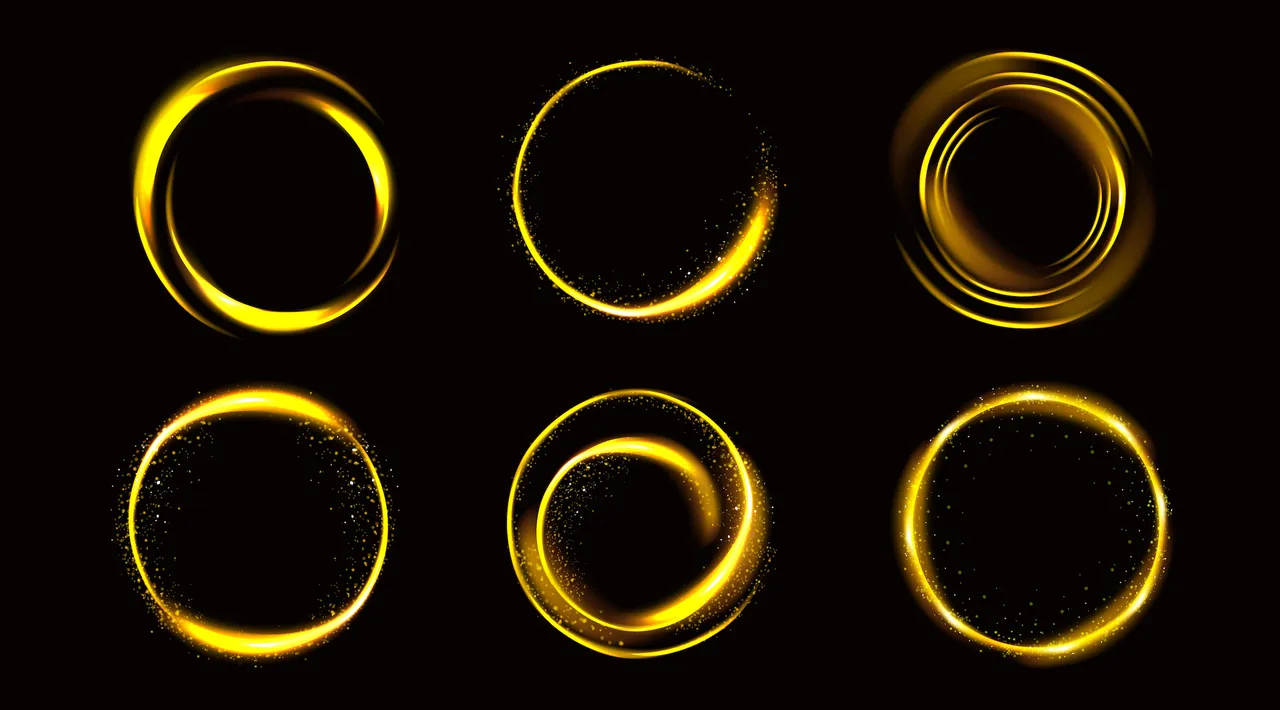
I wanted a cool sci-fi background, with spectacular starry night. Everything with gorgeous night vision was a right thing for the idea in my head as I wanted to make some sci-fi planets/Circular sparkles presenting Supernova or something like that.
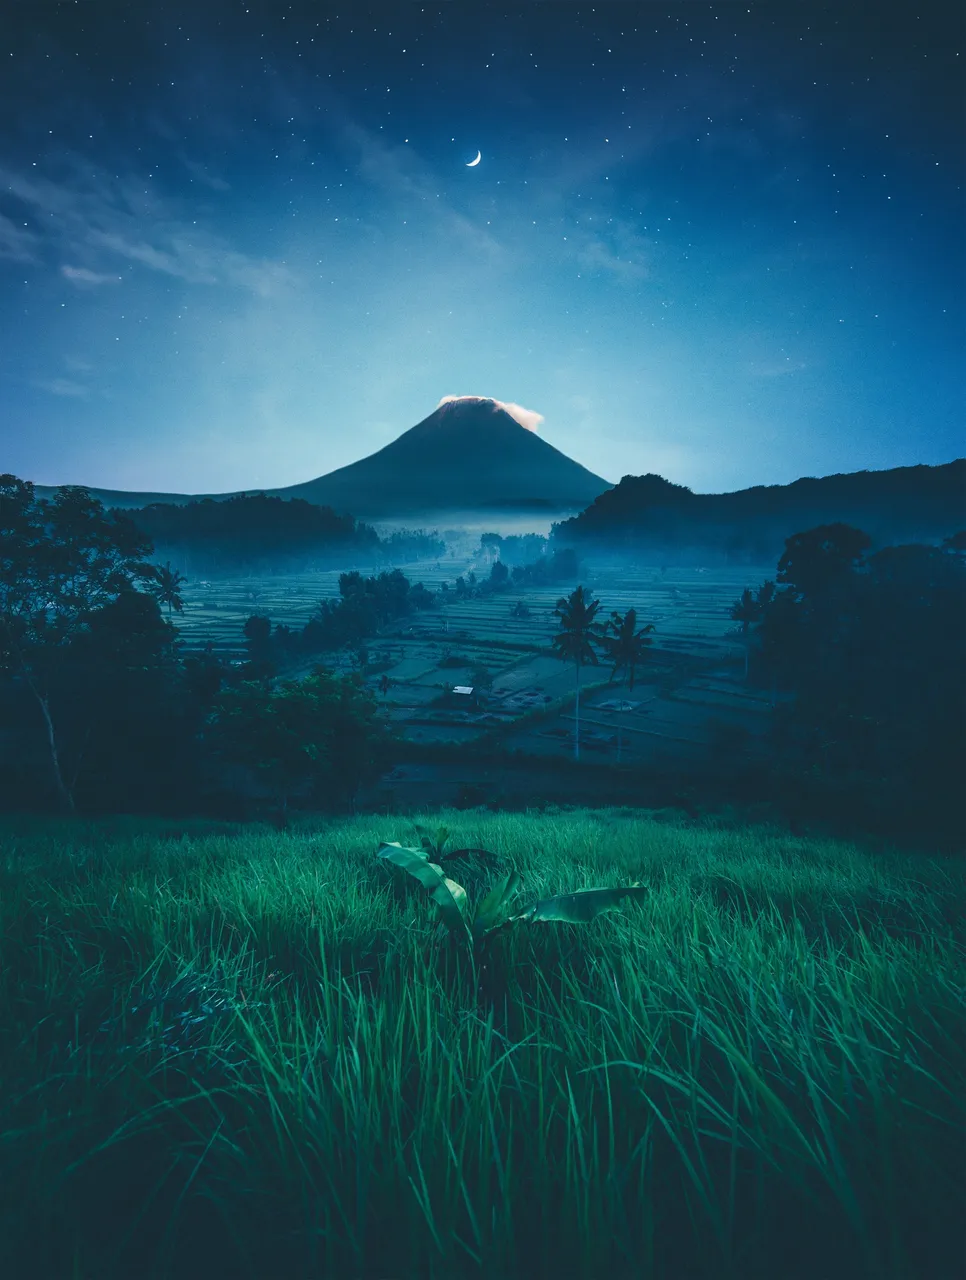
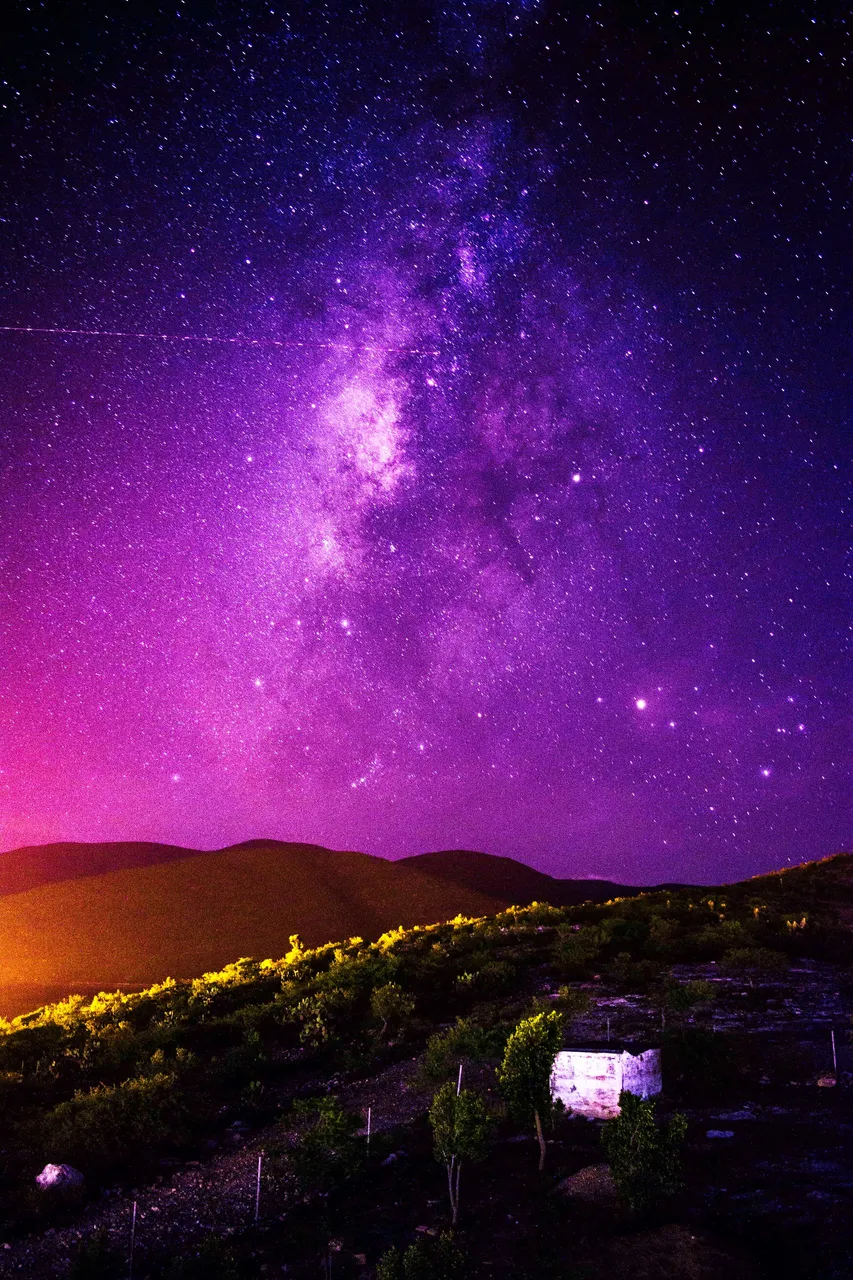
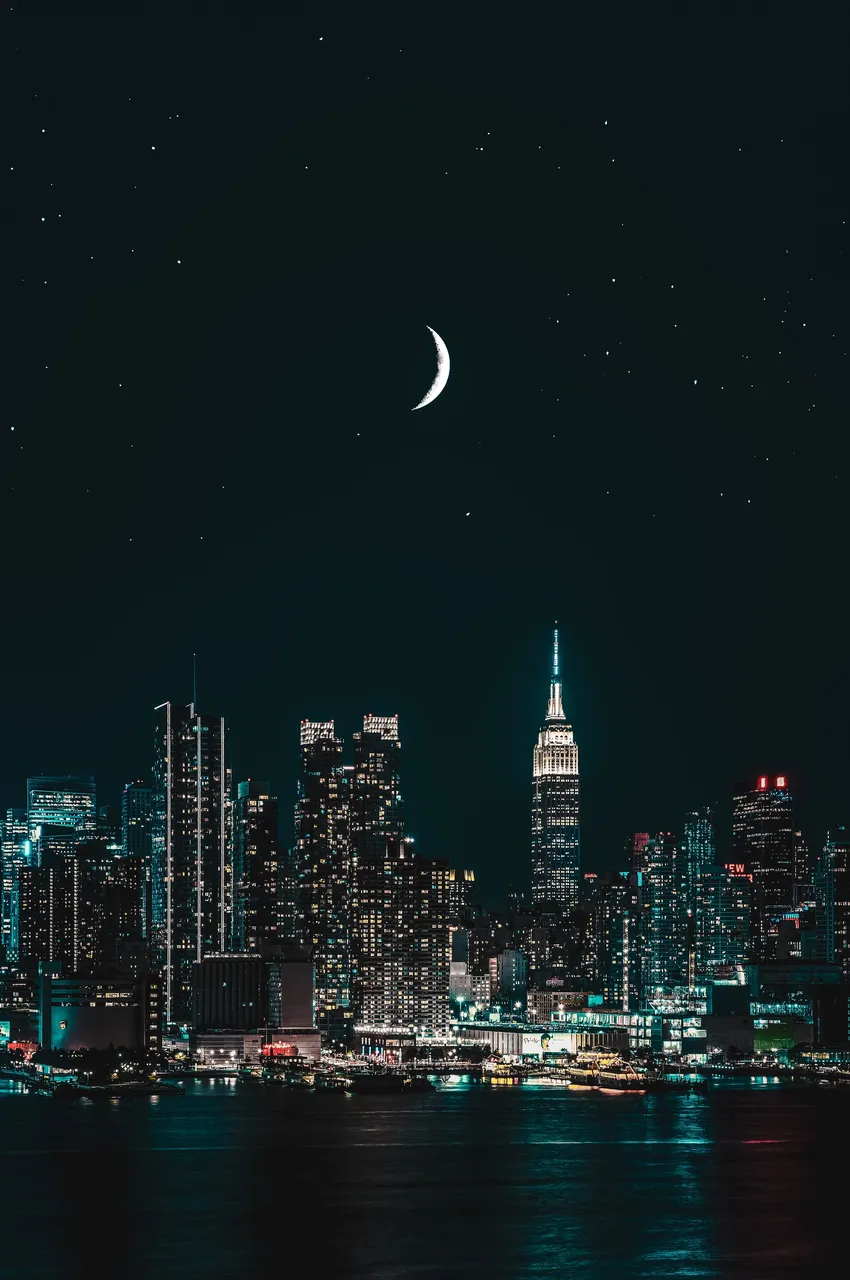
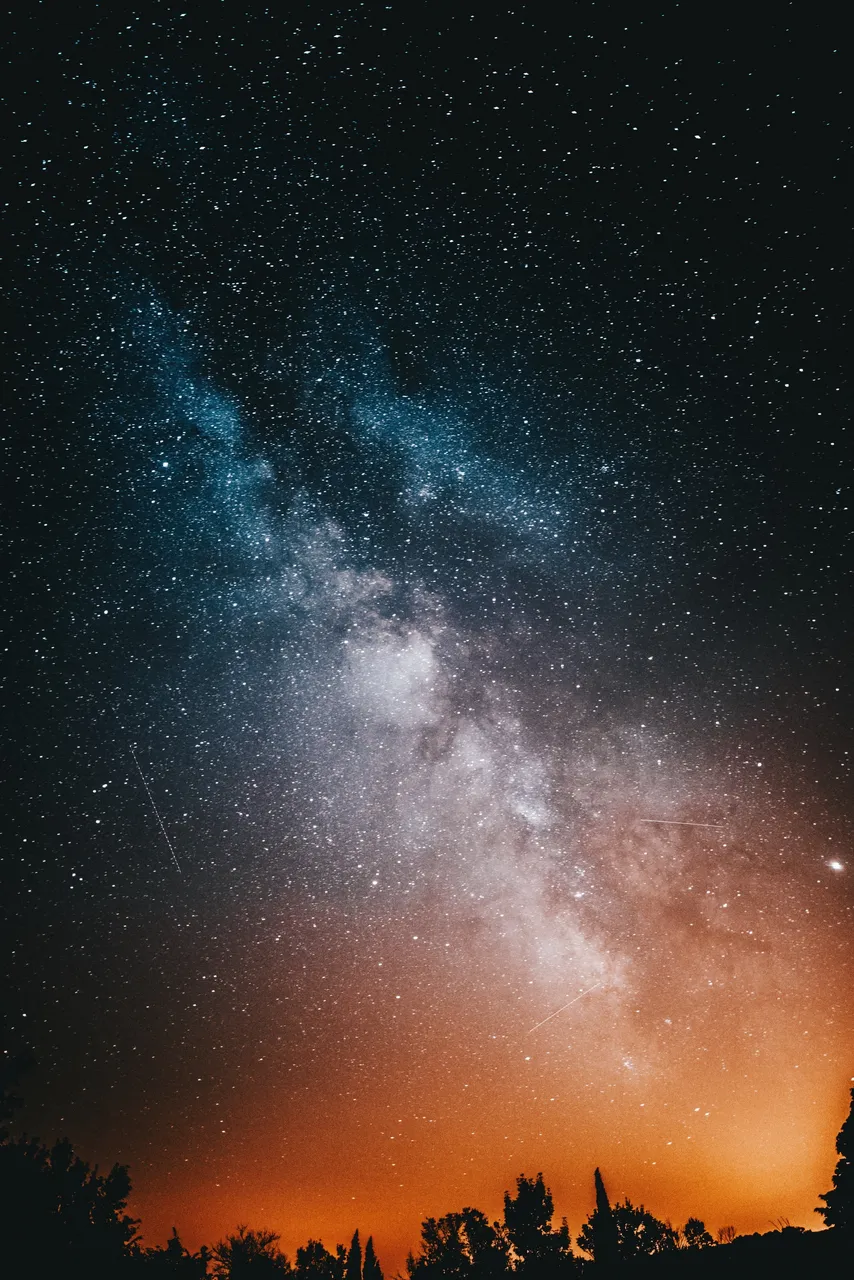
- Although purple was my favourite, the last one suited me the most and I found it the smoothest for composition and general experience I wanted to achieve.
- Source links: 1, 2, 3, 4
- Since White Balance, Contrast and Colors are much different, the next step is doing Color Correction in order to make nice "fusion" of 2 different photos.
Color Correction
I knew in advance I wanted a butterfly and an orange flower in my composition so I made a "CC" - Color Correction accordingly to that idea. After tweaking my CC and White Balance the composition was ready for new buddy.
- It is already well visible how patiently work of Color Correction is making an impact to a photo. Two incompatible photos are made compatible with that tweak.
Merging 3rd Photo + "CC" [Color Correction]
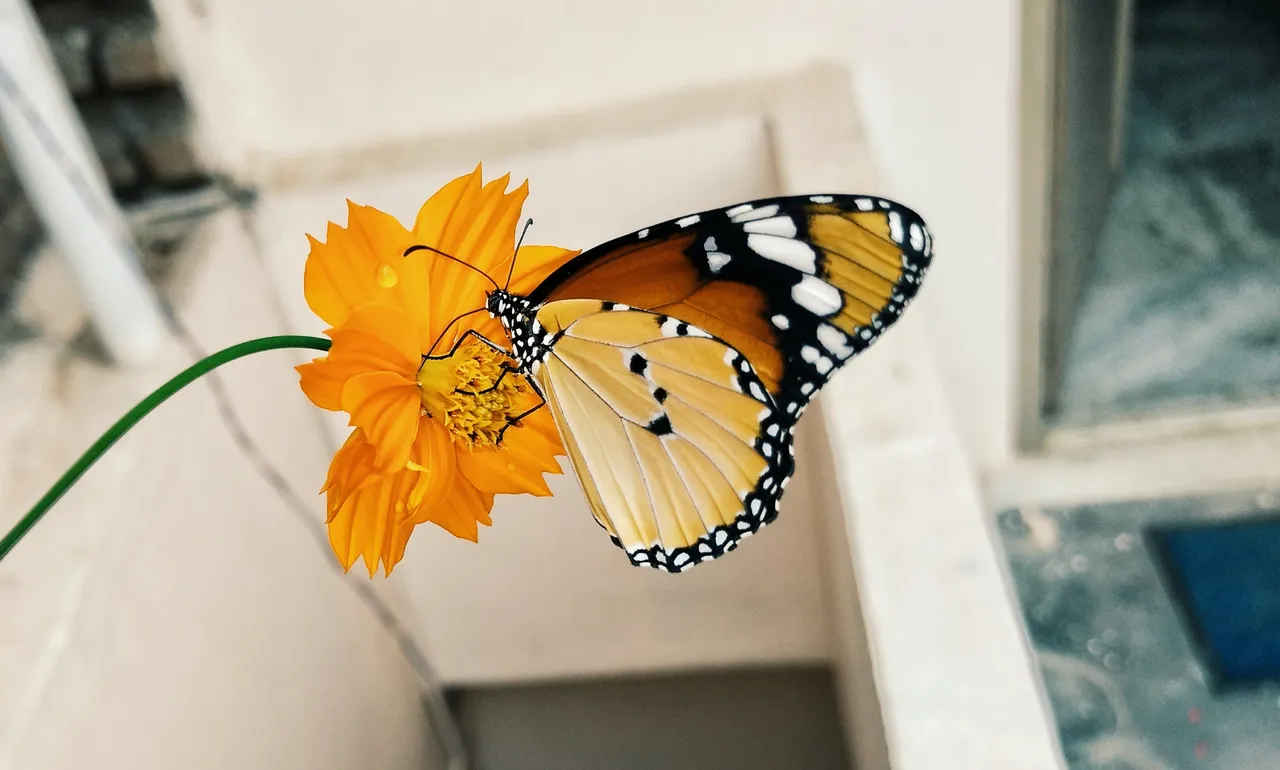
As I've already mentioned, I knew what I wanted: an orange flower with butterfly. Why orange? Cause it's WARM color that is great to break the cold tones in the composition.
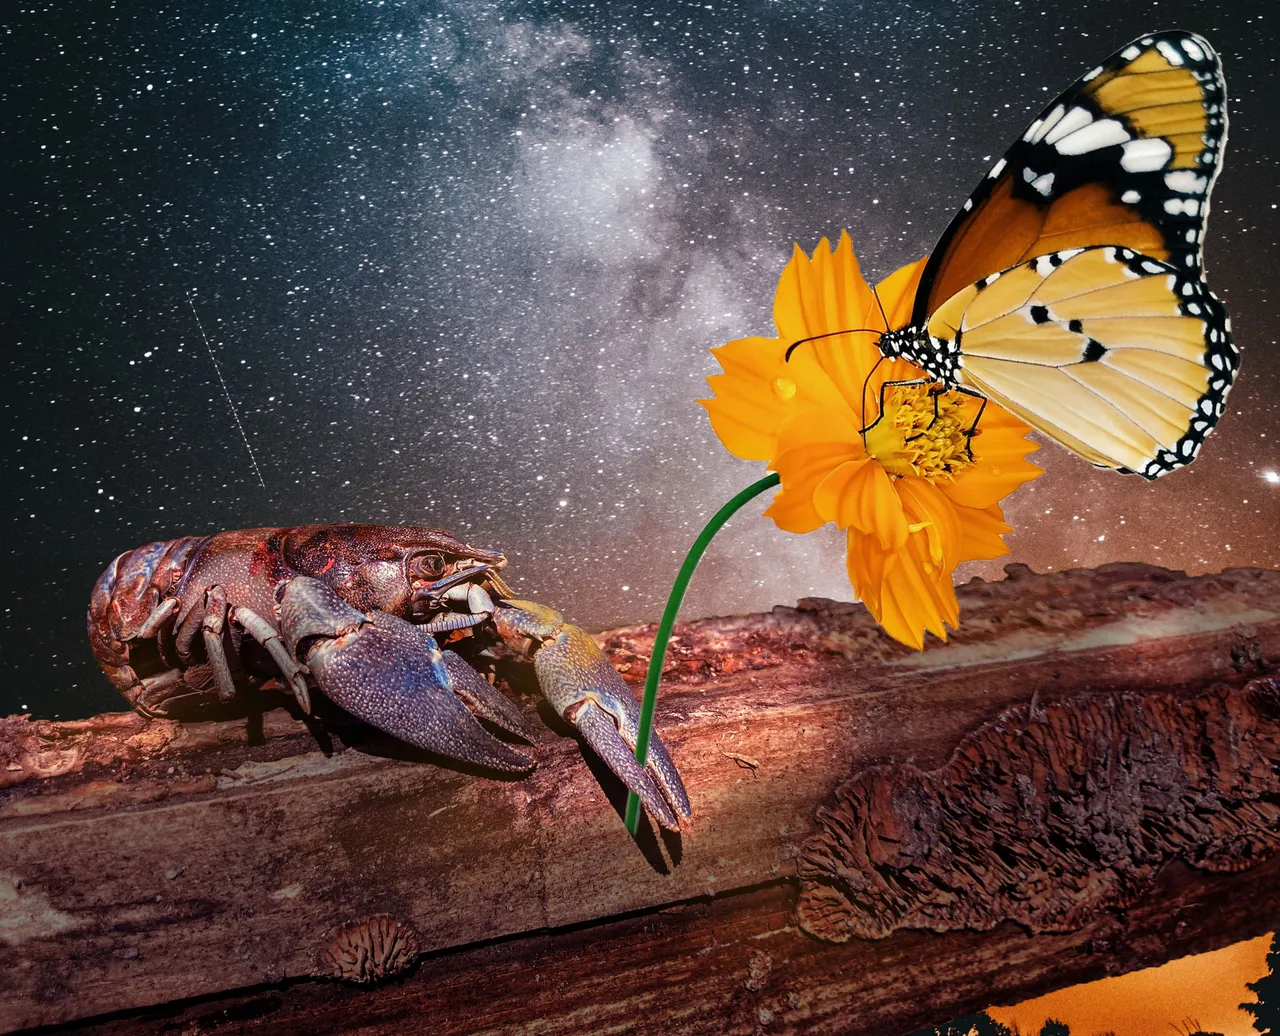
- Pay attention to colors and hues on flower and butterfly - Orange is singled out and more staturated. One more really important detail is the SHADOW, I hand-painted.
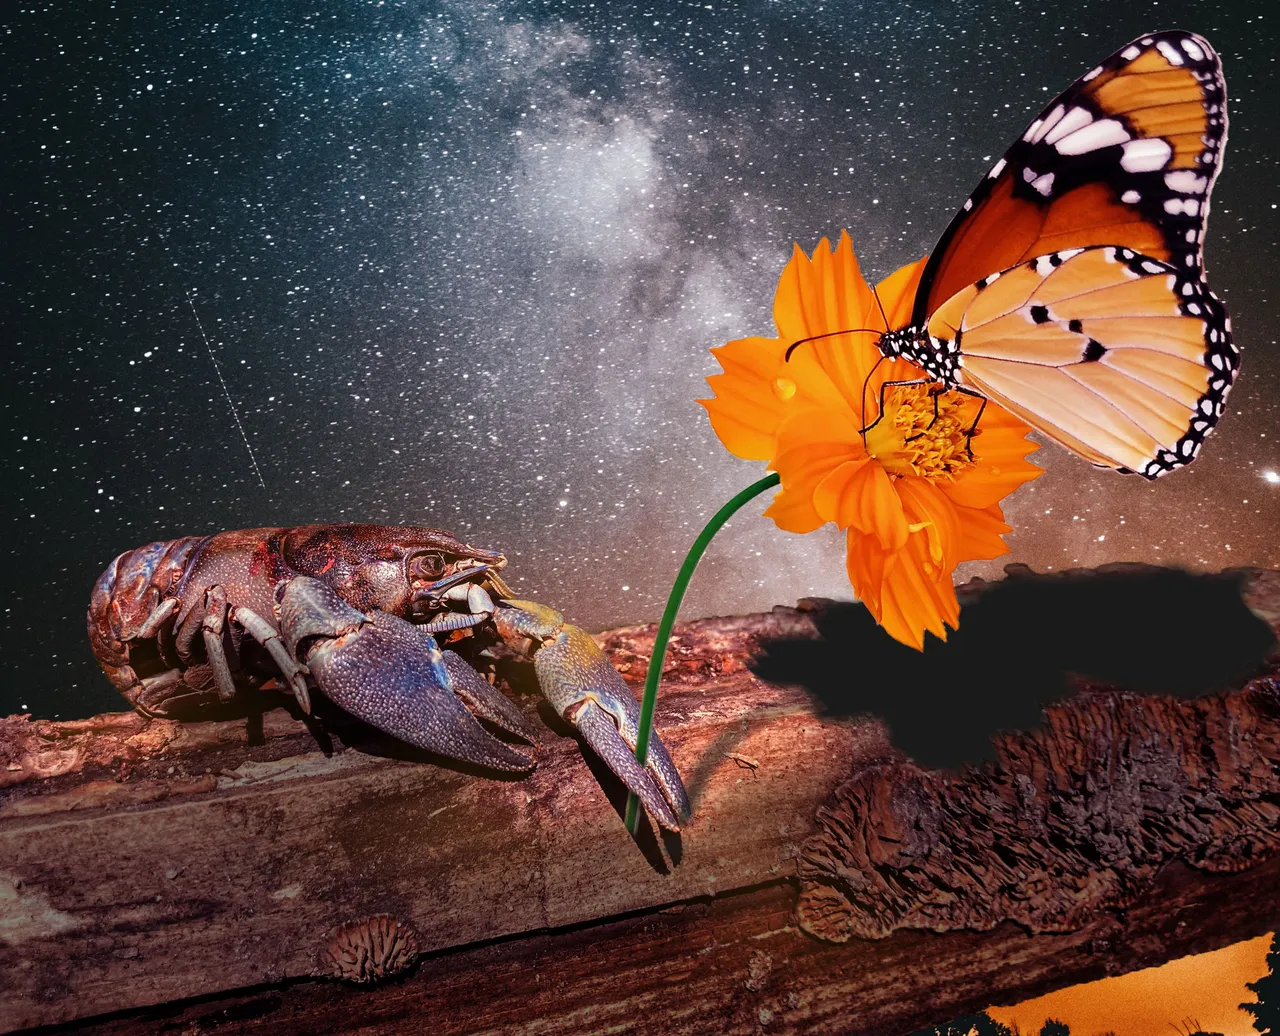
Adding the Light Sources and Light Effects
Adding Light to the composition can be very amusing, but it has to be done carefully, because lighting is something that's in charge for graphic atmosphere.
- I decided to put some unrealistic light effects into the scene, because, I wanted sci-fi experience after all.

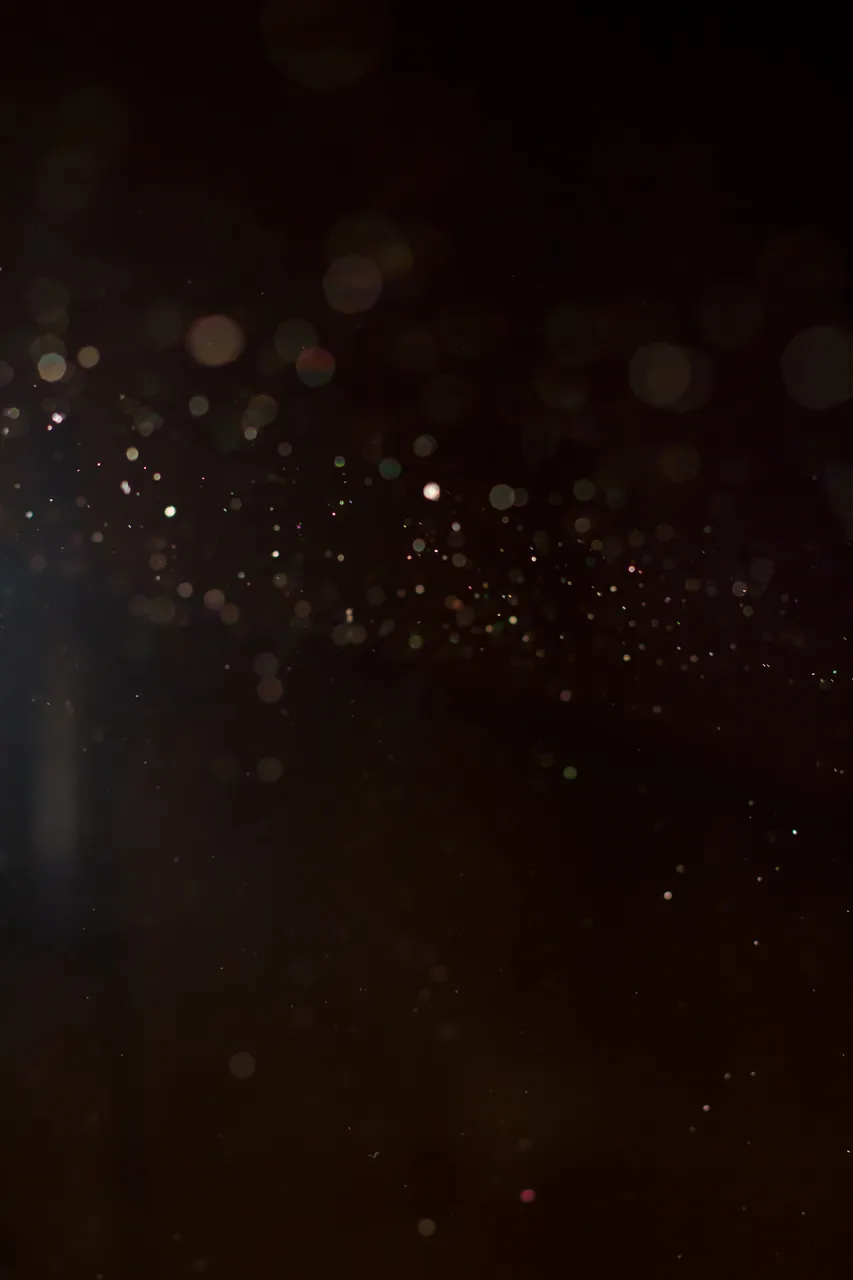
Finalizing the Project | Particles + Raw Camera Filter CC
For the end I wanted some particles, as it gives some realism to the scene, so human eye finds that more attractive.
- In the last Color Correction I managed to "pull out" highlights bit more, made the overall temperature colder, also, shadows and blacks are little bit stronger. All in all I was working on harder contrast as I thinks it fits perfectly into the scene.
- Also, take a look how the detail of particles are lift up the scene. Not much, but enough to make that bit of realism.
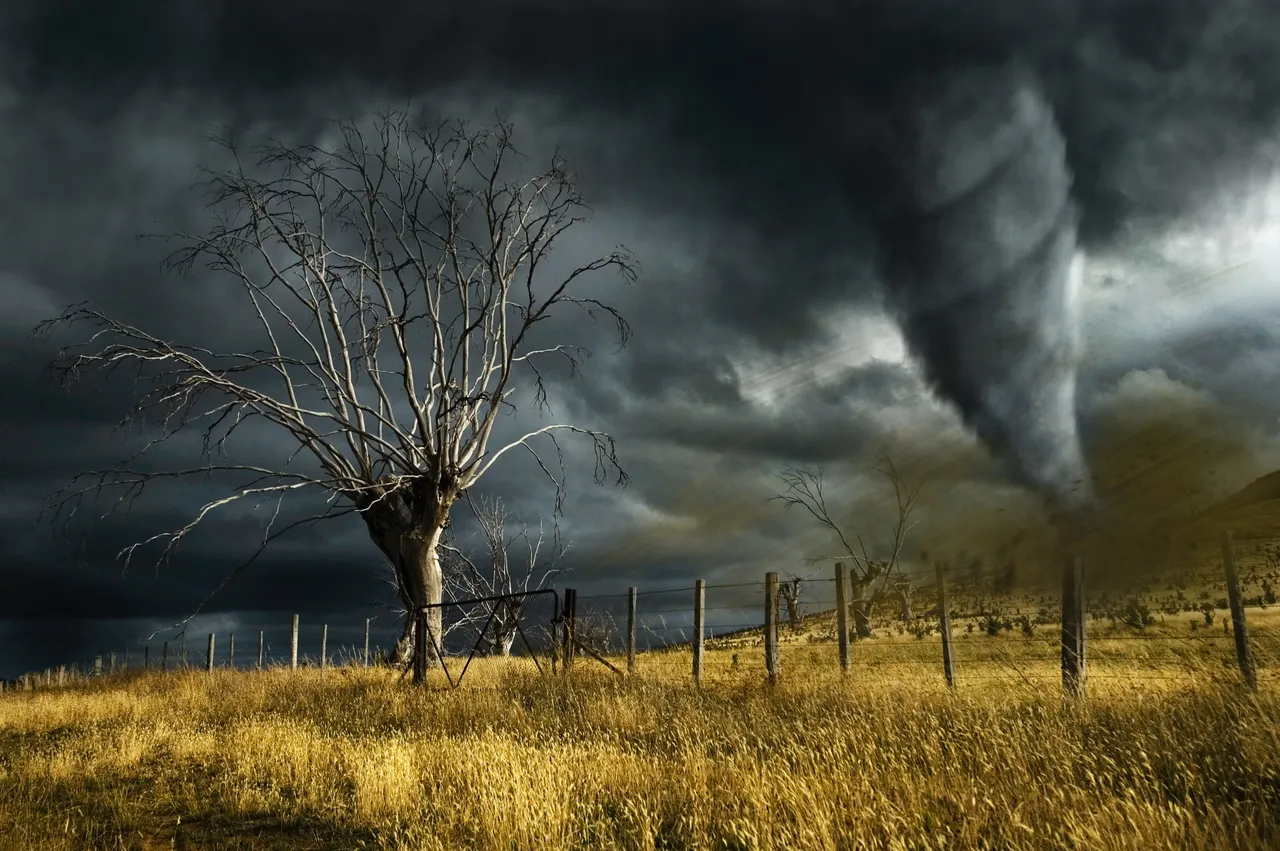
- Check out my recent Digital Photo Manipulation post with a lot of great techniques and step by step explanation --> Digital Photo Manipulation with Custom Brushes | Project "TORNADO" 🌪️
© This content is originally made by @tonac